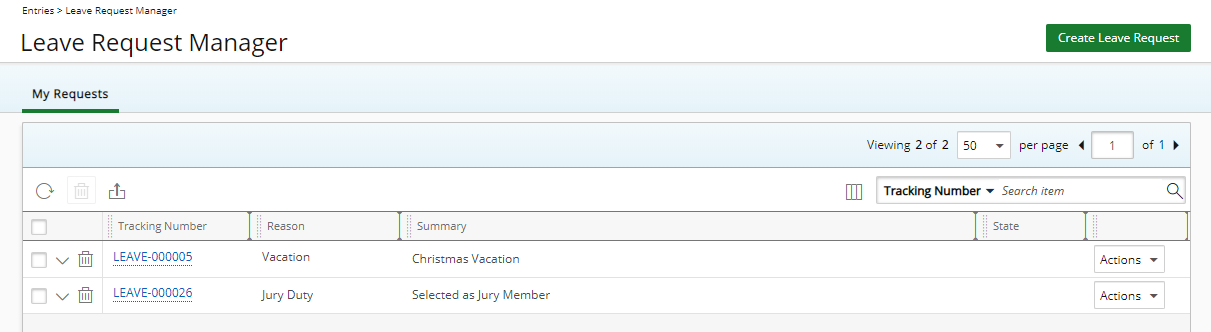
This article details how to remove Columns from the Leave Request Manager.
Note: The pages and/or format in which the page(s) is/are shown in this article may differ from yours as your organization may have required a different set up altogether.
- From the Icon Bar click Entries
 .
. - From the Navigation Menu click Leave Request Manager.
- Upon the Leave Request Manager displaying, click Column Selection
 button.
Tip: For a detailed list of all available Column selection options refer to the Column Selection Options | Leave Request Manager article.
- Select the Column that you want to remove from the Leave Request Manager page.
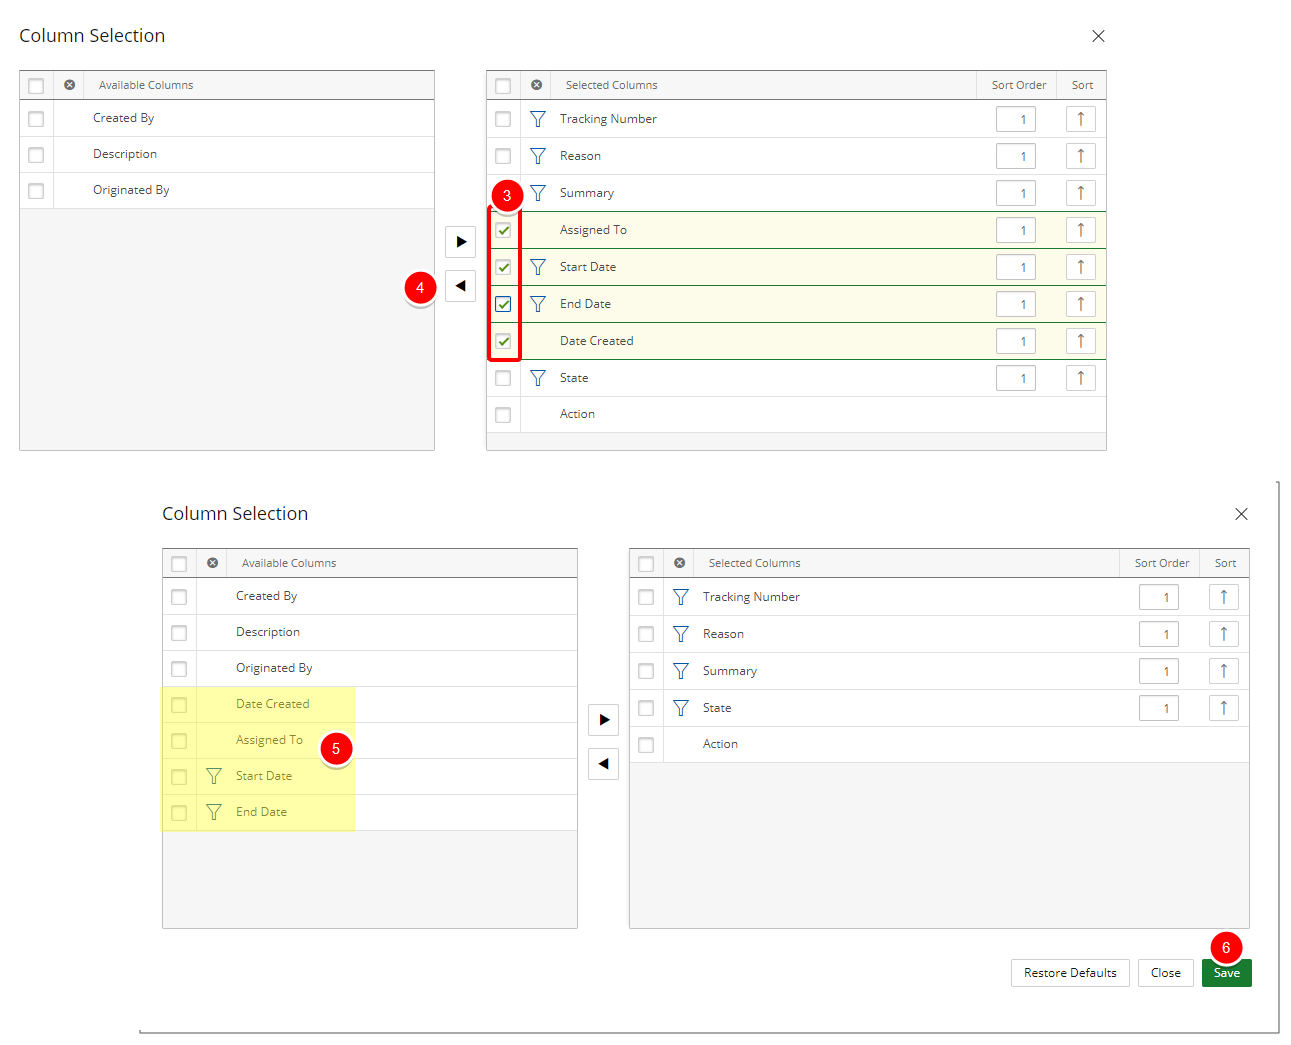
- Click the left arrow
 to move them from the Selected Columns list to the Available Columns list.
 - The removed column will appear within the Available Columns list.
Note: The funnel icon denotes items that can be used as Search Criteria.
- Click Save to save your modifications and to return to the Leave Request Manager page.
- View your saved modifications on the Leave Request Manager page where the removed columns are no longer displayed.