Users with the Can Modify Project Rate Cards right, have access to the Rate Cards option from the Project Edit Manage tab menu from where they can Assign/Create and modify rate cards at the Project level.
This article provides instructions on how to assign a Rate Card, which has been created at the system level, to a specific Project.
Note: Any modifications made to the Rate Card at the Financial System level after the Rate Card is assigned to a Project will not be reflected at the Project level.
To Access the Project Rate Cards list page
- From the Icon Bar click Project List
 .
. - From the Project List page, select the Project you wish to edit by following one of these steps:
- Click the Project context menu button
 to expand it. From the available options click Edit.
OR - Click the name of the Project you wish to access.
Tip: Use the search capability for an efficient way of finding the specific project. For further details refer to Searching for a Project within the Project List page.
- Click the Project context menu button
- From the Project Edit page, hover your mouse over the Manage tab and select Rate Cards from the available options.
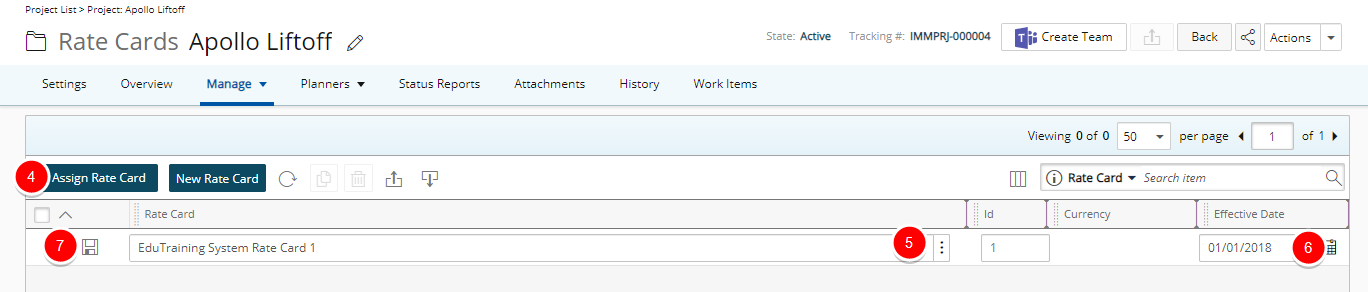
- Click Assign Rate Card. Note that inline editing will be enabled.
- Click the Browse
 button located against the Rate Card to access the Rate Cards List dialog box and select a Rate Card.
 - You will be automatically redirected back to the Project Rate Cards page where you can set an Effective Date.
Note: By default, the Effective Date is set to the project Start date.
- Click Save
 .
.
- Upon successfully saving, the page will refresh and you will see your newly assigned Rate Card with an expanded (open) Rate Card Items drawer.
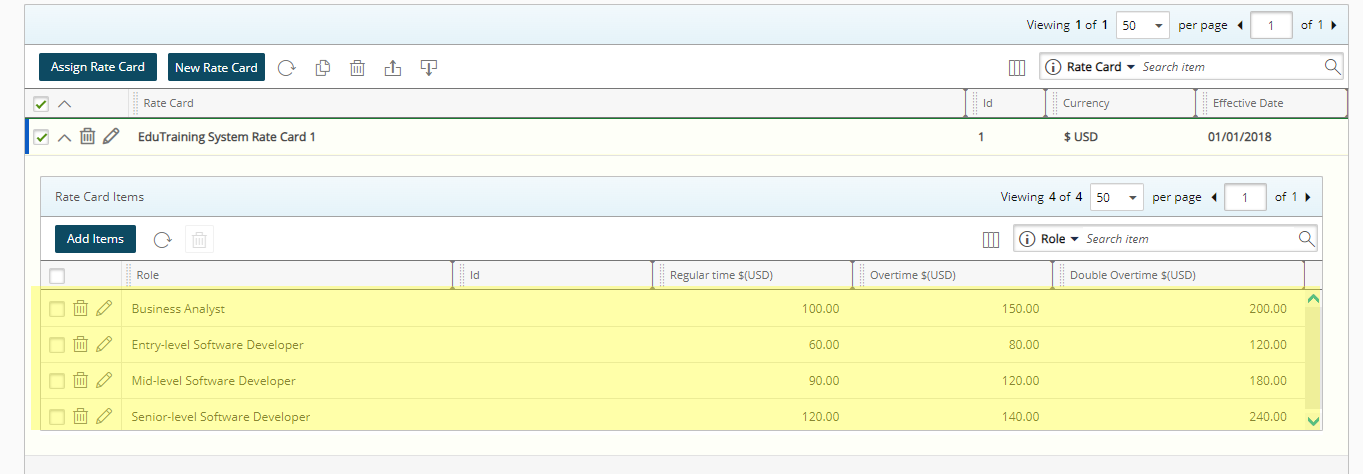
Note: Rate Card(s)/Rate Card Item(s) assigned to a Project cannot be deleted/modified if any Invoice associations exist.