Copying the Work Item Entries and associated User Defined fields to a new Project
Our application allows you to choose the required Work Item Workflows when duplicating a Project, ensuring that all associated Work Item Entries are seamlessly transferred.
This feature eliminates the need to manually recreate entries, minimizing the risk of errors and saving you valuable time. In this help article, we'll guide you through the process of selecting Work Item workflows and copying all related entries along with your projects, making project management smoother and more efficient.
Use case: Lauren Hill, who is responsible for creating several new Projects, needs to maintain the source project's Work Item Entries, specifically those of type Action Item. With this enhancement, Lauren can easily select the Work Items option and then choose the relevant Action Item Workflow when copying the Project. This ensures that Action Item Entries are carried over seamlessly to the new Projects.
Caution: The logged-in User must be granted the Create permission for the relevant Work Item Workflows (Setup > Organization > System > Security > Security Profile edit > Workflows). This permission enables the user to initiate the creation of copied Entries during the copy process. If the logged in user lacks the Create permission for a specific Work Item Workflow, the corresponding active/non-placeholder Workflow(s) will not appear in the table.
- From the Icon Bar click Project List
 .
. - View the Project List page, and proceed to search for the existing project which you wish to copy.
Tip: Use the search capability for an efficient way of finding the specific project. For further details refer to Searching for a Project within the Project List page.
- You can copy a project either by clicking the Copy
 button or by clicking the Copy option located within the Project context menu. For more information see steps 3.a and 3.b.
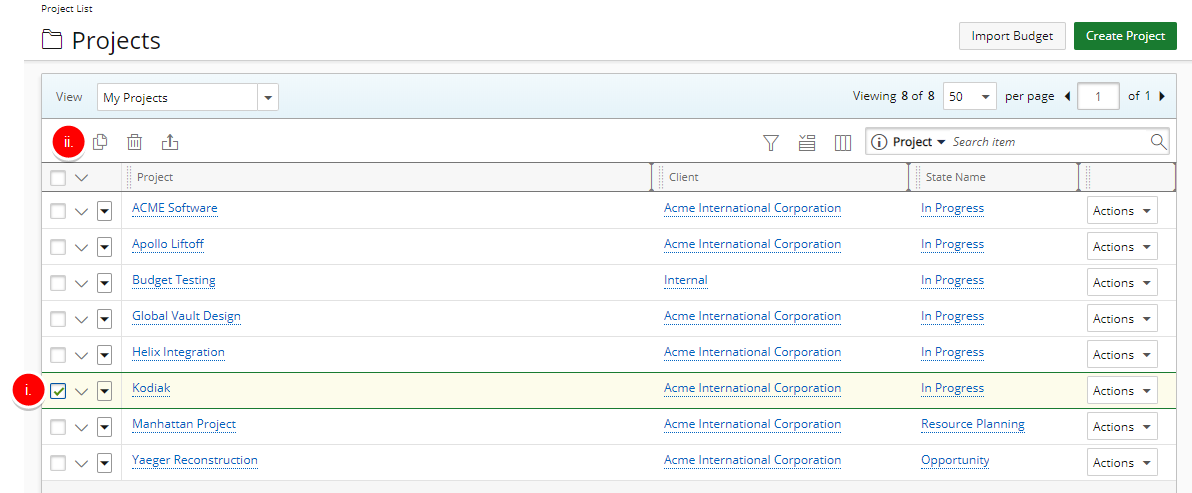
 Click the Copy icon
- Select the box to the left of the Project you wish to copy.
Note: Only one Project can be copied at a given time. If multiple Projects are selected the Copy button remains unavailable.
- Upon selecting a Project, the Project Copy button becomes available. Click it to copy the project.
- Select the box to the left of the Project you wish to copy.
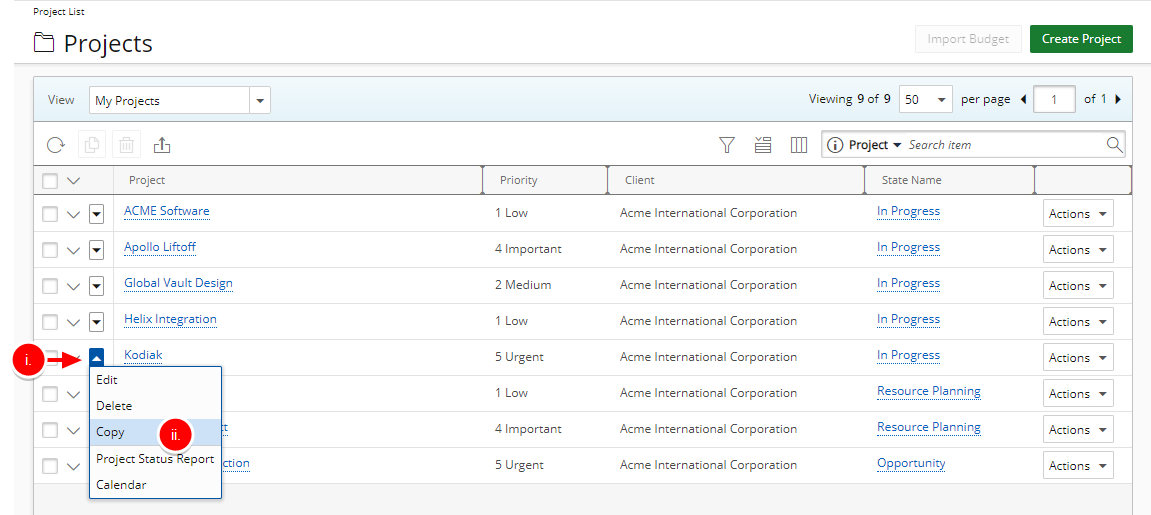
- Click Copy Option
- Click the Project context menu button to expand it.
- From the available options click Copy.
- In the Project Copy dialog box, select Copy into new Project.
- Make the desired changes in the respective boxes:
- Project Name *: Enter the project name.
- Project Code *: Enter a prefix, no longer than 32 characters, that is to be assigned to all tasks associated with the project.
- Project Id: Enter a unique identifier assigned to the project (optional).
- Client *: Click the browse button to select the client, from the Client List page, to be associated with the project.
- Project Manager: Click the browse button to select the manager, from the User List page, to be assigned to the project.
- Start date *: Click the calendar icon to select the date that work on the project is to begin.
- End date *: Click the calendar icon to select the date of the last day of work on the project: if set up by the administrator, the system automatically suspends all project-related tasks after the end date is reached.

- Within the Copy Options section, select Copy Work Items
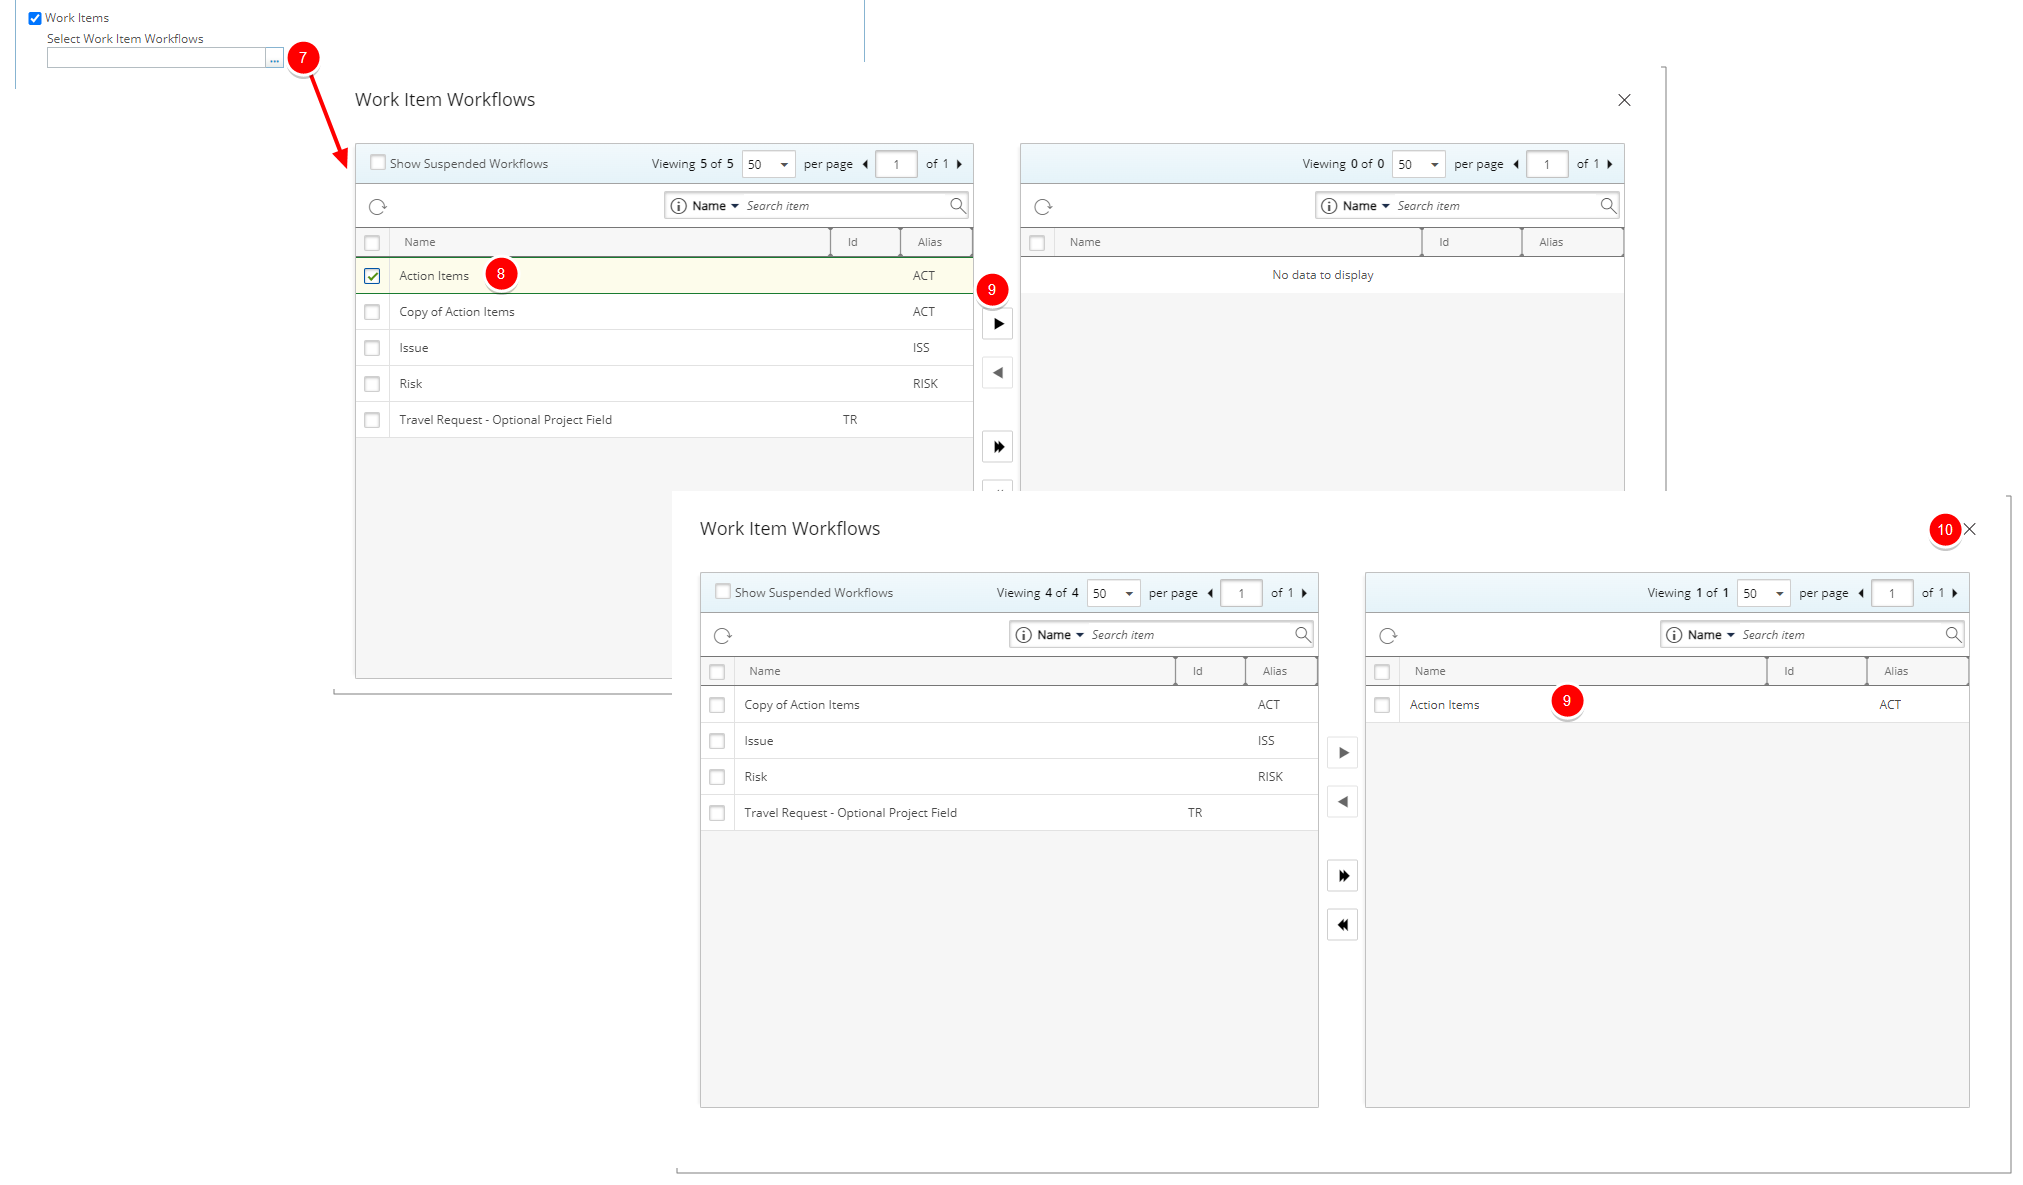
- Click the browse button to access the Work Item Workflows dialog box.
- Select the required workflows from the table on the left.
- Click the Add
 button to add them to the selected list on the right.
 - Click the Close
 button to return to Copy Project dialog box.
 - Select to copy Work Item UDFs. This will ensure that the values of User Defined Fields associated with the Work Iten Entries will be copied as well.

- Click Copy.
Tip: Click Copy and Edit to immediately edit the newly created project. For more information click here.