Saved Search
A Saved search saves the search term, selected folders, search settings, and filters present when you save a search. The Saved Searches and History icon to the left of the search box allows you to access you favorite, shared, and historical saved searches. The Saved Searches
  icon allows you to save your search or update a saved search. The saved searches menu displays the following tabs for different saved searches:
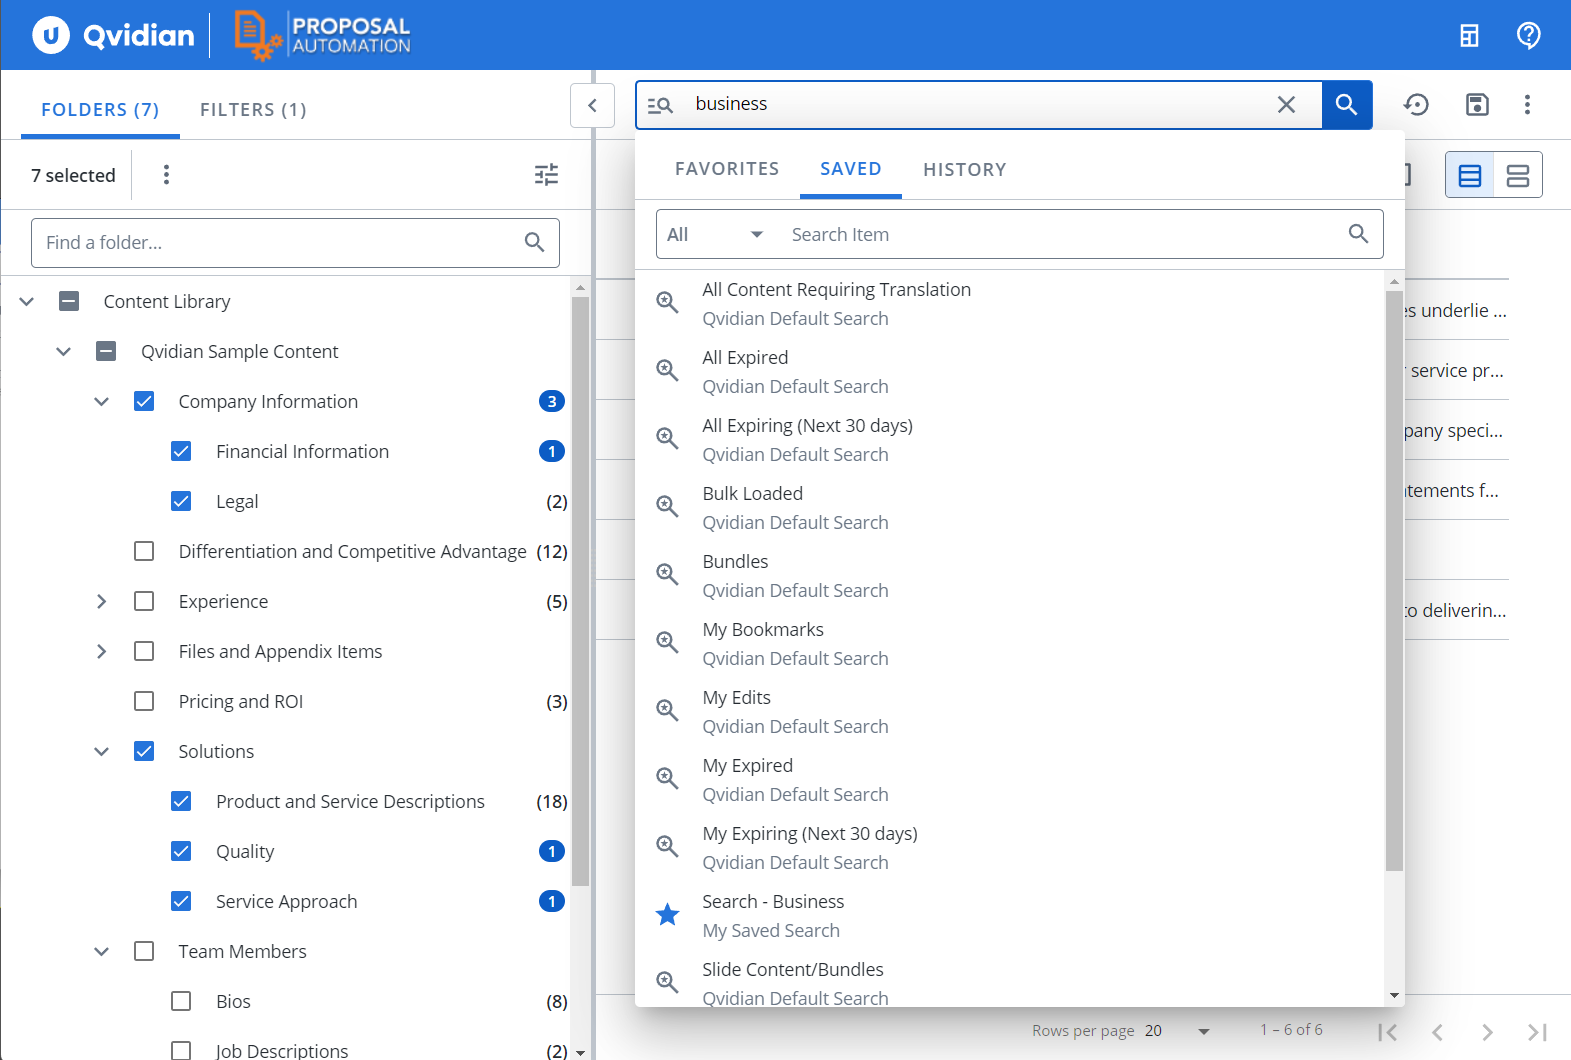
Example of "Saved Searches and History" dialog.
Shows the list of saved searches you marked as favorite. You can mark a saved or historical search that you access frequently as your favorite for faster access. To do so, hover over the icon of a saved or historical search. The icon turns to a hollow star icon, click the hollow star, it changes to a blue star icon to mark the saved search as favorite.
Note: The “Search for Content” panel on Qvidian's Home page displays up to 5 of your favorite saved searches. Click on a saved search link to execute the search in a new Library window or tab.
By default, the All option is selected and displays all the saved searches.
- All: Lists all the saved searches available to you.
- My: All the searches saved by you.
- Default: System default saved searches available to everyone. These saved searches display search results based on your roles and permissions.
- All Content Requiring Translation: Displays content records that require translation. The status of all child translation records is Not Current.
- All Expired: Displays all expired content records.
- All Expiring (Next 30 Days): Displays all content records that will expire in the next 30 days.
- Bulk Loaded: Displays all bulk-loaded content records that are not assigned to a folder.
- Bundles: Displays all bundles of content records.
- My Expired: Displays all the expired content records that you own. Also available on the Home page, click the View All button on the "My Expired Content" panel.
- My Expiring (Next 30 days): Displays all the content records you own that will expire in the next 30 days. Also available on the Home page, click the View All button on the "My Expiring Content - Next 30 days" panel.
- My Bookmarks: Displays all the content records you added to your Bookmarks.
- Slide Content/Bundles: Displays all content records that are slides and bundles of slide content records.
- Submitted Content: Displays all content records with a "submitted" status (rather than "enabled" or "disabled" status). Also available on the Home page, click the View All button on the "Submitted Content" panel.
- Unassigned: Displays all content records currently not assigned to a library folder (excluding bulk-loaded content that are not assigned a folder). When you delete a folder all the content records in the deleted folder are in an unassigned state.
- Public: Saved searches you and other users shared with the public.
- Shared: Saved searches you shared with others and those shared with you.
Shows the searches and saved searches you ran for the last year. Historical search names are a combination of search properties and the search term. You can save a historical search as a saved search by clicking More Options and choosing Save as Search. You can filter for historical searches in the last 7, 30, 90 days or a date range.
The following icons appear beside the saved searches, indicating the source or type of search.
- The Saved Search
 icon represents all saved searches. Those shared by you and with you, public saved search created by you or others, and your personal saved search.
- The Historical Search
 icon represents a historical search performed by you.
- The Favorite Search
 icon represents a saved search you marked as favorite.
- Click the Saved Searches and History icon to the left of the search box. The "Saved Searches and History" dialog displays.
- Open one of the following tabs: Favorite, Saved, or History.
- Search for a saved, favorite, or historical search by entering the name into the Search Item field and click the Search
 icon .
 - (Optional) Run a saved search.
Manage Saved Searches
You can create, edit, duplicate, share, and delete saved searches.
You can save a search as a new search or update an existing saved search. You can also run a saved search, then modify it and save it as a new search, update the same, or other saved searches.
- Perform a search.
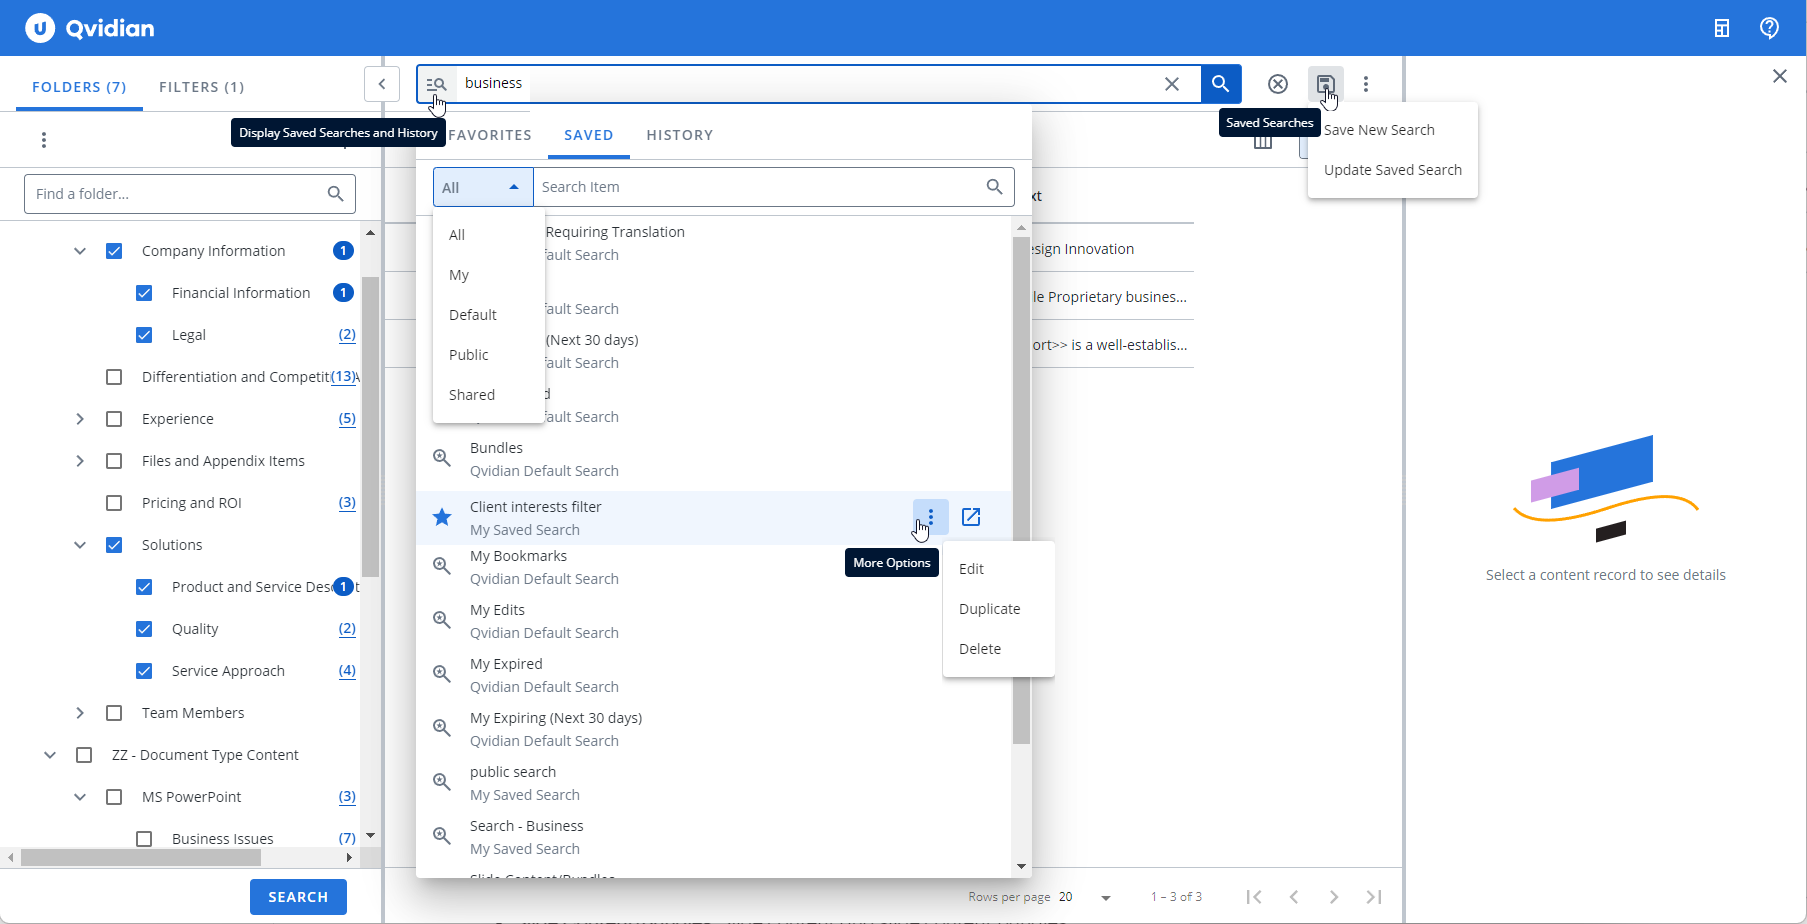
- Click the Saved Searches icon to the right of the search bar.
- Select Save New Search. The "Save New Search" dialog box displays.
- Enter a Search Name.
- Enter a Description. The description helps you and other users, understand its purpose.
- (Optional) Mark the saved search as your favorite by selecting the Favorite checkbox.
- Choose the Share Settings:
- Private
- Public
- Shared
- To share with specific users, click into the Users search field to select a user from the dropdown menu. To find a specific user, start typing into the field and the dropdown menu will populate.
- To share with specific roles, click into the Roles search field to select a user from the dropdown menu. To find a specific role, start typing into the field and the dropdown menu will populate.
Note: To make a saved search Public you must have the Manage Saved Public Searches application permission.
Note: Who you share your saved search depends on your permissions. To share a saved search, you must have the Allow user to share a Library search application permission. You may be able to choose users with the same role as you. If a user or role is not selected the saved search is treated as private.
- Click Create.
Create a saved search from the search history
- Click the Saved Searches and History icon to the left of the search box. The "Saved Searches and History" dialog displays.
- Click the History tab.
- Hover over the desired historical search and click the More Options
 menu.
menu. - Select Save as Search.
You can modify or delete a search you saved, but not a saved search shared with you unless you have the Manage Saved Public Searches permission. However, you can modify a saved search shared with you. You can also request the sharer to remove you from the list of users in a shared search.
- Perform a search.
- Click the Saved Searches icon
 to the right of the search bar.
 - Select Update Saved Search. The "Update Saved Search" dialog box displays.
- Select which search you would like to update from the Saved Search dropdown menu.
- Enter a Search Name.
- Enter a Description. The description helps you and other users, understand its purpose.
- (Optional) Mark the saved search as your favorite by selecting the Favorite checkbox.
- Choose the Share Settings:
- Private
- Public: To modify a Public saved search created by another user you need the Manage Saved Public Searches permission.
- Shared
- To share with specific users, click into the Users search field to select a user from the dropdown menu. To find a specific user, start typing into the field and the dropdown menu will populate.
- To share with specific roles, click into the Roles search field to select a user from the dropdown menu. To find a specific role, start typing into the field and the dropdown menu will populate.
Note: Who you share your saved search depends on your permissions. You may be able to choose users with the same role as you. If a user or role is not selected the saved search is treated as private.
- Click Update.
Note: You cannot modify default saved searches, but you can run them and create your own saved search.
The edit option is a quick way to change the name, and description, mark it as a favorite and share settings of a saved search. You do not have to run a saved search and then use the Update or Save as new options. If you do not have permission to edit a saved search, you can only duplicate the saved search and create a new saved search from it.
Note: You can usually only edit your saved searches. Depending on your permissions, you can edit a saved search shared with you or update a public search into a shared or private search.
- Click the Saved Searches and History icon to the left of the search box. The "Saved Searches and History" dialog displays.
- Click the Saved tab.
- To find a saved search, enter the name into the Search Item field and click the Search icon.
- Hover over the desired saved search and click the More Options menu.
- Select Edit.
- Enter a Search Name.
- Enter a Description. The description helps you and other users, understand its purpose.
- (Optional) Mark the saved search as your favorite by selecting the Favorite checkbox.
- (Optional) Change the type of the saved search in the Share Settings section. Depending on your permissions, you may be able to convert a private search into a public one, a public search into a private one, or a shared search into either a public or private one.
Caution: Changes will affect other users of a search, for example, changing a public search to a private one will mean the search is no longer available to other users. To avoid this, duplicate the search first, then change its type.
- If you change the share setting to Shared, then add or remove the users and roles you want to share with, in the Users and Roles text boxes.
- Click Save.
- Click the Saved Searches and History icon to the left of the search box. The "Saved Searches and History" dialog displays.
- Click the Saved tab.
- To find a saved search, enter the name into the Search Item field and click the Search icon.
- Depending on your permissions:
- Click the More Options menu and select Duplicate from the action menu items. The "Duplicate Search" dialog displays.
- Click the Duplicate
 icon. The "Duplicate Search" dialog displays.
- Click the More Options
- Edit the search as desired. For more information, see Modify a saved search.
Note: If you do not have permission to edit a saved search, only the duplicate button is visible and not the More Options menu.
Depending on your permissions, you may be able to delete only those searches that you created. If you want to delete a search that was shared with you, contact the user who created the search and ask to have your name removed.
Caution: Deleting a shared saved search deletes it for all users to whom you shared the search.
- Click the Saved Searches and History icon to the left of the search box. The "Saved Searches and History" dialog displays.
- Click the Saved tab.
- To find a saved search, enter the name into the Search Item field and click the Search icon.
- Hover over the desired saved search and click the More Options menu.
- Click Delete.
You can mark any saved search as a favorite. You can mark saved searches as favorite when you are updating them. To mark a saved search as favorite directly from the display saved searches dialog:
- Click Saved Searches and History icon to the left of the search box. The "Saved Searches and History" dialog displays.
- Click the Saved or History tab.
- To find a saved search, enter the name into the Search Item field and click the Search icon.
- Hover over the desired saved search. The icon at the left of the saved search changes to a hollow star
 icon.
icon. - Click to mark the saved search as favorite. This changes the star icon to a solid star
 icon.
icon.Note: Click the solid star
icon on a favorite saved search to remove it from your favorites.