AutoFill is a search tool that retrieves, and optionally inserts, RFP answers by matching the text in questions to a content record's properties or content. You can choose to automatically insert the top suggested answer into your RFP or display a list of the top five suggestions and select an answer manually. AutoFill can be run against selected questions or the entire RFP.
AutoFill prioritizes exact phrase matches first, then those returned by the AND Boolean operator, and then the OR operator. You can choose to search within the records' search terms, title, keywords, and content body. This differentiates it from Autosearch which runs a library search that returns results based on the single type of search you choose to run. AutoFill retains its settings, so if you routinely search the same folders, there is no need to set up search parameters each time you run it. AutoFill also adds the text in the question slice as search terms when you add and confirm an AutoFill suggestion, which may improve future searches.

Permissions control how users can run AutoFill in projects. Users who have Manage Projects created by other Users permission, or are assigned as an owner to the project have the following permissions regardless of whether they have been explicitly granted.
| Permission | Description |
|---|---|
| Allow writers to run AutoFill in the new RFP | Grants user permission to run AutoFill in projects. |
| Allow AutoFill to auto-populate top suggestion for writers in the new RFP | Grants the user permission to use the auto-populate option within AutoFill. |
| Allow user to save the AutoFill defaults for all users | Grants the user permission to set the default AutoFill settings for other users in their organization. |
| Allow user to use AI Assist in AutoFill to SHOW a generated answer for each question |
When enabled, this permission allows the user to see the following answer option in the AutoFill Configuration panel: "Show top 5 answers from the Library plus an answer written by AI Assist". If this option is selected, the search results will include a custom answer written by AI Assist. NOTE: This permission is for users that have AI Assist enabled in their environment. |
| Allow user to use AI Assist in AutoFill to INSERT a generated answer for each question |
When enabled, this permission allows the user to see the following answer option in the AutoFill Configuration panel: "Answer with AI Assist". If this option is selected, AI Assist writes and inserts a custom answer. NOTE: This permission is for users that have AI Assist enabled in their environment. |
Note: AutoFill's automatic learning functionality can be disabled at the user level to prevent bad behaviors, such as incorrect answer suggestions to questionnaire responses.
Example: You might disable AutoFill learning temporarily for new users until they become familiar with Qvidian. To disable AutoFill automatic learning, which is enabled by default, deselect the “Add search term to the library content when AutoFill suggestion is accepted and AutoFill is completed” setting found in your desired user's Application Permissions.
The AutoFill panel
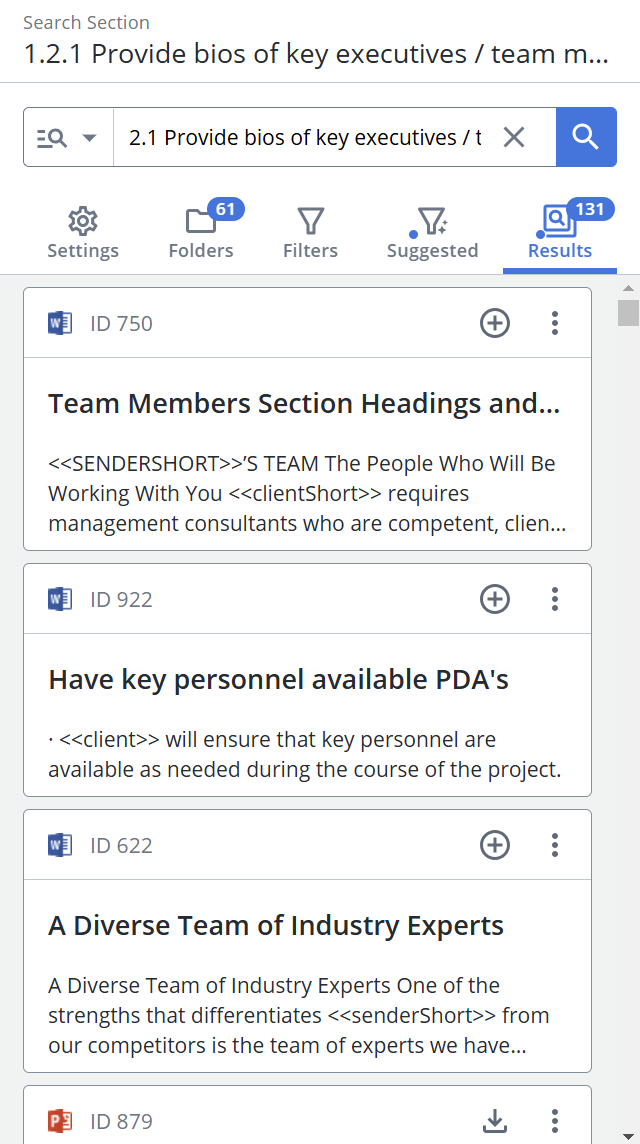
When you run AutoFill or click on a slice with pending suggestions, as indicated by the purple border on the left side of the slice or cell, the AutoFill panel displays in the left side panel. The panel lists the top five suggested content records along with the record title, an icon indicating the file type, content ID number, a file path with a link to the record in the library, an excerpt of the content, the number of RFPs it's included in, the number of users who have used it in an RFP, where the search terms were found, and the record's expiration date.
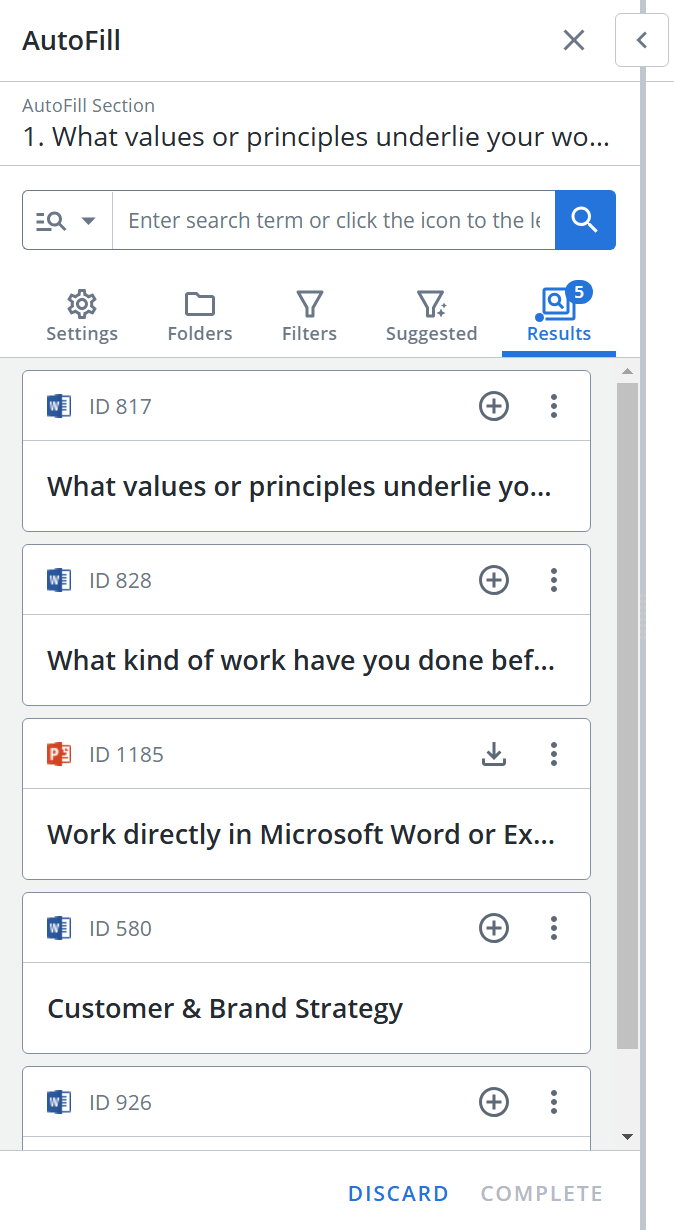
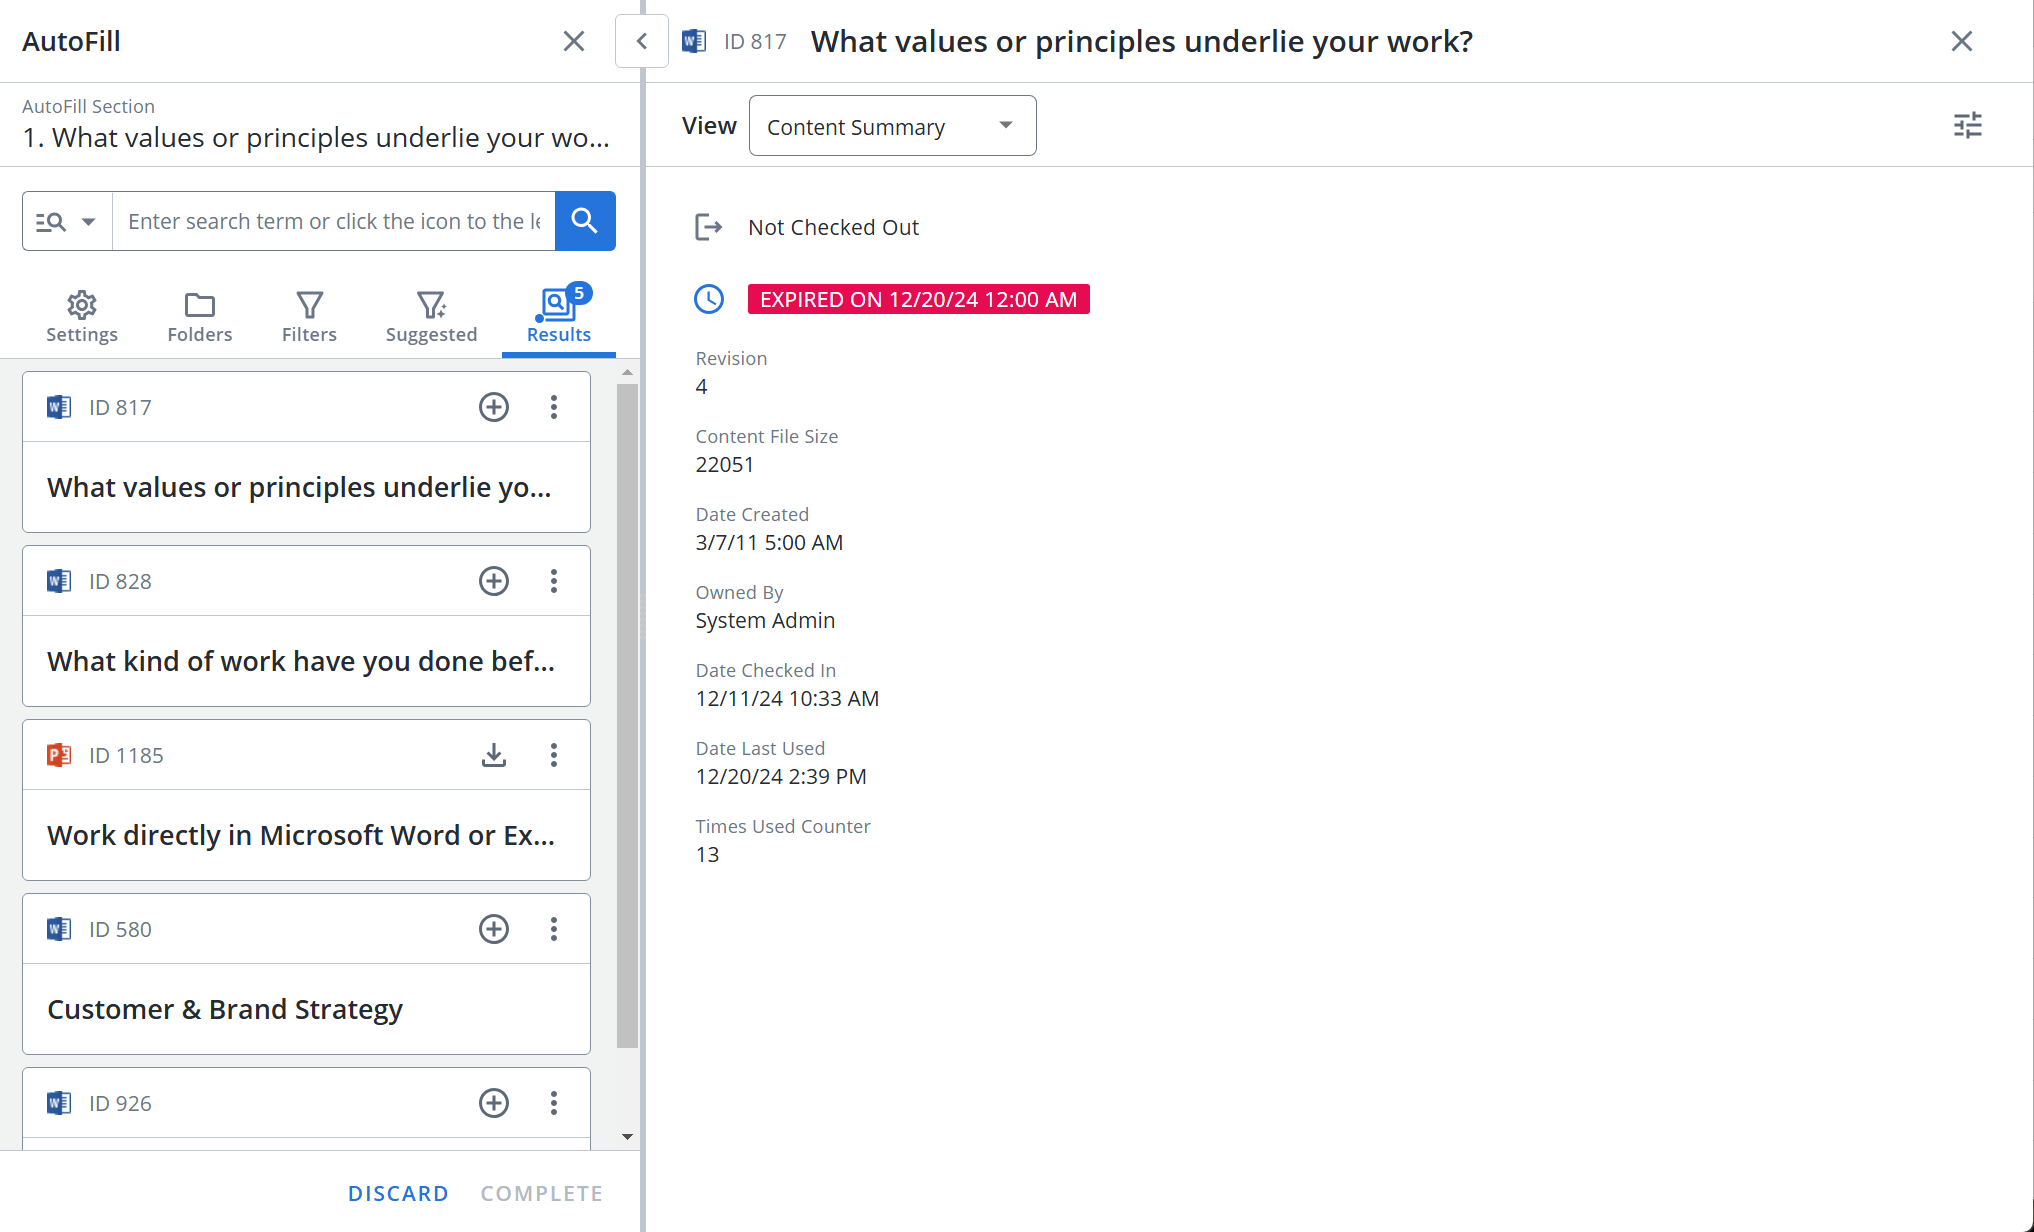
Examples of an AutoFill panel (left), AutoFill panel with a preview expanded (middle), and AutoFill panel with expired content (right).
- To open the AutoFill panel, click the AutoFill Options
 icon at the top of the page and select the Run AutoFill option. The AutoFill panel will open, where you can view information about a suggested content record and its usage.
Settings
- Click the Settings tab of the AutoFill panel to configure your settings.
- Choose a Language to search, if you store content in multiple languages.
- Select the content record properties to run the search against:
- Title: Title of the content record.
- Keywords: Keywords are words or phrases manually assigned to content records to categorize them.
- Search terms: Terms are automatically added to content records to improve search results.
- Content: The text in the content.
Running AutoFill
From the AutoFill panel, you can directly search the Qvidian library by either selecting slices, cells, or manually typing in custom search terms. Once the Run AutoFill option is selected, the search results will appear in the Results tab of the Search panel. Once the first AutoFill question has been answered, you will be directed to those answer(s) and review the results while the other AutoFill questions are still being answered.
Note: You can run AutoFill on Microsoft Word and Excel files. For more information, see Run AutoFill on Microsoft Word and Run AutoFill on Microsoft Excel
- Click the Folders tab to narrow your search results.
Note: AutoFill's Folders tab uses Search Mode functionality. For more information see, Search Mode Folders.
Tip: To search custom terms, enter text into the search bar and clicking the Search ![]() button or pressing Enter. To clear the Search box, click the X in the field.
button or pressing Enter. To clear the Search box, click the X in the field.
- Click the Filters tab to narrow your search results.
Note: AutoFill's Filters tab uses Search Mode functionality, including suggested filters. For more information see, Search Mode Filters.
Tip: To search custom terms, enter text into the search bar and clicking the Search ![]() button or pressing Enter. To clear the Search box, click the X in the field.
button or pressing Enter. To clear the Search box, click the X in the field.
Results tab & More Actions
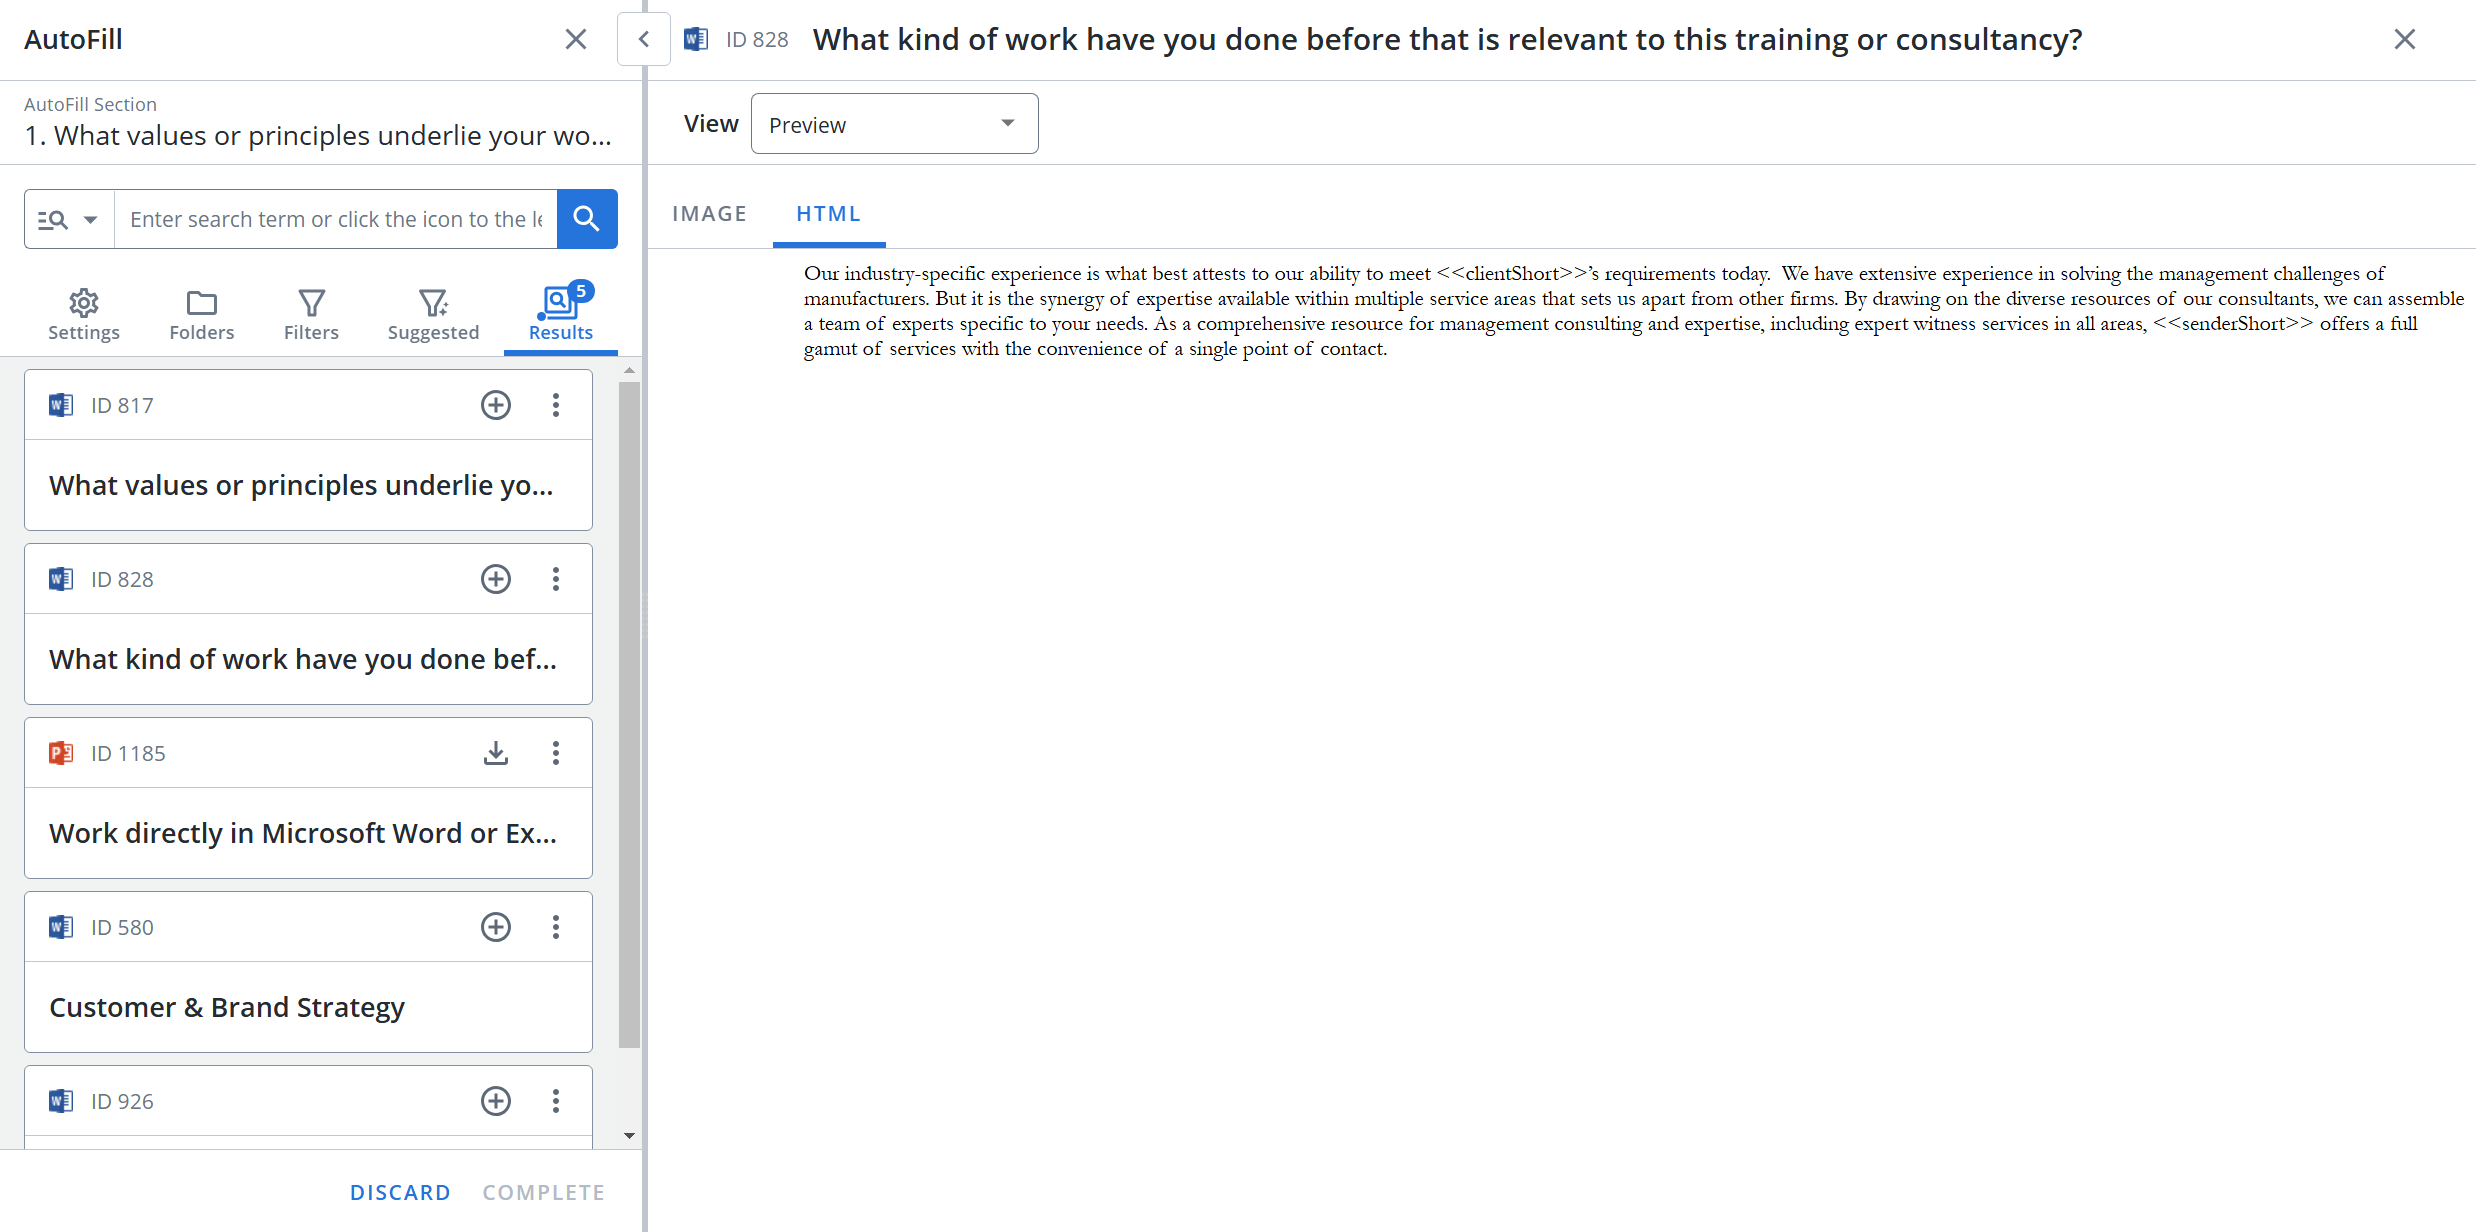
Once AutoFill is run, in addition to allowing you to insert an answer, the Results tab is where you can: preview and download content records, view content summaries and feedback, and configure how you want your results to display.
This view allows you to preview the content record as an image or HTML.
- Click the More Options
 menu in one of the search results, and select Preview from the dropdown menu. The Preview view gives you the following display options:
 - Image: This displays an image of the content record.
- HTML: This displays the HTML text of the content record. This text can be copied and pasted. The HTML preview zoom slider, which defaults at 100% and is available between 50-400% zoom, can be controlled via the zoom control bar or the right/left/up/down keyboard options at 25% increments and will remember the zoom setting last used.
View an overview of the content record's status and additional details like comments, alert messages, checkout etc.
- Click the More Options menu in one of the search results, and select Content Summary from the dropdown menu.
Configure Content Summary
You can show, hide, and order fields that will be displayed in the Content Summary View.
- Click the Configure Content Summary
 icon. The "Configure Content Summary" dialog appears.
 - To filter the column list, enter text into the search box.
- Select your desired field(s) using the checkboxes or by clicking the rows and using CTRL+CLICK or SHIFT+CLICK to select multiple records. Select the Select All option from the More Options menu to enable all the columns and use the Left
 and Right
  icons to move the columns between the Available and Selected columns to determine which columns will be displayed on the grid.
 - To determine grid order: drag and drop any Selected Fields, select specific field checkboxes and use the Move to Top or Move to Bottom options from the More Options menu, or select specific column checkboxes and use the Up
 and Down
 icons to order the columns.
 - Click Restore Default to return to the default settings.
- Click Save to save the changes and close the dialog or Cancel to close without saving changes.
You can see the feedback and replies by users in a discussion thread. You can reply in a thread. You can also provide separate feedback by using the "Submit Feedback" button.
Note: For more information, see Feedback or Search Mode Results.
You can download content records from the Results tab of the AutoFill panel.
- Click the More Options menu in one of the search results, and select Download from the dropdown menu.
The search results will display all fields by default. You can configure which fields will be displayed in the Results tab of the AutoFill panel.
- Click the More Options menu in one of the search results, and select Configure Results Display from the dropdown menu.
- Select one of the following Data Field Options by clicking the corresponding Search info selection disabled
 icon:
icon: - Content text: Displays the first 3 lines of the content text.
- Library folder path: Displays where the file is located within the library folders.
- Metadata Tags: Displays relevant metadata (e.g. number of times content was used in an RFP).
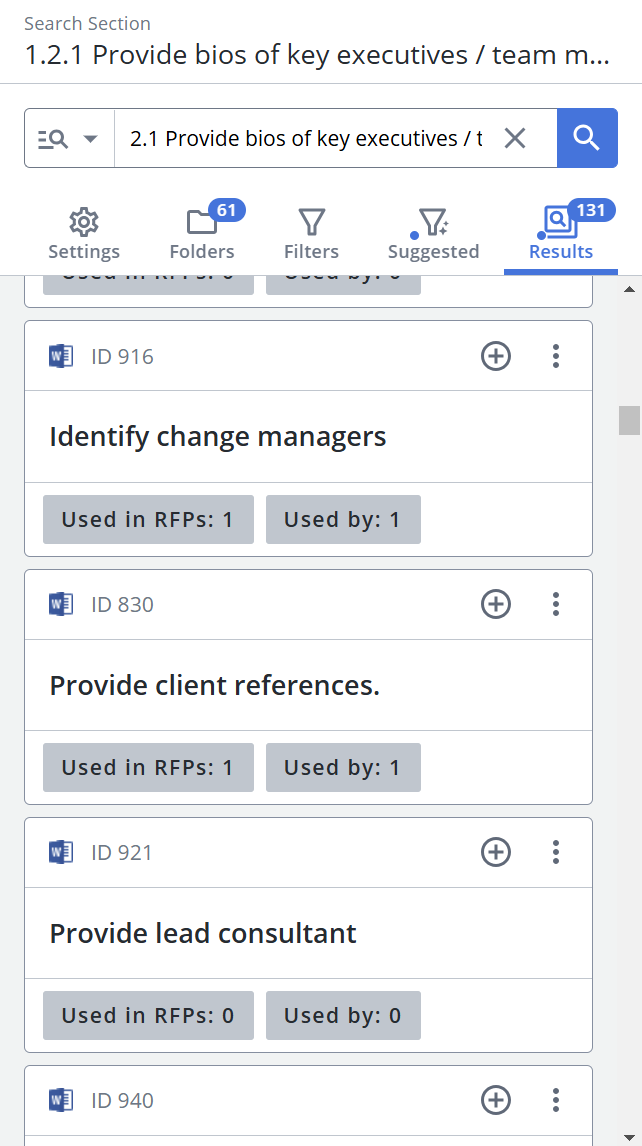
Example: The AutoFill results panel will appear differently depending on which information is selected to be displayed.

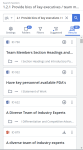
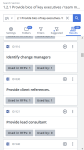
From left to right: content text enabled, library folder path enabled, & metadata tags enabled.
Note: Once a results display option has been selected, the associated icon will change from the Search info selection disabled
icon to the Search info selection enabled  icon. Any changes made will be applied to all the content record results.