In the Data Entry Screen subsection, you can enter or select values for merge codes in the document type that will replace those merge codes in the content or be used to record data. Data Entry Screens may include fields for sender and client contact information, meeting dates, and prices. The sender information that is not included in the build of a package may be used to identify who is providing the document to a customer. Depending on your project's document type, you may have more than one Data Entry Screen.
Note: In the Sections tab of the navigation panel, the Data Entry section will have a red status bar if any of the required fields are blank.
Tip: If you have set up a Salesforce connection in your CRM Settings, you can import some client and sender information stored in Salesforce into your Data Entry Screen(s). Salesforce customers can refresh their imported SFDC data from within their Upland Qvidian instance. Click the Retrieve Data button, located at the top of the project's Data Entry screen, to repopulate any edited fields with the original SFDC data. This also allows you to test new merge codes in Upland Qvidian without being required to access your Salesforce instance in order to test them out.
The examples of Data Entry Screens below show the various ways they can be structured for use. Click on the images to expand.
Sender Information
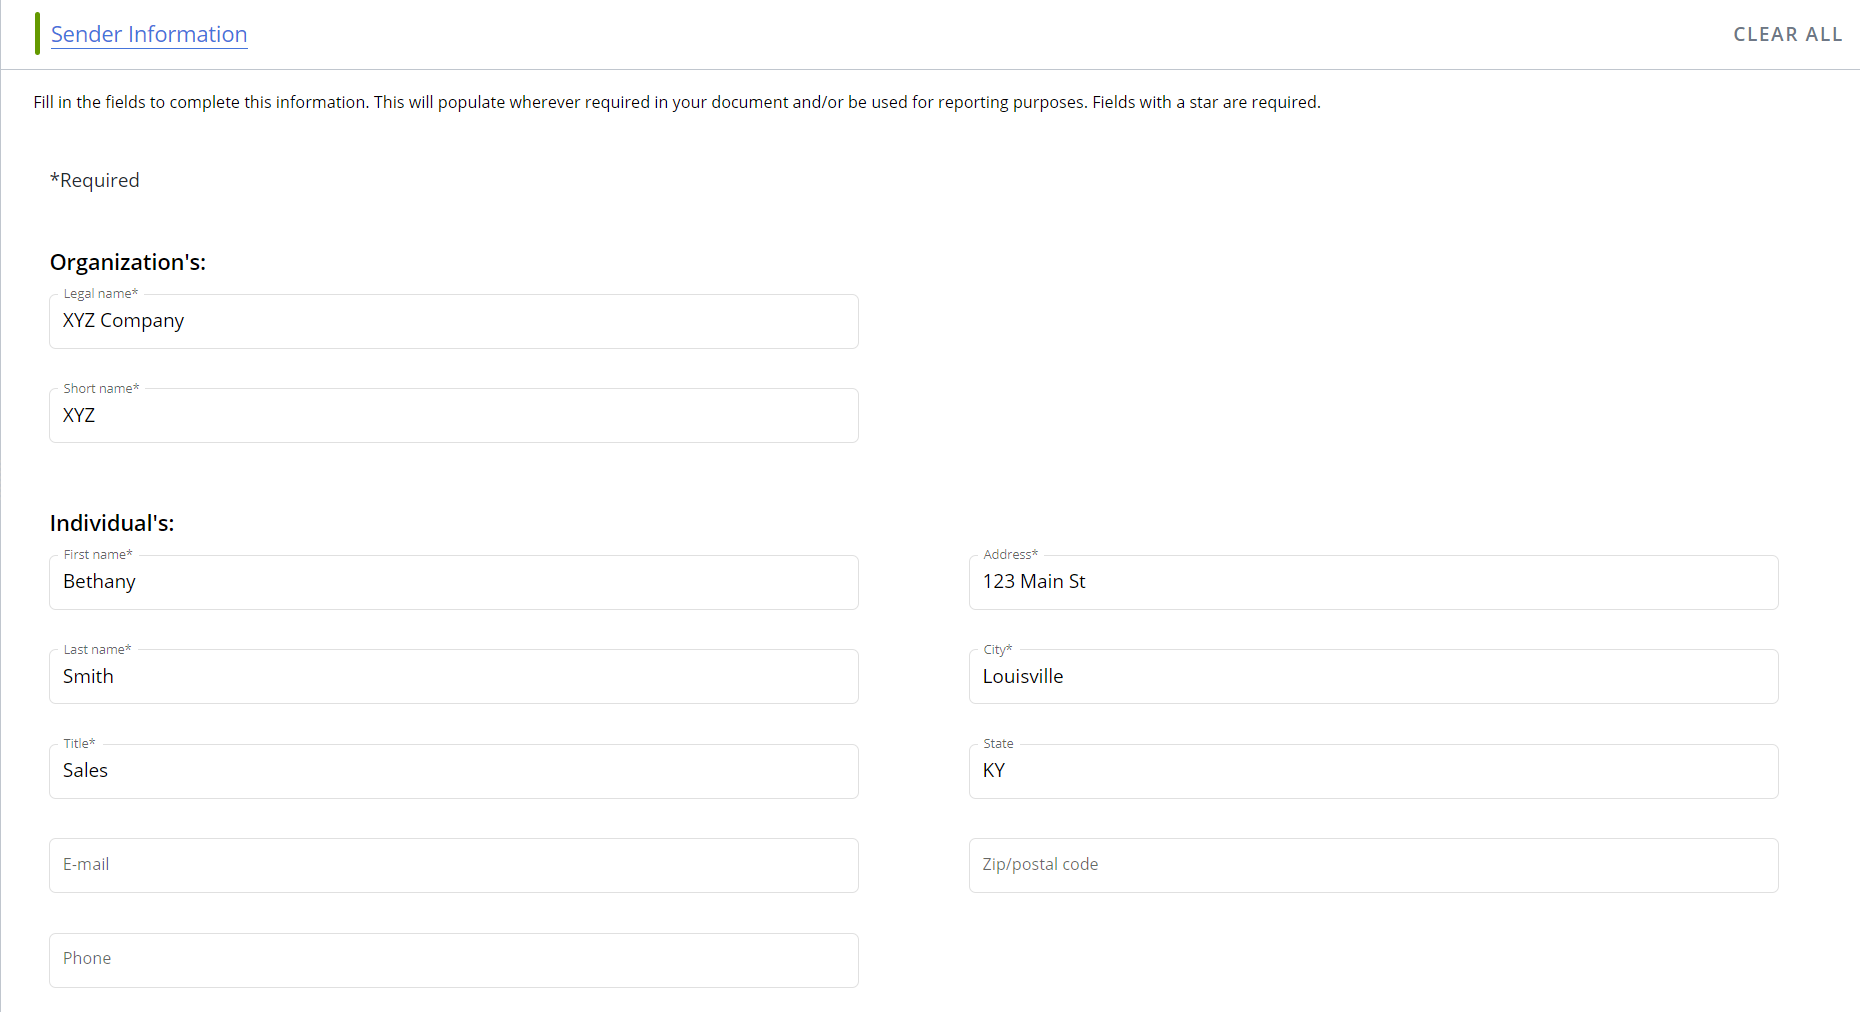
Example of a two column Data Entry Screen for sender information that includes text fields.
Client Information

Example of a two-column Data Entry Screen for client information that includes text fields.
Additional Information
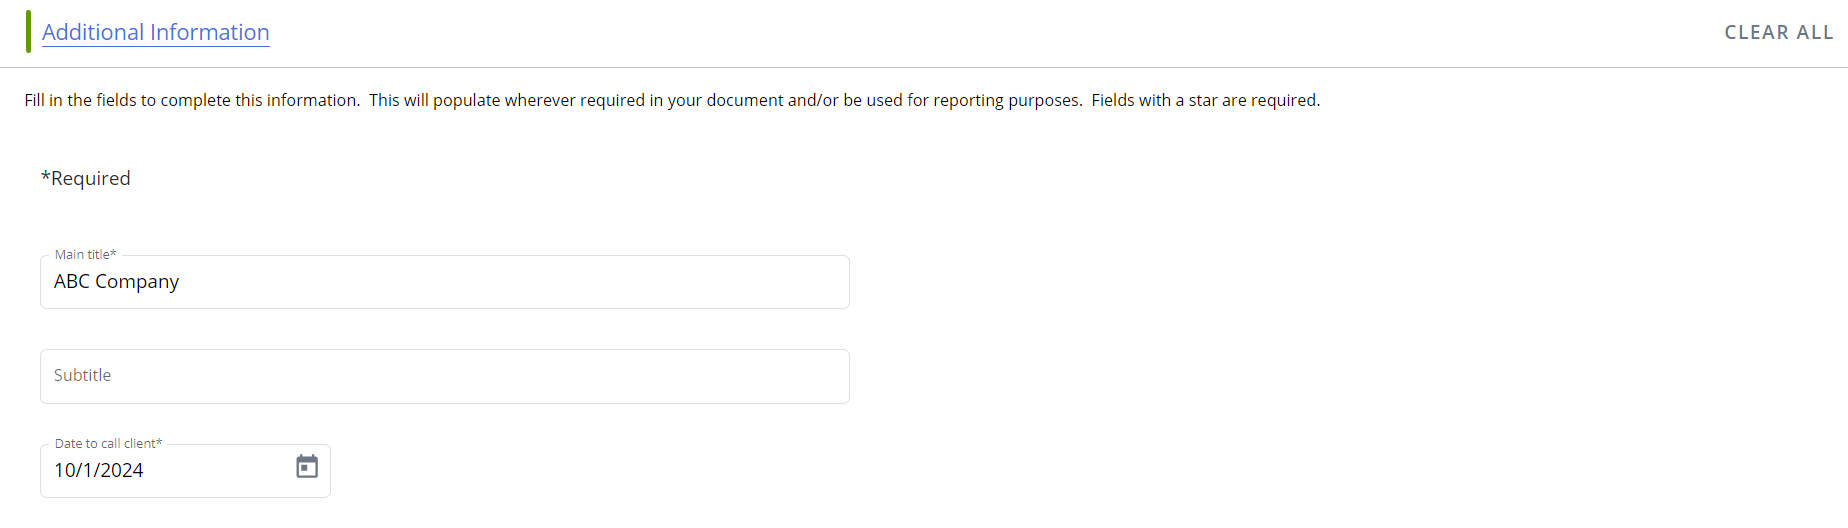
Example of a single column Data Entry Screen for additional information that includes text and fields.
Complete the Data Entry Screen
- In the navigation panel, click the Data Entry Screen subsection name to display all the screens in the subsection or Data Entry screen name to open an individual screen. The Data Entry Screen displays in the workspace.
- Enter the company's Legal Name.
-
Enter or select information for the fields as described below. Fields that have been designated by the document type architect as required are marked with a red asterisk. However, you can build a package without completing these fields.
- Text: Enter alphanumeric characters or select an option from the drop-down menu.
- Date: Enter a date or click the Calender
 icon to select one from a calendar.
 - Numeric: Enter numbers, including decimal points and plus and minus signs, or use the arrows to scroll up or down.
- Currency: Enter a number with up to two decimal places, or use the arrows to scroll up or down. A currency symbol is added in front of the number. The symbol is dependent on your international settings.
- Graphic: Users can select an image from the library or their computer.
- To select an image from the library, click the Add Graphic
 icon and select Library from the menu.
 - To upload an image from your computer, click the Add Graphic icon and select Upload from the menu
- To remove an image, click the Delete
 icon.
icon.
- To select an image from the library, click the Add Graphic
Note: Data Entry Screens are automatically saved.
Note: You can set the tab order for multi-column data entry layouts using the "DataEntryTabMode" Global settings. A value of “0” (default behavior) will move vertically through column 1, then column 2 when the “tab” key is pressed. A value of 1 will move horizontally left to right. Any fields containing a button or dropdown menu (e.g. fields requiring the user to perform additional clicks or actions in order to be completed such as the "Graphic" field) will be skipped when the “Tab” key is pressed.
Note: To import information from Salesforce, click Retrieve Data. If you more than one record is found, the CRM Results display. In the row of the contact whose information you want to retrieve, click OK. The contact information is imported into the appropriate fields.
Clear the Data Entry Screen
- To clear all the fields on a Data Entry Screen, click the Clear All button.
Delegate ownership of components
Project components that have work to complete, such as Selection Content, Structured Content, Data Entry, Agenda Slides, Static Content (with editing enabled), File List, and RFP sections can be assigned to project participants. Once assigned to a component, owners can edit content, update data, and manage workflows.
To assign ownership of any project components do one of the following:
- Drag and drop project participants from the Participants tab into the desired title bar.
- Click the Add Participants
 icon and select the participants from the "Add Participants to Section" dialog.
Note: When ownership of a component is assigned, ownership of any child subsections or subsections that share the same data is also applied.
Caution: Users cannot be assigned to subsections that do not have any work to complete, such as Dynamic Slides. Static Content sections with the ability to edit content would allow assignments for users with the “Allow editing of Static/Selection Content when enabled” permission, but static content sections without the ability edit content would not.