Work with SME jobs
To work with Individual or Composite Files, content managers can go to My Work > Jobs, either double-click the desired row or hover over the desired review job, click  , and select View Detail. On this workspace, you can work with one or all selected content records that an SME returned upon performing edits.
Non-licensed SMEs access their jobs by clicking an emailed link. They are directed to the SME Edit page, which allows them to Download the file for review and edit the records. The SME uploads the edited content record(s) using Upload and then returns the file(s) to the requester using Return File or Return all Files . If the content manager gives "Allow Property Editing" permissions, the SME can also edit the content's properties from here.
Note: The SendToSME global setting must be enabled to display the "Send to SME" option in the Actions menu.
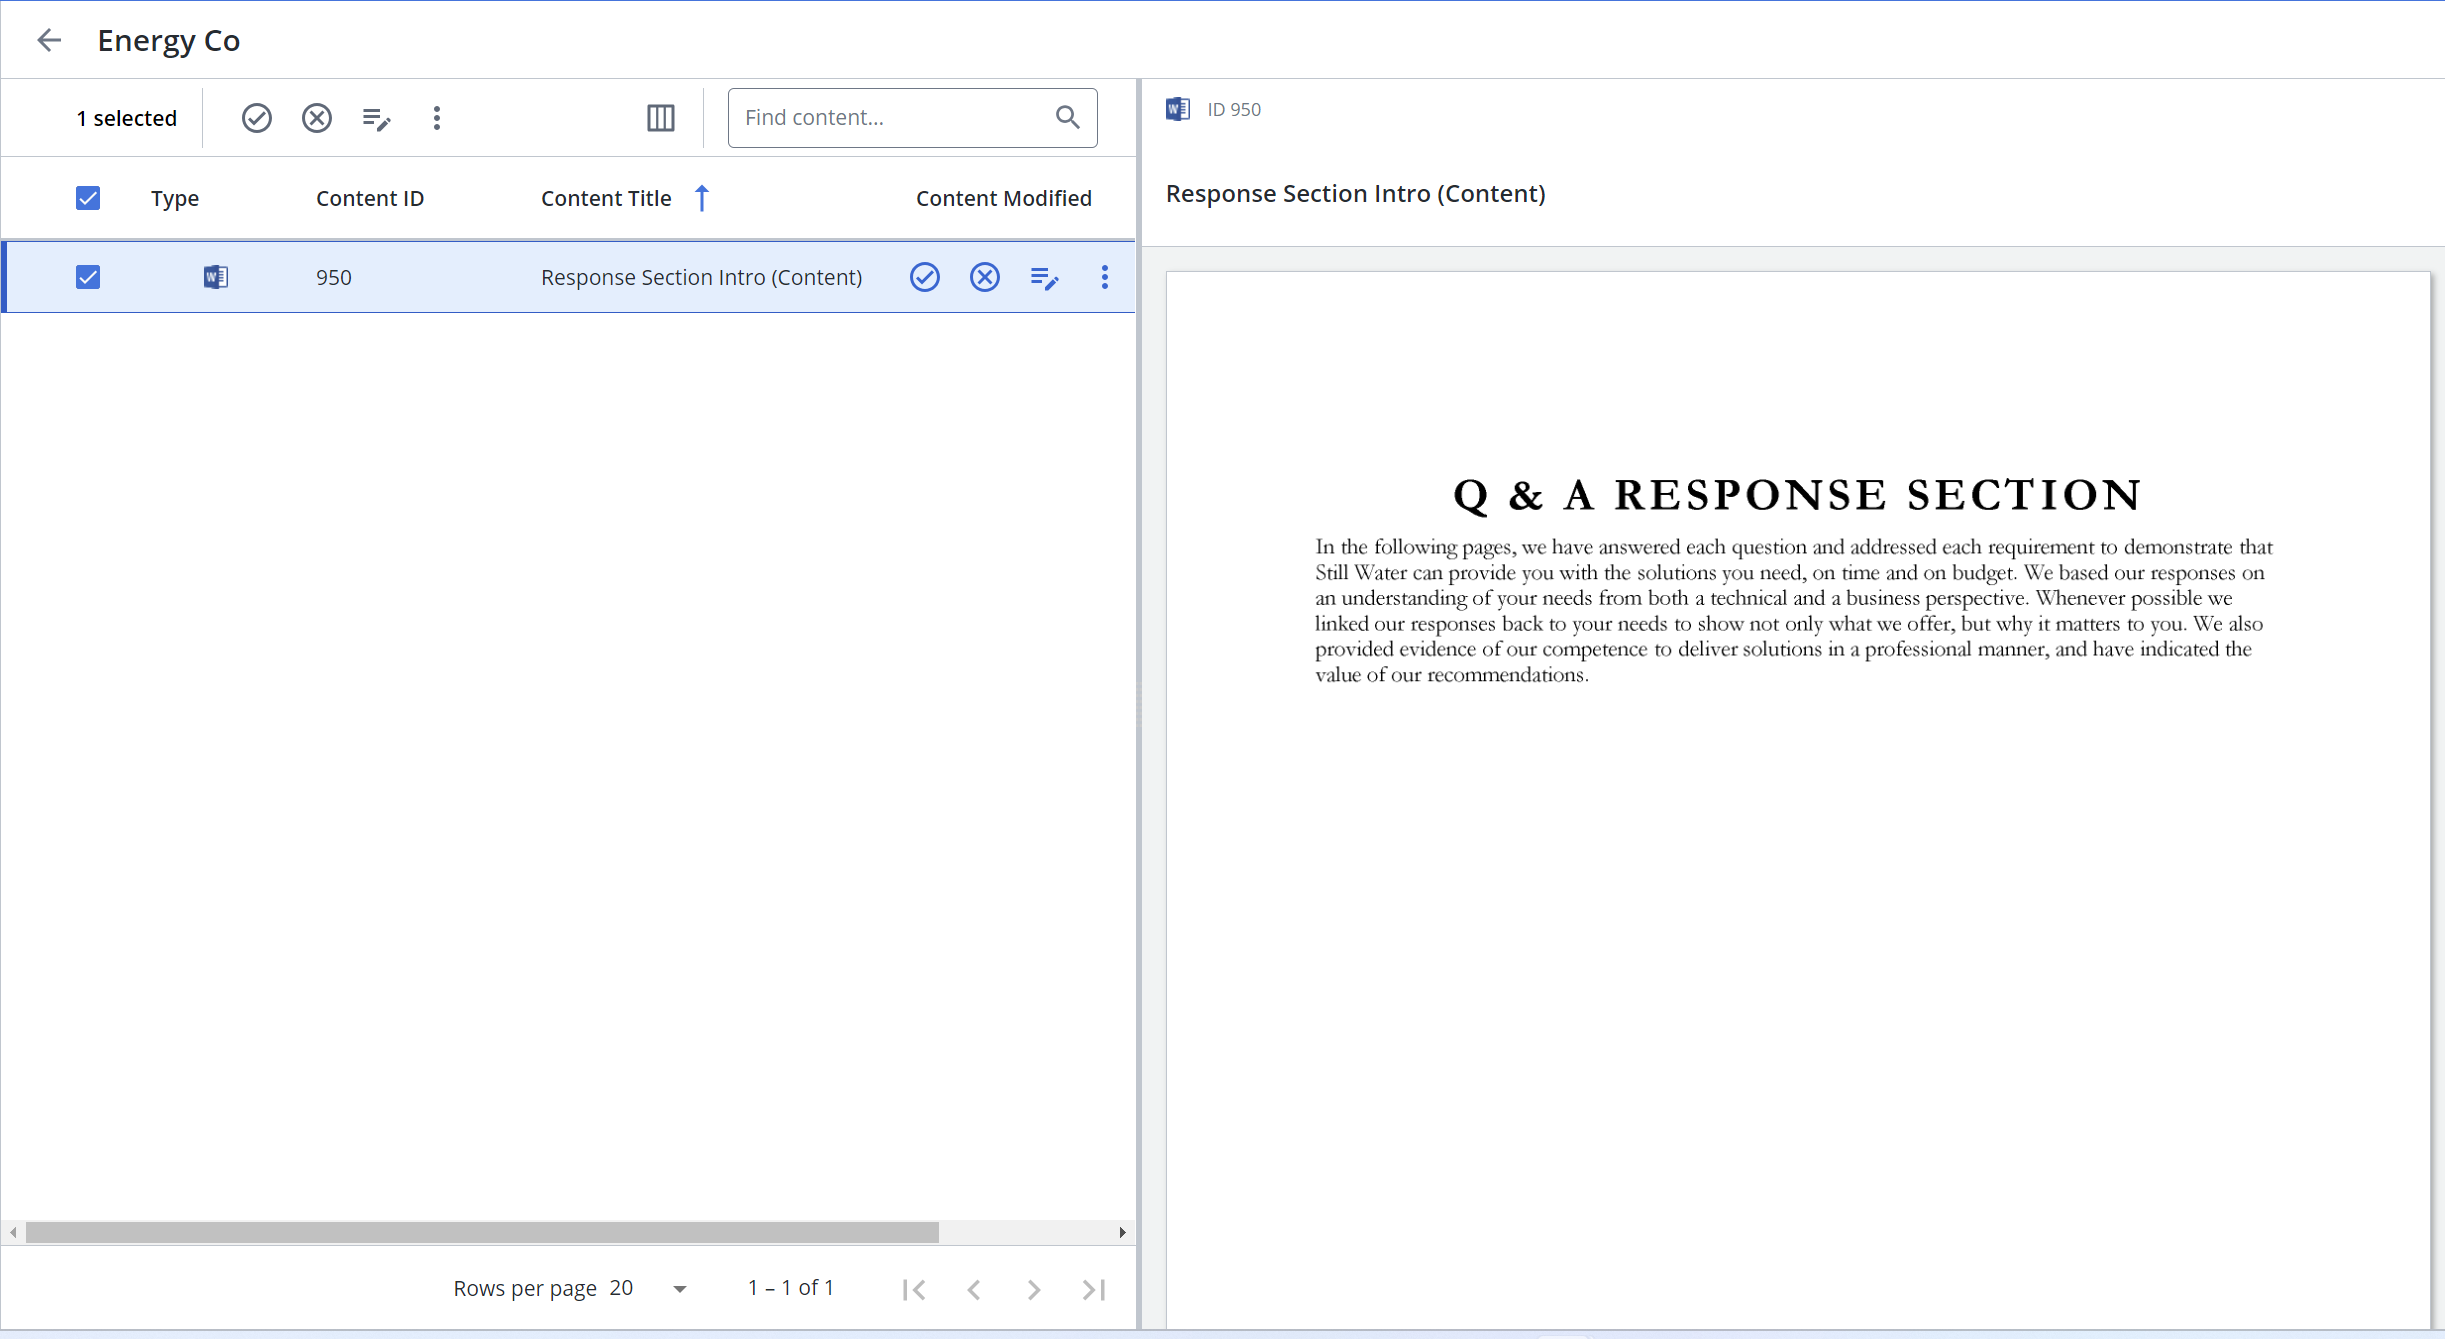
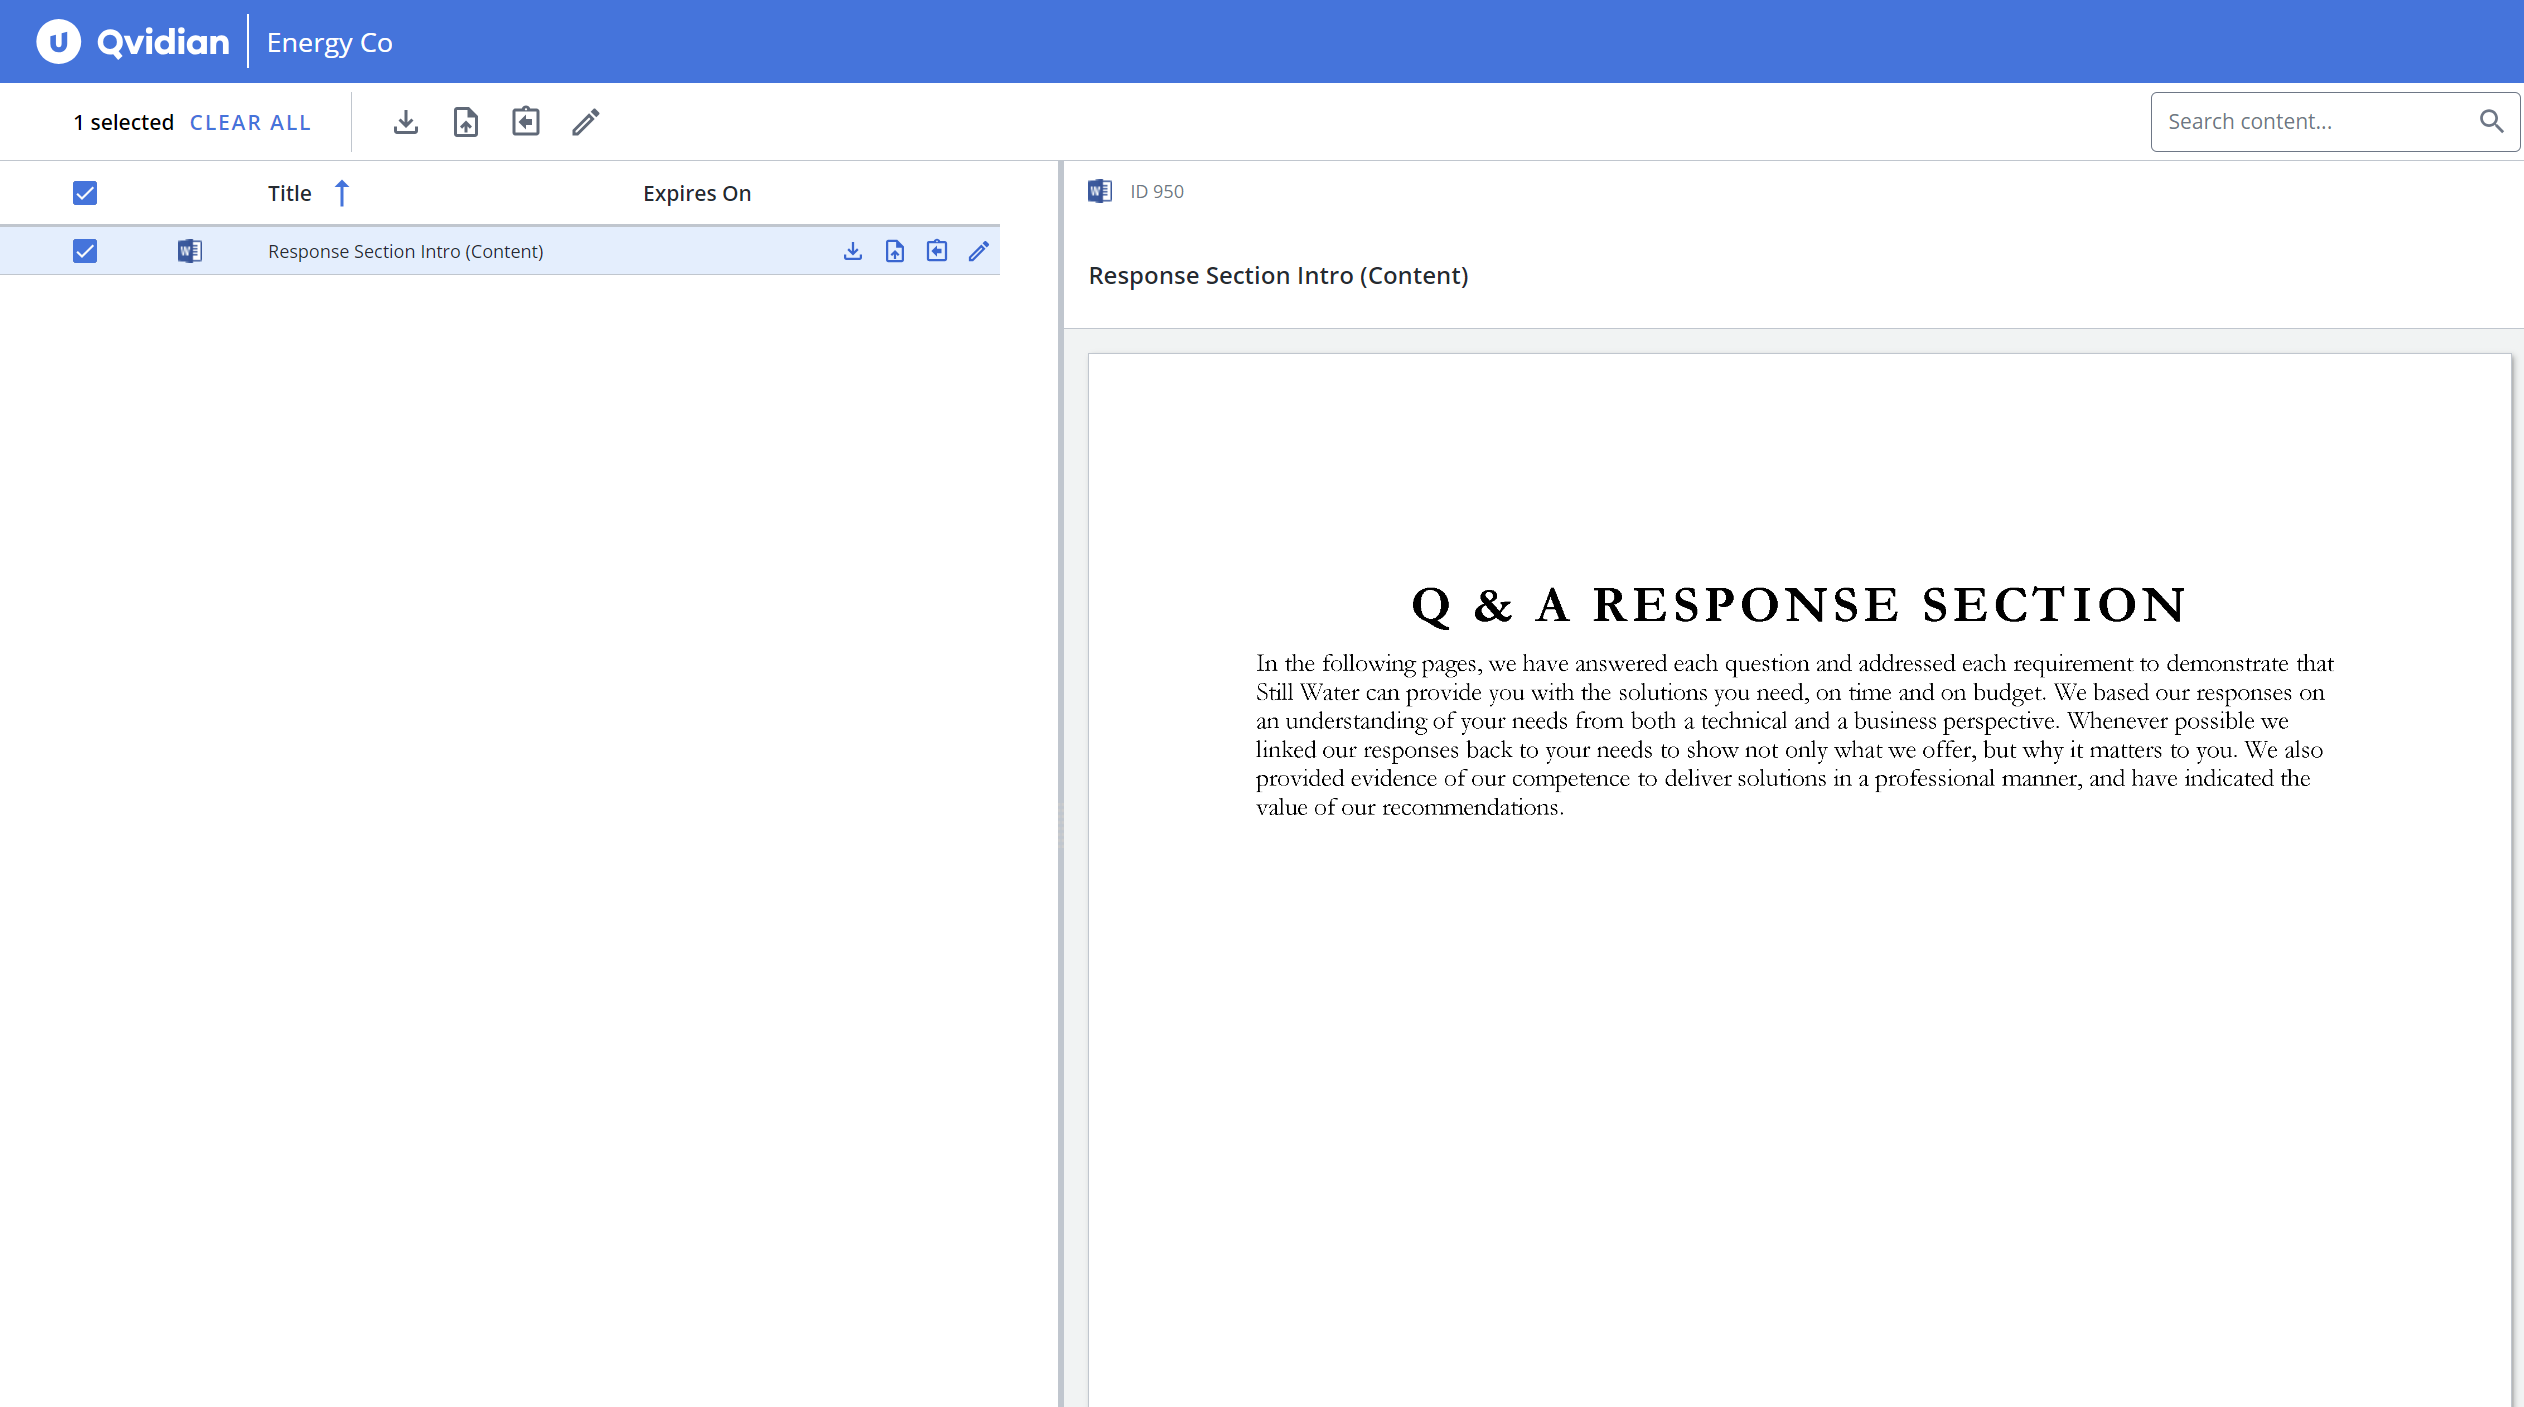
Example of "Energy Co" SME Job from content manager's view (left) and SME's view (right)
Open a job
To open an individual job and work with its content records:
- Double-click the desired row in the SME Jobs grid.
- Hover over the desired review job, click the More Options menu, and select View Detail.
Tip: This is most useful when individual content records are returned for review from an SME and you want to work on them one at a time.
Non-licensed SMEs access their jobs by clicking an emailed link.
Preview
To preview a content record as an image, click the desired row to display the record in the Preview image panel. You can use the scroll bars to view all of the content.
Download
- To download a content record: Hover over the desired row, click the More Options menu, and select Download.
- To download multiple content records: Select the desired row checkboxes, click the More Options
 menu at the top of the page, and select Download.
- To download a content record: Hover over the desired row and click the Download
 icon.
icon. - To download multiple content records: Select the desired row checkboxes and click the Download
 icon at the top of the page.
Edit Content
To edit one or more content records in a job, all records for the job must be completed. When performing an edit on multiple content records in a job, the records must be either all one type, such as Microsoft Word, PowerPoint, or Excel. When performing an edit on a composite job, you will be working on multiple Word documents that have been combined for bulk editing.
- Hover over the desired content record and click the Edit Content
 icon.
icon. - Select one of the following options:
- Edit in Word
- Edit in Office for the Web
- Download to Edit
- Cancel Checkout
- Upload Revision
- Edit the content record as desired.
Once directed to the SME Edit page:
- To download the content record(s): click the Download icon in the row or the Download icon at the top of the page. Review and edit the record(s) as desired.
- To upload the edited content record(s): click the Upload
 icon in the row or the Upload
  icon at the top of the page.
 - To return the content record(s) to the requester: click the Return
 icon in the row or the Return
  icon at the top of the page.
Edit Properties
Note: The SME can also edit the content's properties if the content manager gives "Allow Property Editing" permissions.
- Select the record:
- Hover over the desired review job, click the More Options menu, and select Edit Properties.
- Select the checkbox of the desired review job, click the More Options menu at the top of the page, and select Edit Properties.
- Hover over the desired review job, click the More Options
- On the Details tab:
- Enter the Title that will display for the record.
- Click the Edit
 icon to edit the Expiration Date. You can select a specific date, number of days from today's date, or never.
 - Enter any Comments to help you further identify the content record.
- Enter Contact Info for the content record.
- (Optional) Select the Alert Enabled checkbox to enable alerts which will display when users perform one of the actions on the record: Save to Clipboard, Accept Answer, Library Reference, Preview, Generate URL, Copy, or Download. It will also display when dragging and dropping from the library to a slice in a project RFP or automatically or manually inserting the record into an RFP using AutoFill.
- (Optional) If you selected the Alert Enabled checkbox, enter the text you would like the alert to display in the Alert Message field. Text, including hyperlinks, can be copied and pasted from this field.
Tip: When there is important information that you want all owners of the content records to see when performing certain functions (Save to Clipboard, Accept Answer, Library Reference, Preview, Generate URL, Copy or Download) consider using an Alert instead of a Comment.
Tip: Alerts are an excellent way of displaying information that is critical to consider when including a given content record in a document or presentation. When browsing or searching the library, users will see the alert status icon turn blue for content records with an enabled Alert. Anything you enter here will be able to be found in advanced search in the library.
- On the Custom Metadata tab, edit fields as desired.
Example: Enter the Compliance Review Date in mm/dd/yyyy format, or click
 to select the date when you want a compliance review performed for the content.
Note: If you want additional brief information to display on all content records, apply Custom Metadata fields. For more information, see Custom metadata.
- When you are finished, click Save.
Approve
You can approve the content records that have been completed by SMEs. Once these records are approved, they are promoted back to their library folders along with any property changes that may have been applied. Once a content record is approved, it is removed from the grid.
- To approve a single review job: Hover over the desired job and click the Approve
 icon.
icon. - To approve multiple review jobs: Select the desired job checkboxes and click the Approve
 icon at the top of the page.
 - To approve all review jobs: Select the checkbox at the top of the grid column and click the Approve icon at the top of the page.
Reject
You can reject selected content records. Once rejected, they are removed from the grid.
- To reject a single review job: Hover over the desired job and click the Reject
 icon.
icon. - To reject multiple review jobs: Select the desired job checkboxes and click the Reject
 icon at the top of the page.
 - To reject all review jobs: Select the checkbox at the top of the grid column and click the Reject icon at the top of the page.