Adding & Editing Collateral
Users assigned the RO standard marketing role can upload content assets directly to the Marketing Library using RO Innovation’s modern Responsive User Experience (RUX). Content assets in the RO Platform require no reference program approval prior to asset use (e.g. logos, case studies, customer videos, etc.) and can be accessed at any time through an Asset search.
Customer Assets are tied to specific customers.
- Select New Collateral or Asset from the
 header menu. The "New Collateral" dialog will appear.
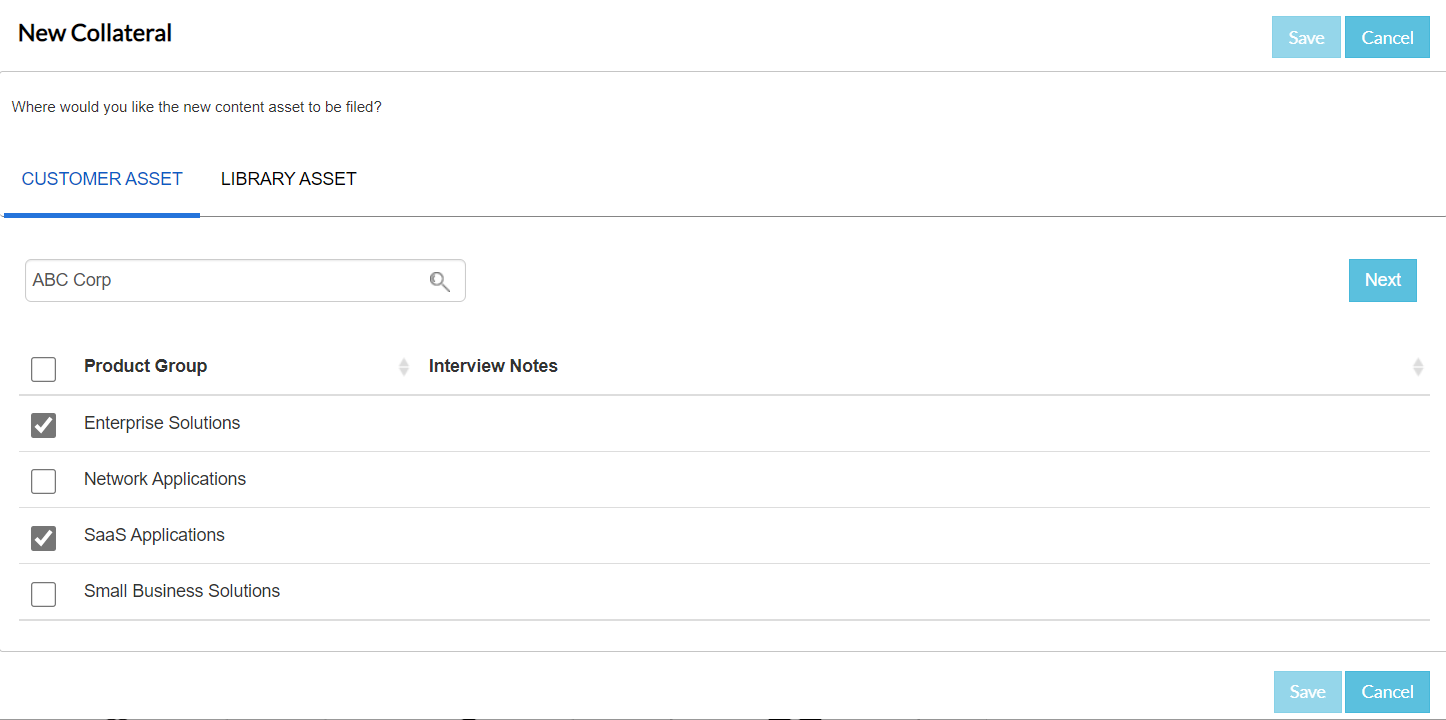
 - Select the Customer Asset tab.
- Locate the customer account you want to add assets to by entering 3 or more characters in the Search bar, results will auto-populate directly below. Select the desired customer.
-
Once you've located the desired customer, choose the product groups that your asset will be associated with by selecting the associated Product Group checkbox.
- Click Next.
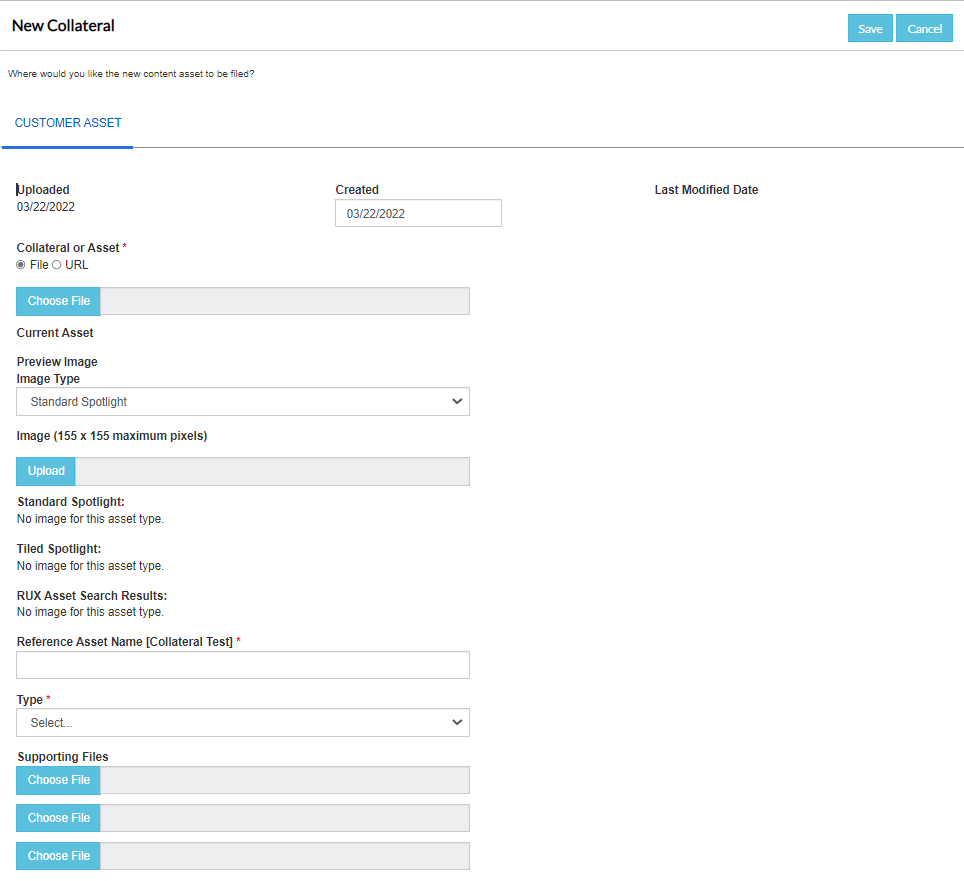
- Add your Customer Asset details. Fields marked with an asterisk are required.
- Asset: Add content assets by choosing to upload a file or entering a document URL.
- Asset Name: This is the name of the asset you are uploading.
- Asset Type: This is the type of asset you are uploading, such as a case study, customer video, etc.
- Description: This will display on a Spotlight when the asset is selected and within the Description section of the Asset search results screen.
- Expiration: Set an expiration date if you want the asset to expire and not be available for use after a certain time period.
- Status: Set this field to Active if the asset should be available in search. Set this field to Inactive if the asset is expired.
- Internal Only: Select Yes if this asset should only be available internally.

- Click Save.
Library Assets are not tied to specific customers.
- Select New Collateral or Asset from the header menu. The "New Collateral" dialog will appear.
- Select the Library Asset tab.
- Add your Library Asset details. Fields marked with an asterisk are required.
- Asset: Add content assets by choosing to upload a file or entering a document URL.
- Asset Name: This is the name of the asset you are uploading.
- Asset Type: This is the type of asset you are uploading, such as a case study, customer video, etc.
- Description: This will display on a Spotlight when the asset is selected and within the Description section of the Asset search results screen.
- Expiration: Set an expiration date if you want the asset to expire and not be available for use after a certain time period.
- Status: Set this field to Active if the asset should be available in search. Set this field to Inactive if the asset is expired.
- Internal Only: Select Yes if this asset should only be available internally.
- Customer: Select a customer search tag. This applies a search tag to your new asset; it does NOT load the asset into the customer record.

- Click Save.

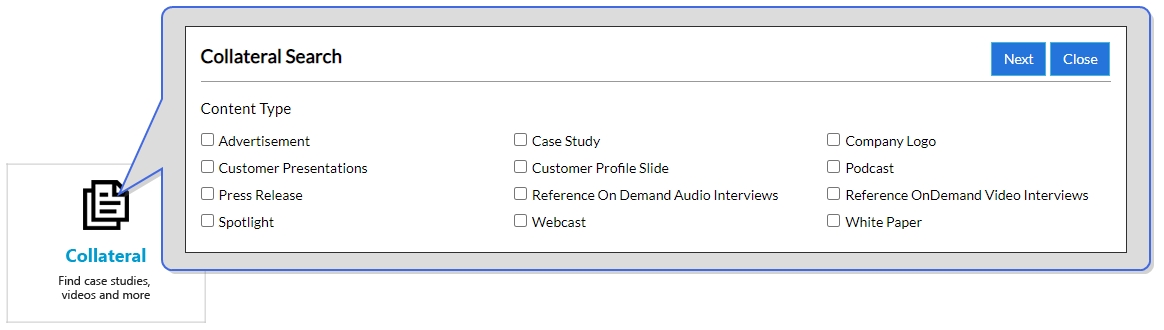
- Click the Collateral Tile on the RUX Tiles. The Collateral Search dialog will appear.
- Select the exact assets you are looking for using the Content Type and Product Group checkboxes.
- Click Search. You will be directed to the Search Results page.
- (Optional) Sort and filter the Search Results page to locate your desired collateral. For more information on displaying search results, see Searching .
- Click
 icon to edit the collateral.
 - Click Save.