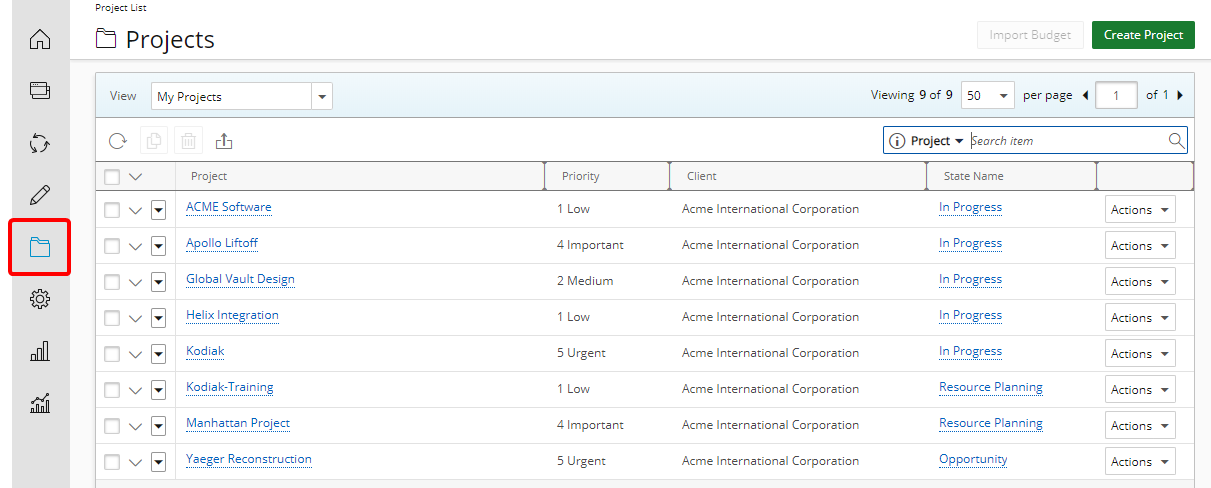
This article covers how to add columns to a View on the Project List page.
Version Note:
- This feature is available as of Tenrox 2018 R1.
- Available as of Tenrox 2019 R1 SP1: UI/UX improvements on the Column selection dialog box. Grab icons, have been added to the left of the Available/Selected Columns field names to indicate that the fields can be moved from the Available to Selected Columns and vice versa by dragging and then dropping the options in their new columns and positions.
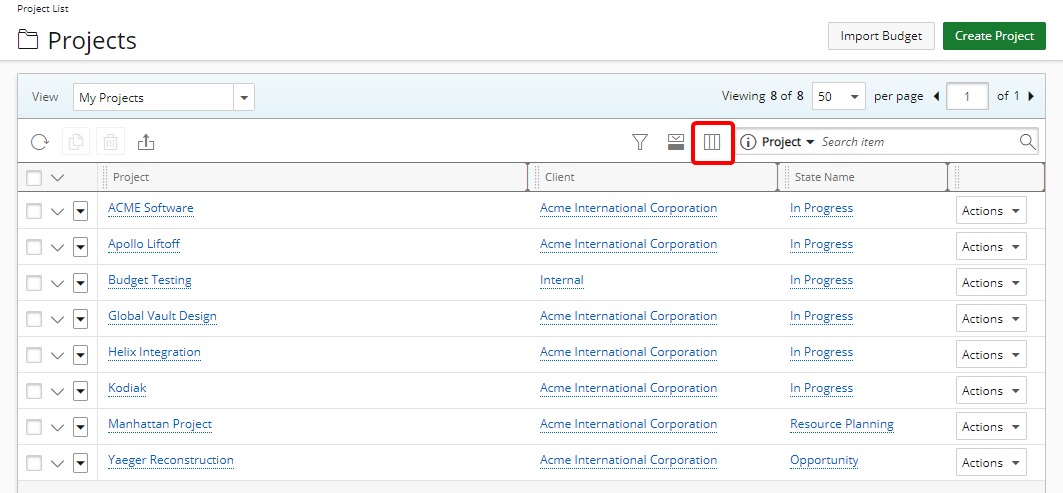
2. Click Column Selection
- Click Column Selection icon.
3. Choose the information to display
There are two ways add columns and each are explained in detail below:
- Adding columns by using the add button.
- Adding columns by dragging and dropping the columns in their new positions.
Version Note: Available as of Tenrox 2019 R1 SP1: UI/UX improvements on the Column selection dialog box. Grab icons, have been added to the left of the Available/Selected Columns field names to indicate that the fields can be moved from the Available to Selected Columns and vice versa by dragging and then dropping the options in their new columns and positions.
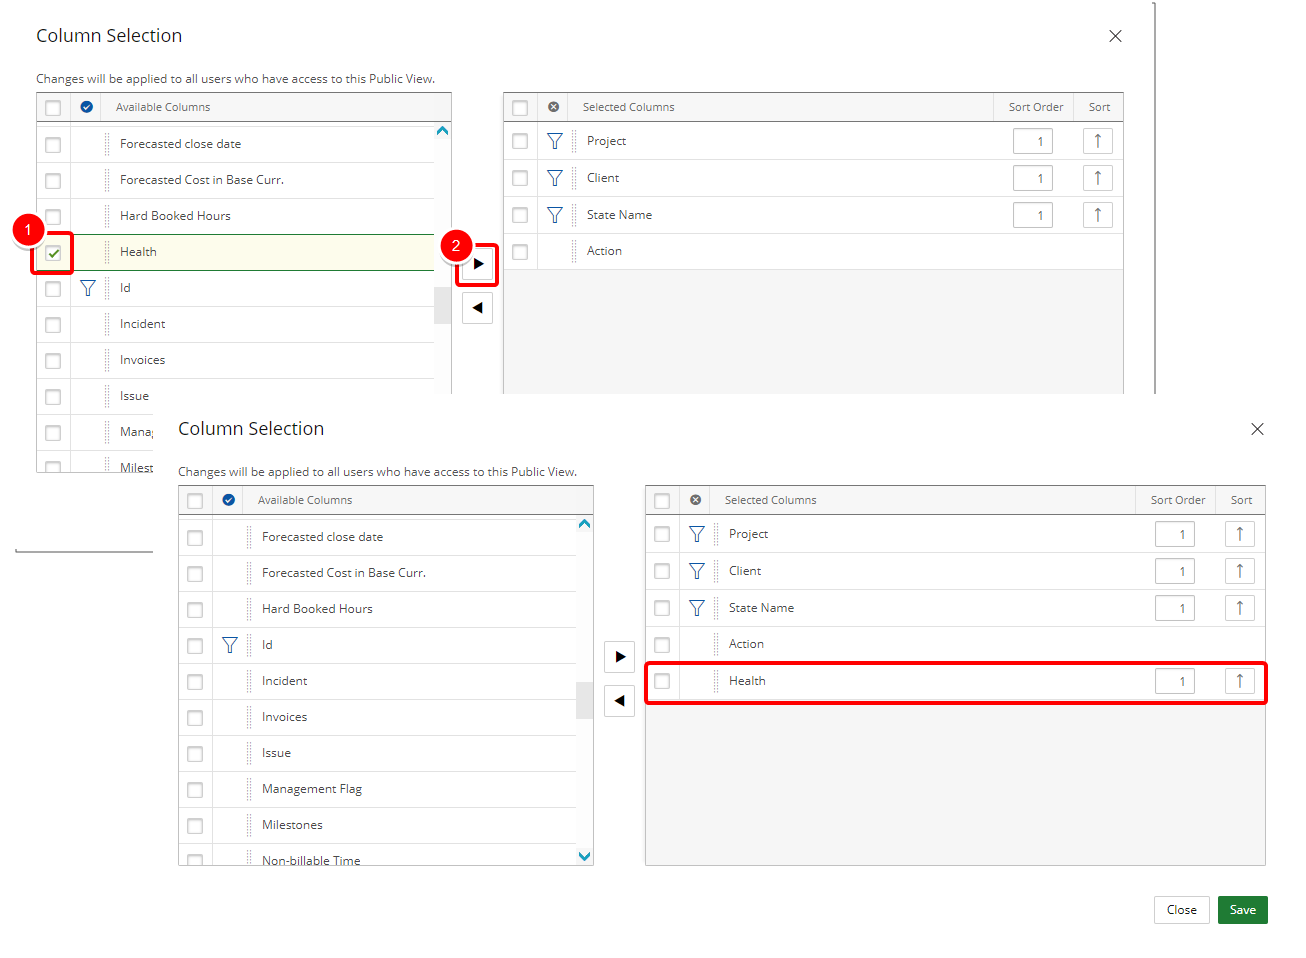
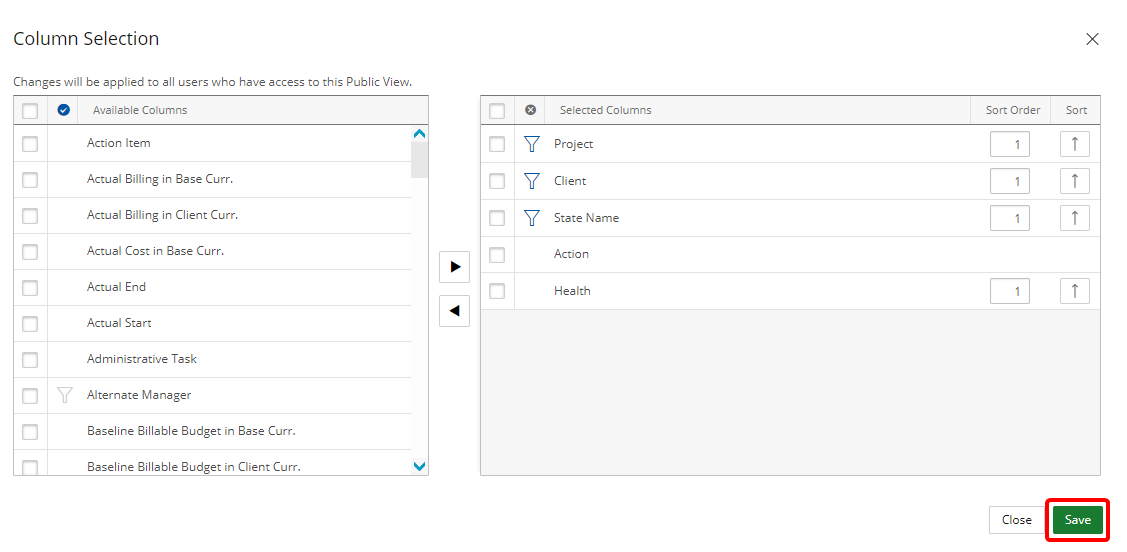
- Select the item from the Available Columns list.
- Click the arrow to add it to the Selected Columns list.
- View the added item in the Selected Columns list
Note: The funnel icon denotes items that can be used in the Search Criterion. For more information click here.
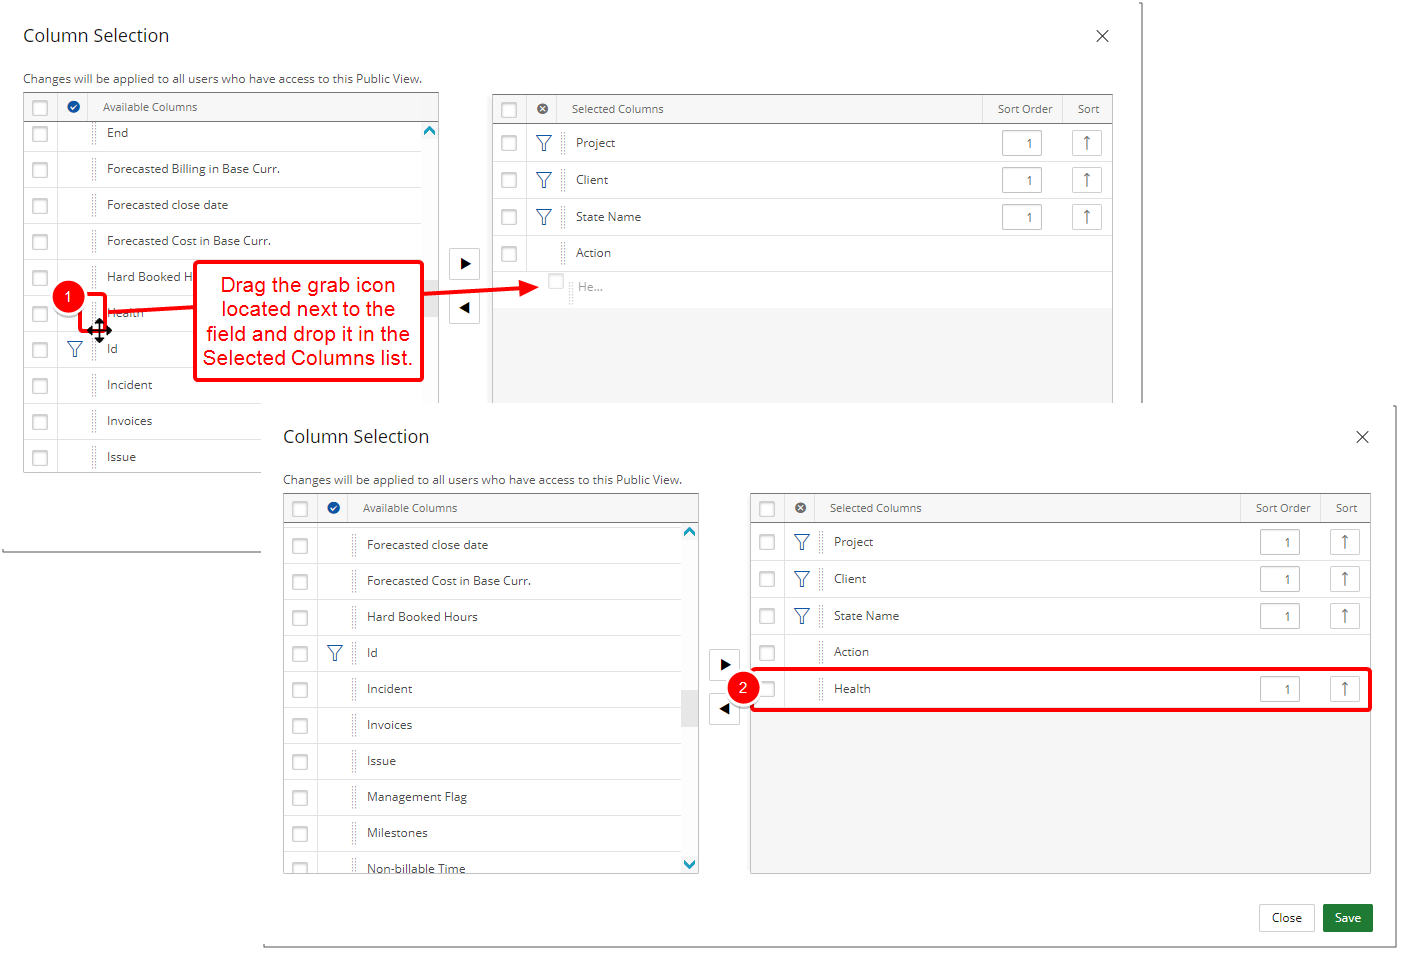
- Drag the grab icon located next to the field and drop it in the Selected Columns list.
- View the added item in the Selected Columns list
Note: The funnel icon denotes items that can be used in the Search Criterion. For more information click here.
4. Save your changes
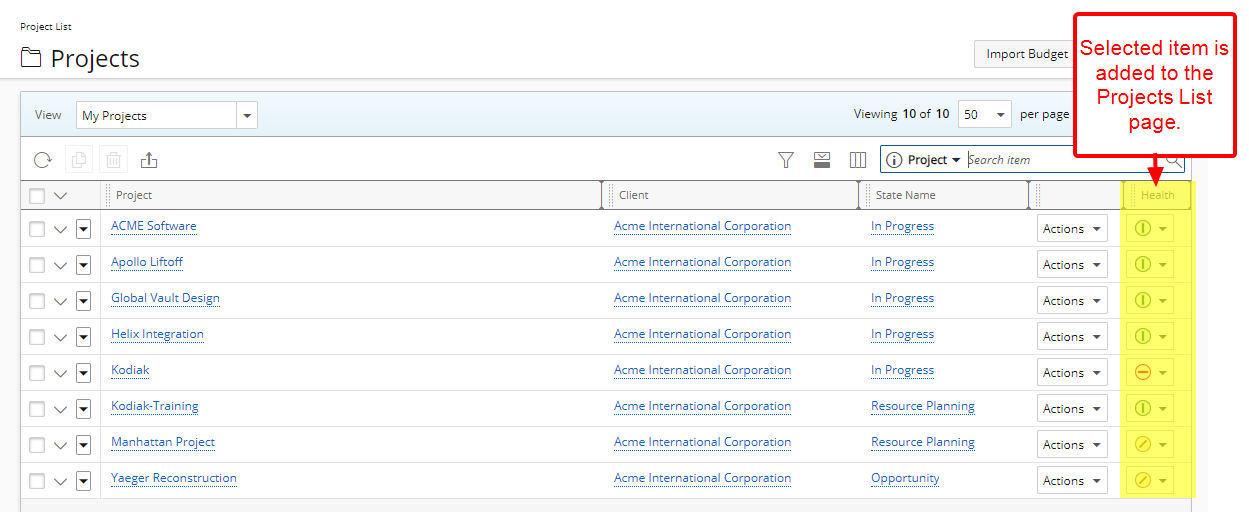
- Click Save to save your modifications and to return to the Project List page.
Note: You can easily drag and drop the Selected Columns higher or lower to adjust their positions within the Project List.
