Use Page Filter(s) - Dashboards
The Page Filters allow users with access to the dashboard to be able to screen data in the data source to determine whether the data should be included in or excluded from the calculations of the widget results , without the need to edit the dashboard.
Note: A dashboard owner sets up the Page Filter from the Dashboard Settings dialog-box when editing a dashboard, thus giving access to dashboard users to use these Filters. For more information on how to create On Page Filters refer to: Create Page Filter(s) - Dashboard
1. Access the Dashboard
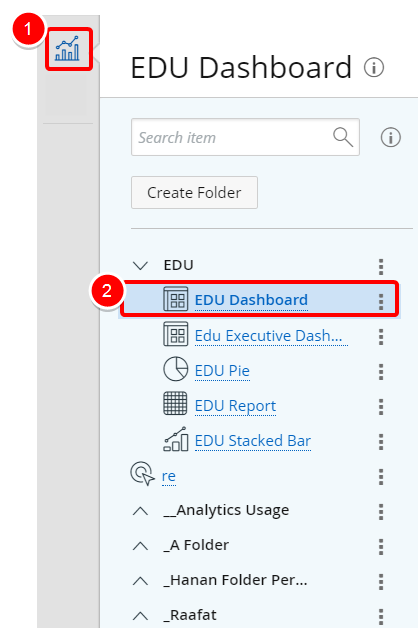
- Click the Analytics button.
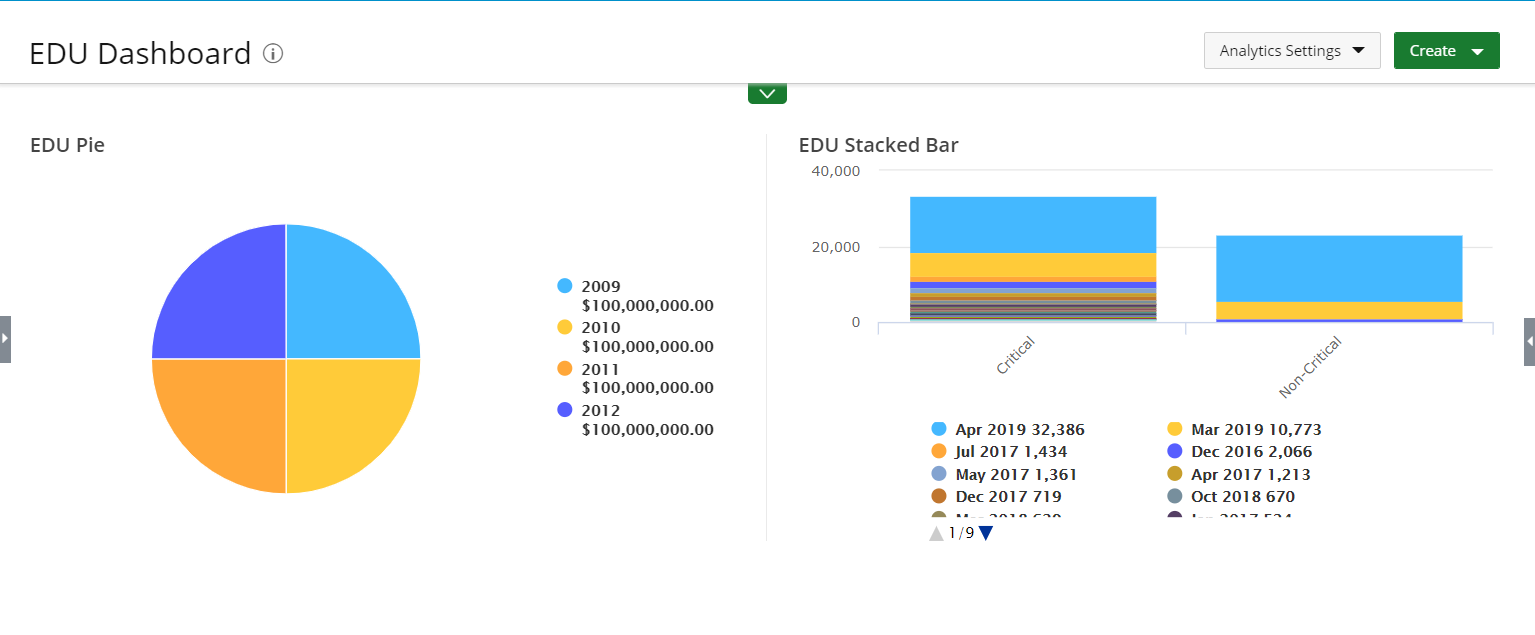
- Navigate to the dashboard you wish to run. Click the dashboard name to run it .
2. Click Filters
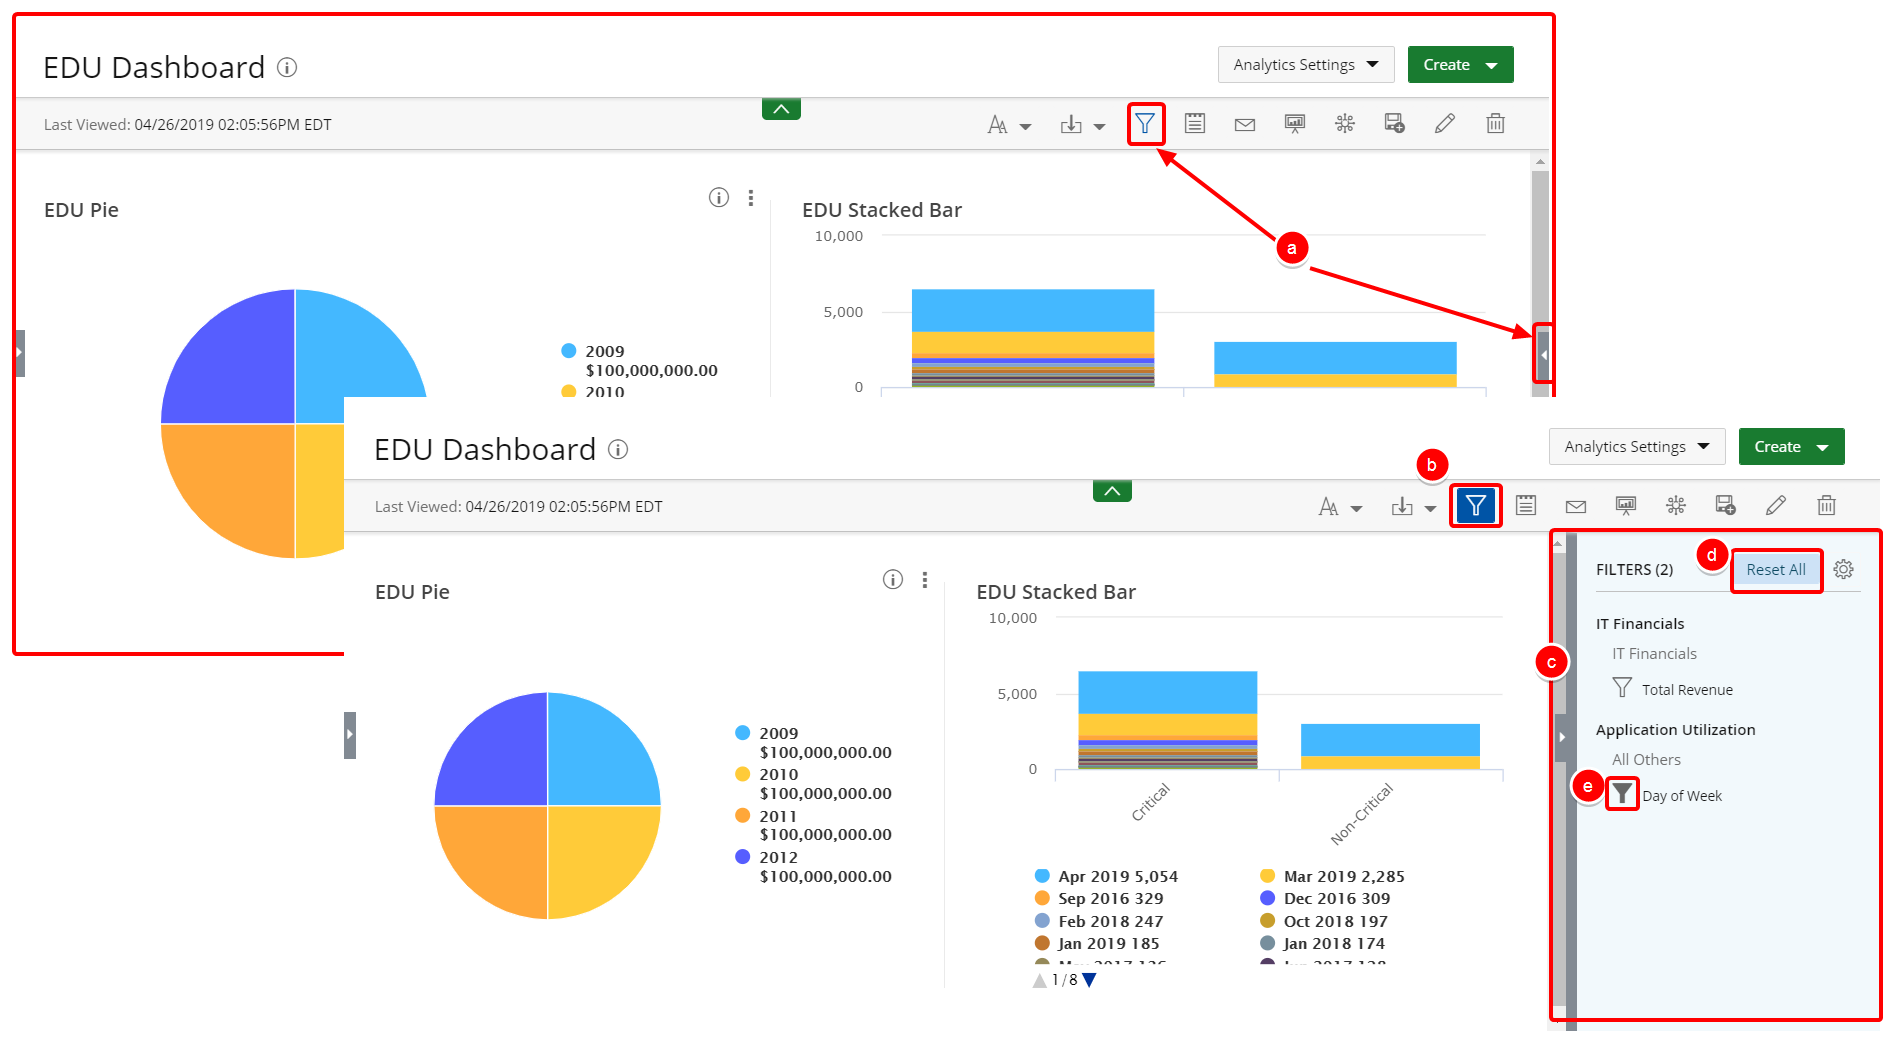
View the available Page Filters.
- Click the Filters button.
- The Filter Drawer displays.
3. Applying Page Filters
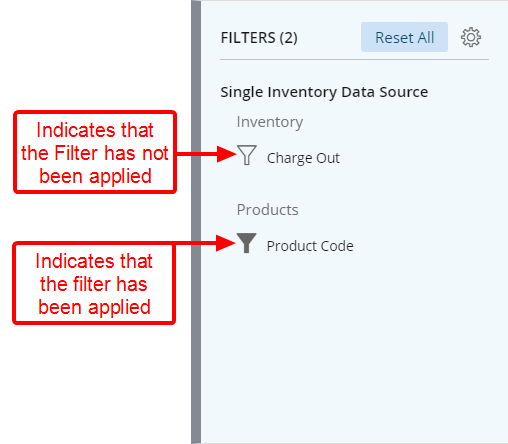
- Click the field you wish to apply the filter on.
Note: The steps to add a Filter as well as the available options to will vary depending on the Field type selected.

- Click the Filter button located against the Field you wish to apply the filter on.
- Select Exclude/Include empty or NULL values. Include All is selected by default.
- Click the box to select a parameter from the list. Repeat Step 2 to add additional measures from the list.
- Select one of the following option for your filter: Contains, Starts With, Equals, Ends With, Not Contain, Not Starts With, Not Equal, Not End With, Pattern Search. Then enter the term. Click the Plus button to add more line options and repeat this step as necessary.
- Click Apply Filterto save and apply your changed.
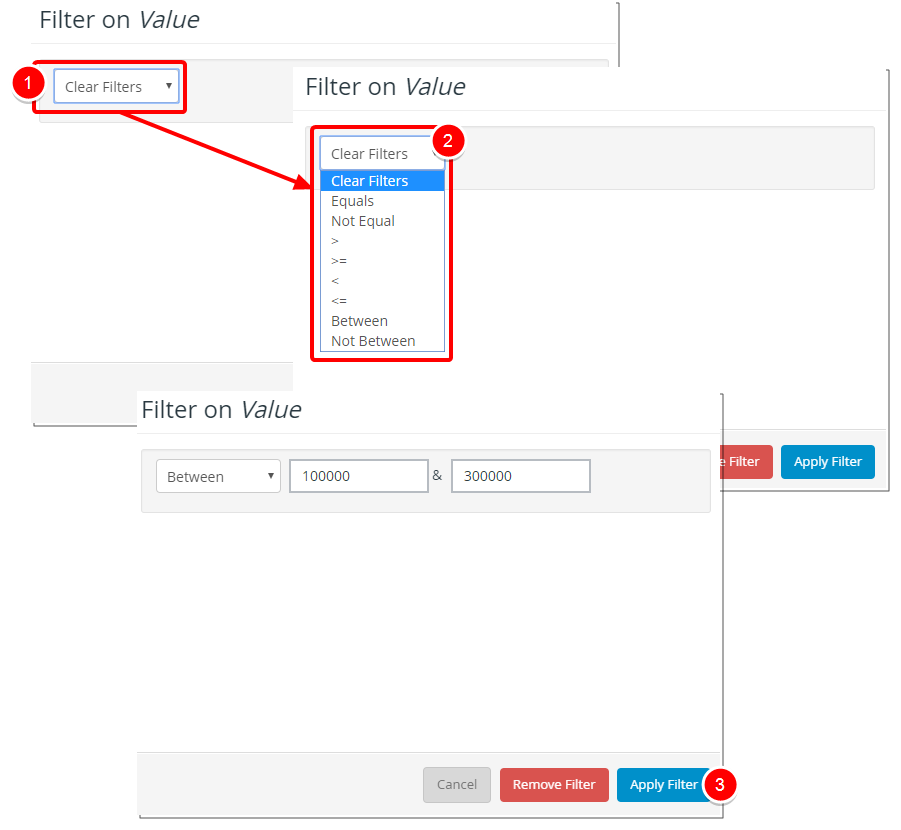
- Click the Filters box
- Select one of the following options: Clear Filters, Equals, Not Equal, >, >=, <, <=, Betweenor Not Between.
- Type the necessary values.
- Click Apply Filterto save and apply your changed.

- Click on the Start Date Box and choose the start date from the date picker. Repeat for End Date box.
- Select from the options Current Day, Previous Day(s) and Next Day(s) by selecting each option box necessary and then choosing the number of Days from the available list.
- Click Apply Filterto save and apply your changed.
3. View Dashboard
- View your changes.
Menu