Recipient Properties are specified when creating personal distributions. You can set recipient properties when adding a destination to a message.
Choose any of the following recipient properties.
-
Destination
-
Confirmation
-
Advanced
Destination properties
To set Destination properties
-
Go to Create Distribution and select the Plus icon (+) on the Destination box.
-
Select a Destination type; for example, Email. The Recipient Properties dialog box appears.
-
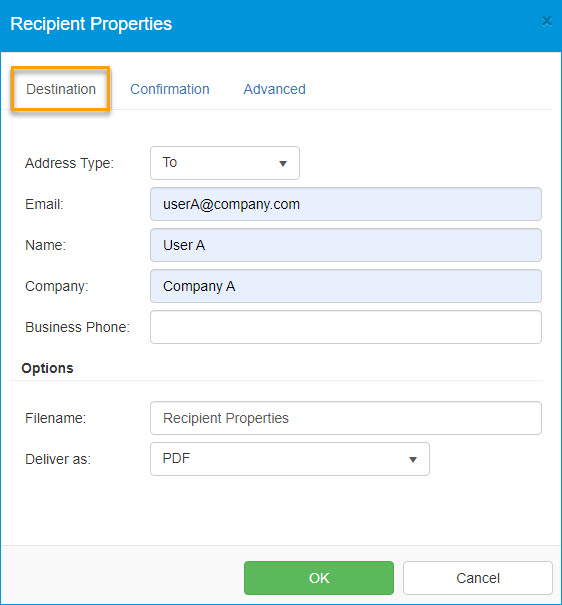
Use the Destination tab to specify the following properties as needed.
-
Address Type – Select To, CC, or BCC.
-
Email – Type the recipient's email address.
-
Name - Type the recipient's name.
-
Company - Type the recipient's company name.
-
Business Phone - Type the recipient's business phone number.
-
Options - Specify the filename and delivery format.
-
Filename – Type the name of a specific file to attach to your transmission.
-
Deliver as – Select the final delivery format type; for example, PDF.
-
-
Fax - Type a name, company, business phone, and destination fax number.
-
Cover Sheet – Choose whether to send a cover sheet and select from a list of styles.
-
Access Code – Type an access code (such as “9” to reach an outside line for faxing), request a preview of your transmission before sending, specify that a fax is sent only to a secure fax destination, or hold for Preview before sending.
-
Printer – Type the IP address of a printer destination.
-
Copies – Type the number of copies to print.
-
Folders – Select a local or cloud-based folder set up by an Administrator.
-
-
Click OK.
See the Recipient Properties > Destination dialog box example below.
Confirmation properties
To set Confirmation properties
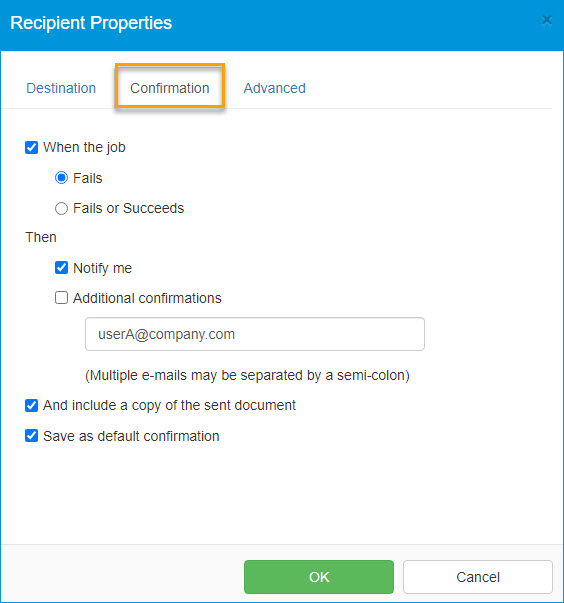
Use the Confirmation tab to specify the following properties as needed.
-
When the job fails only
-
When the job fails or succeeds
-
Notify me only and/or specify additional email addresses
-
Include a copy of the sent document
-
Save as default confirmation
See the Recipient Properties > Confirmation dialog box example below.
Advanced properties
To set Advanced properties
-
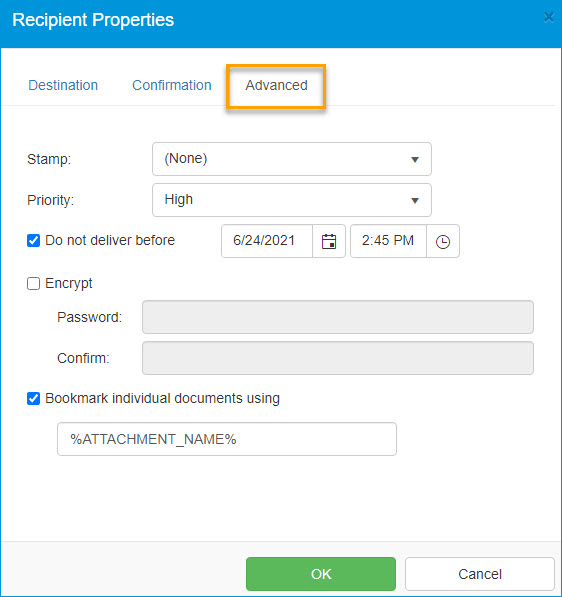
Use the Advanced tab to specify the following properties as needed.
-
Stamp – Apply a document stamp to each page of the delivered file. This only applies to PDF output files.
-
Priority – Select Normal, Low, or High to determine the priority of the sent message.
-
Do not deliver before – Enter a date for message delivery.
-
Encrypt – Set a password to be applied to the final delivered document. This only applies to PDF output files.
-
Bookmark individual documents using – Enter an electronic bookmark.
-
Confirmations – Select either Fails or Fails or Succeeds.
-
-
Click OK.
See the Recipient Properties > Advanced dialog box example below.
See also