Register the Online Add-In App
How to Register a New Add-in App
Note: If the security model chosen from the Prerequisites is not the High Trust Model this section can be skipped.
First, register a new Add-In App on the SharePoint farm using the following steps:
- Open a web browser and enter a URL in the format:
<site collection url>/_layouts/15/AppRegNew.aspx - A web page appears with the following fields:
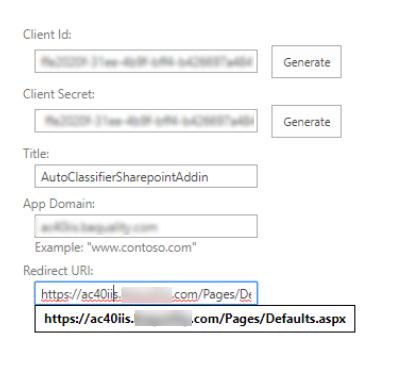
- Client Id:
- Generate the Client ID.
- This is used later in the Add In App Package section.
-
Client Secret:
-
Generate a new Client Secret.
-
-
Title:
-
Use the App Title from the Package Section.
-
-
App Domain:
-
Enter the domain where the Add-in IIS website will be hosted.
-
Example: ac40iis.baquality.com. This must match the Host Name registered in IIS Add-In Web Site.
-
-
Redirect URI: This is the endpoint for the AutoClassifier SharePoint Add-in IIS website.
- This enables the Add-In app to talk securely to the Add-in IIS website.
-
This form requires you to enter a valid value.
-
The value entered here must be a complete endpoint URL including the protocol, which must be HTTPS.
-
For example, https://ac40iis.domain.com/Default.aspx
-
-
Click Create.
-
Copy the Client Secret and update the Settings in the UI
Continue to the Next Section
Appendix: Troubleshooting (Optional)
Perform the following steps only if must make manual changes to the app redirect URL or permissions.
If the need arises to update the app, you can update the currently registered app to correct/change the following:
- Title
- App Domain
- Redirect URL
Procedure:
- Open a web browser and enter a URL in the format:
<site collection url>/_layouts/15/AppInv.aspx - Enter the client ID.
- Click Lookup.
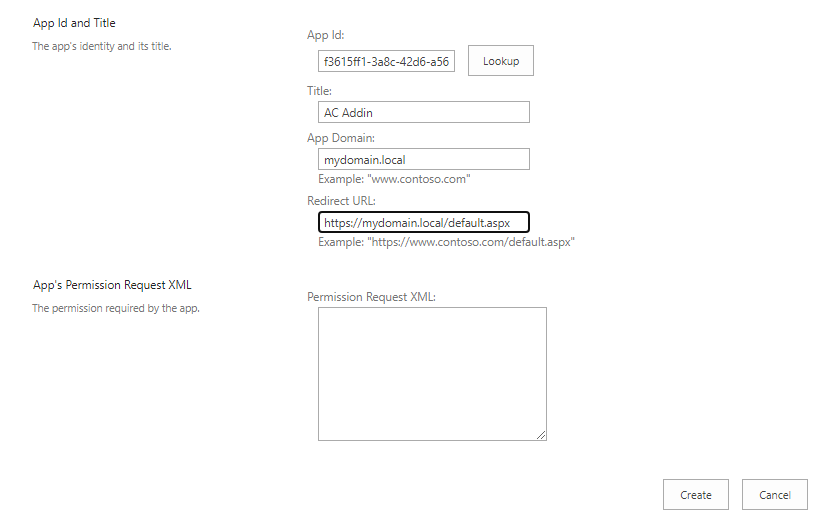
- Make the appropriate changes and click the Create button.