How to Configure Your AWS OpenSearch Target
The following topics describe how to create an AWS OpenSearch target in Connectivity Hub.
Note: For more information about Targets, see What is a Target?
Prerequisites
Before you can add your Target, you must install BA Insight Connectivity Hub.
Before you proceed to add and configure your AWS Open Search Target Make sure you have a domain in your AWS OpenSearch Service instance
Add the AWS OpenSearch Target
You can add as many targets to Connectivity Hub as you like.
A target is associated with a specific AWS OpenSearch instance.
-
More than one content source can point to the same target
-
The index name will be created from the content source title
To add the AWS OpenSearch Target, follow these steps:
-
Go to the Connectivity Hub Target page.
-
Select New Target.
-
The Load Target page appears. See below. Use the drop-down menu to select your Target.
_727x293.png)
-
Click Load.
-
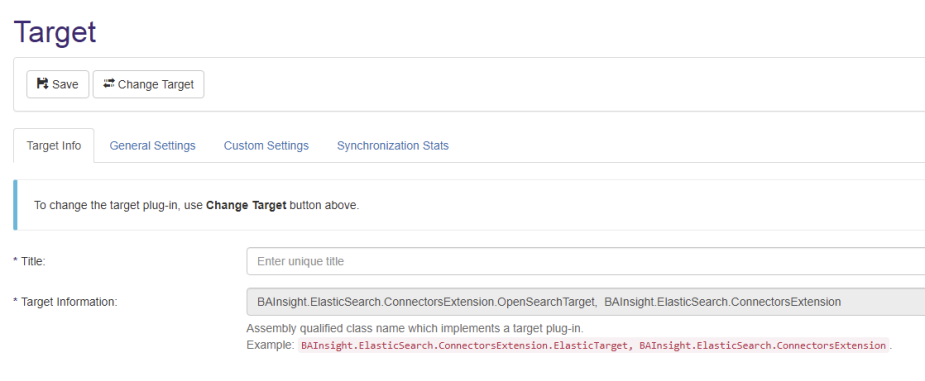
The Target Info tab appears.
-
Title
-
Required
-
Specify a name

-
-
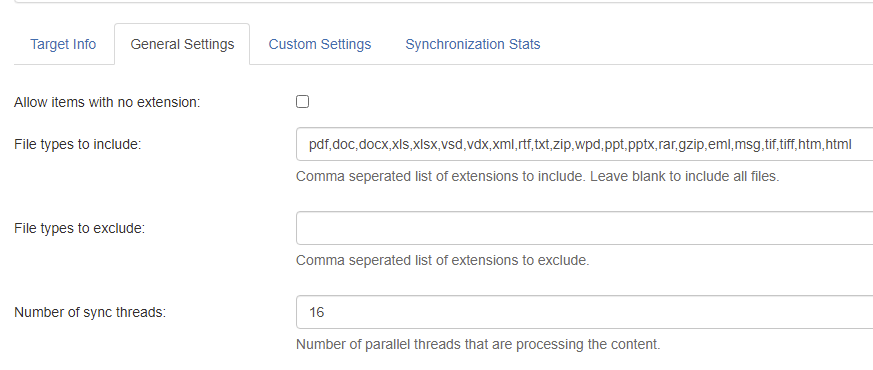
Select the General Settings tab.
-
The fields shown in the graphic below are completed, by default.
Sync threads
If you pause a job, change the number of threads, and then resume your job, the job leverages the additional threads.

-
-
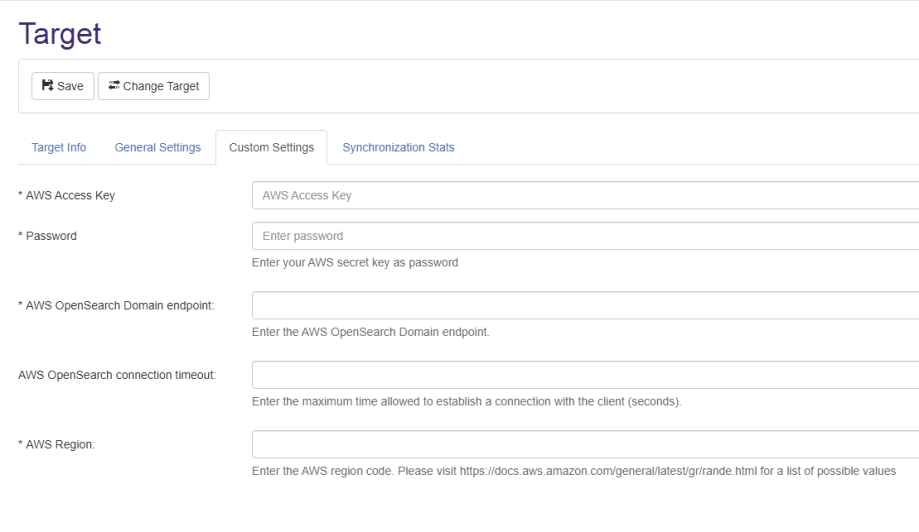
Select the Custom Settings tab.
Complete the following fields:-
AWS Access Key: Enter your AWS access key
-
Password: Enter your AWS secret key
-
These credentials are used to create/update and delete the index created by Connectivity Hub at index time. Ensure proper permissions.
-
-
AWS OpenSearch Domain endpoint: Enter your AWS OpenSearch domain endpoint.
-
AWS OpenSearch connection timeout: Enter the maximum time allowed to establish a connection with the client (seconds).
-
AWS Region: Enter your AWS region code

-
-
Click Save when done.