Add and Manage Project Templates
Project Templates can contain nearly all the same data as a project in order to simplify the process of creating projects & to increase consistency across projects. Data in a Project Template is copied when a project is initially created.
Example: Your team might offer a highly-requested service to potential clients. You always create a new Project to organize and carry out this service whenever a client requests it. Because this service is so popular, your team finds itself creating similar Projects over and over again. By creating a Project Template with data that is common to all of these Projects, your team will save itself the hassle of tediously creating multiple Projects with identical details whenever this service is required.
This page will walk you through:
Additionally, you should see Project Template Configuration for additional information on editing the functional details of a Project Template.
To create a new project template
-
Select Project from the "Templates" menu of the "Administration" page:

Click to enlarge.
-
Click the New Project Template button to open the "Create Template" window:

-
Choose a source template from the "Source Template" drop-down menu.
Note: Your new template will automatically share the Classification, Properties, and Status/Health details as the source template.
-
Type a name for your Project Template into the "Name:" field.
Note: The "Create Template" window will NOT warn you if you choose a duplicate name. Ensure that you are using a unique name to avoid confusion.
-
(Optional) Select the "Shared" checkbox to share your template with other Eclipse PPM users.
-
(Optional) Select the "Enable Autonumbering" checkbox to automatically number each Project created from this template.
-
(Optional) Type in an "Autonumbering Prefix" that will accompany the automatically-generated numbers on Projects created from this template.
Note: This textbox will only appear if the "Enable Autonumbering" checkbox is selected.
-
Click the Save button.
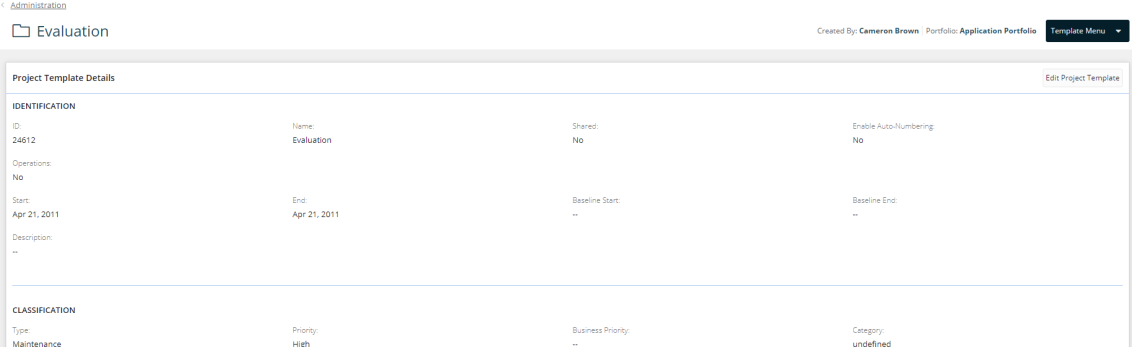
Your new Project Template has been created. Its Project Template Details page will be displayed:
-
Select Project from the "Templates" menu of the "Administration" page:
Click to enlarge.
-
Select a Project Template from the list to edit:
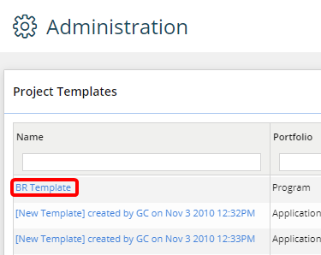
-
Click the Edit Project Template button:

-
Edit the Project Template details to your liking:
-
Name: Change the name of your Project Template.
-
Share this Project Template: Select or deselect this checkbox to make this Project Template available or unavailable to other Eclipse PPM users.
-
Enable Auto-Numbering: Select or deselect this checkbox to apply or un-apply automatic numbers to each project created with this template.
-
Auto-Number Prefix: Type in an "Autonumbering Prefix" that will accompany the automatically-generated numbers on Projects created from this template.
Note: This textbox will only appear if the "Enable Autonumbering" checkbox is selected.
-
Operations: Use the drop-down menu to indicate whether or not Projects created with this template fall under "Operations."
-
Status: Use the drop-down menu to indicate the default status of each Project created with the template.
-
Description: Enter a description that will automatically populate the "Description" box of each Project created with the template.
-
Type: Use the drop-down menu to indicate the default Project type.
-
Priority: Use the drop-down menu to indicate the default priority of each Project created with the template.
Note: "Business Priority" is displayed by default, but it is only editable when you edit the Project.
-
Category: Use the drop-down menu to indicate the default category of each Project created with the template.
-
Portfolio / Program: Use the drop-down menu to choose a Portfolio or Program where each Project created with the template will be saved.
Note: This selection will also determine the Portfolio or Program that stores the template as a "Source Template" that can be used to create additional templates.
-
Organization Owner: Use the drop-down menu to determine which Organization the template-created Projects will belong to.
-
Project Owner: Type in the name of an Eclipse PPM user who will be the default Project Owner on each Project created with the template.
-
-
Click the Save button once you have made all of your desired changes.
After clicking Save, your Project Template details will be saved. To configure the functional details for your Project Template, see Project Template Configuration.