Resource Bulk Actions
The Bulk Actions button provides ability to apply updates to multiple Resources simultaneously. It can also be used to follow / unfollow multiple Resources at once or create a quick Resource filter.
This page covers the following Bulk Actions:
Update Resources
Through Resource Bulk Actions, you can apply updates to multiple Resources at once.
To update Resources:
Before You Start: Eclipse PPM users require the "Resource Administration" permission from an Application Policy to update Resources in Eclipse PPM.
- Select the Search icon
 from the Icon bar.
 -
Select Resources:

-
Select the Bulk Actions button:

- Select the checkboxes of the Resources you would like to update.
- Open the More Actions drop-down menu.
-
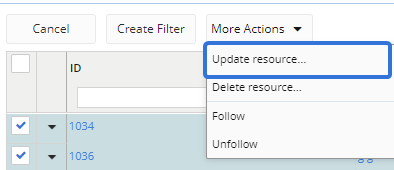
Select Update resource...:

-
Select what you would like to update using the "Update Field" drop-down menu:

-
Select a new value for your selected field using the "New Value" drop-down menu:

-
Select the Save button.
After selecting Save, the changes will be made to your selected Resources. A "Success" message should appear to confirm your bulk changes:

Follow / Unfollow Resources
Through Resource Bulk Actions, you can follow or unfollow multiple Resources at once.
Note: Followed Resources will appear under the "Following" tab on the "Recent / Following" panel on your Home page.
To follow / unfollow Resources:
- Select the Search icon
 from the Icon bar.
 -
Select Resources:

-
Select the Bulk Actions button:

-
Select the checkboxes of the Resources you would like to either follow or unfollow.
- Open the More Actions drop-down menu.
-
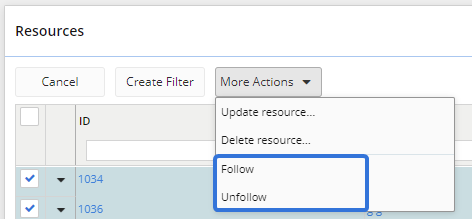
Select Follow or Unfollow:

After selecting Follow or Unfollow, you will either be following or have unfollowed the selected Resources. A confirmation message will appear in the top-left hand corner of your screen.

Create a Filter
Creating a Resource Filter with Bulk Actions will essentially create a custom group of Resources. Instead of filtering out Resources based on their information, these filters will simply include the Resources you select. This allows you to easily add a custom group of Resources to a Project or a Resource Plan.
To create a Resource Filter:
- Select the Search icon
 from the Icon bar.
 -
Select Resources:

-
Select the Bulk Actions button:

-
Select the checkboxes of the Resources you would like to include in your filter.
-
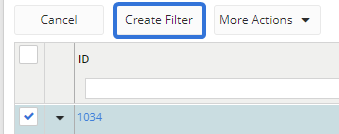
Select the Create Filter button:

-
Enter a unique name for your new filter.
-
(Optional) Select the "Share this filter" checkbox if you would like to allow others to use your new filter.
-
(Optional) Select the "Select this Filter immediately" checkbox if you would like your new filter to apply to the Search page as soon as you save it.
-
Select the Ok button to save your new filter.
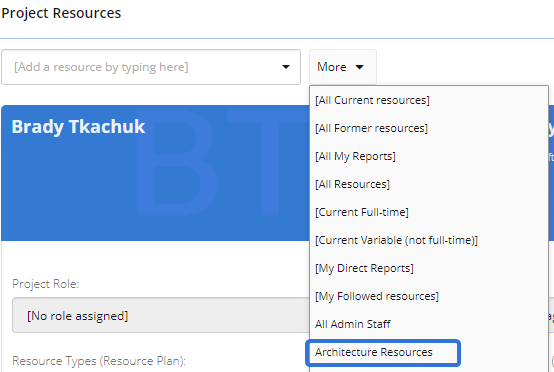
After selecting Ok, your new Resouce filter / group will be saved. You can select it directly on the Search page using the filter drop-down menu:

Additionally, you can easily add this new Resource group to Projects:

For more information on this, see Manage Project Resources.