You can scan documents into a file using the Scan button in Connect. The Scan button will only be available to users that belong to a FileBound group that has the "File Add" right.
- Place the documents in your scanner.
- In Connect, search for or create a file to scan documents into. See Basic file search for more information.
-
Select a separator (if applicable) and divider.

-
Click Scan.

-
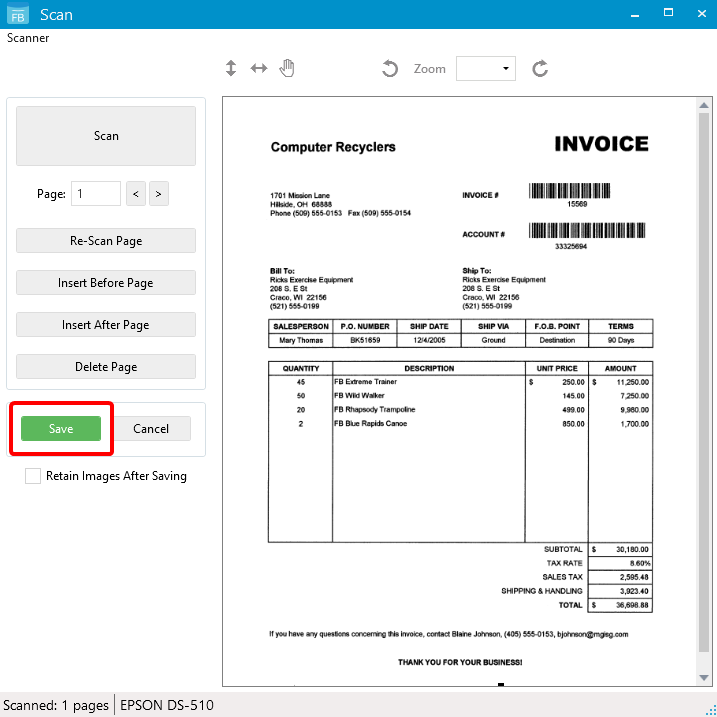
In the Scan panel, click Scan.

-
Select the Retain Images After Saving check box to keep the scanned documents in the Scan Panel after saving. This option is only available in continuous scanning mode and allows you to save a scanned document to more than one file. See General Options for more information about continuous scanning mode.
-
Click Save.
-
In the Save Scanned Documents window, edit document information and settings as necessary, then click Save.
 Original Date: The date the document was last modified. Click the Calendar button to modify the date.
Document Name: By default, the document name is 0001. Click the field and type to modify the name.
Document Notes: Additional text regarding the document (optional).
Separator: If applicable, the separator the document will be imported into.
Divider: The divider the document will be imported into.
Convert TIFF Images to PDF: Converts TIFF images to PDF format when saved.
- Create Single-Page PDFs: Converts each TIFF image into a separate PDF when saved.
- Create Multi-Page PDFs: Converts all TIFF images into a single, multi-page PDF when saved. The PDF will be named the Document Name of the first TIFF image.
Apply Same Name / Separator / Divider to All Documents: Applies the same document name, divider, and separator to all scanned documents.
Note: If the Enable workflow selection check box is selected on the Import tab in Options, you will see the following settings on the Document Import dialog box. See Import Options for more information.Note: If a workflow process has been defined for automatic routing on the Assignments tab in the project configuration, you will not be able to select a workflow when uploading documents.Workflow: The workflow the document will follow when imported.
Route Action: Determines which pages or documents are routed in the workflow. Select one of the following:
- First Document: Routes only the first document of the selected file. Additional pages that are going into the same divider during the same upload process will not be routed if they are uploaded within 30 seconds of the last page uploaded into the same divider.
- Every Document: Routes the first page in a divider during the upload process.
Remember Workflow Choice: Saves the selected workflow settings for the project.
Menu