Workflows
Workflows in Intelligent Capture route documents through a predefined set of steps called a process. A workflow process consists of one or more workflow steps created using stencils. You must have at least one workflow step in a workflow. Workflows automate and standardize repeatable processes that a document, or type of documents, must always follow.
Documents enter the workflow selected in the Profile drop-down menu when they are scanned or imported into Intelligent Capture.
Any user that is assigned to a role with the Manage Workflows permission can add, edit, and delete workflows.
View or edit workflow properties
Filter workflows
Workflows can be filtered by name.
-
Enter the value you want to filter on in the Workflow Name box.
The page will automatically refresh to display only workflows meeting the specified criteria.

Add a new workflow
Tip: It may be helpful to plan and outline the steps and tasks required for a workflow process on paper before creating the workflow process in Intelligent Capture. Users responsible for processing the workflow steps should be identified also.
- On the Navigation Menu, click Settings, then click Workflows.
-
Click New..., then select the type of workflow you want to add from the drop-down menu.
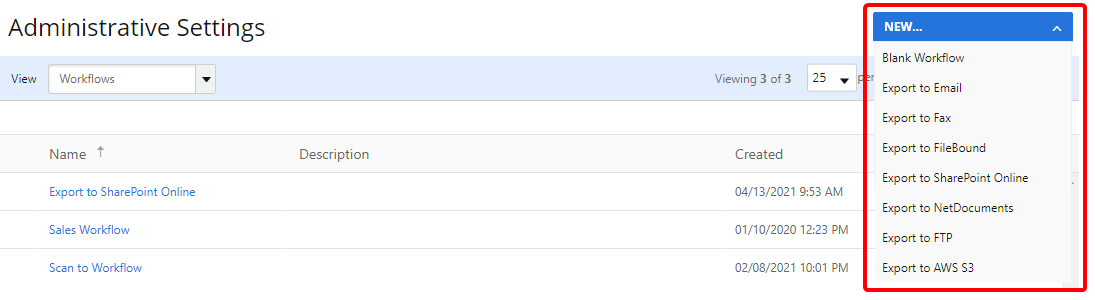
The following workflow types are available. When you select a workflow type other than Blank Workflow, the workflow process is already laid out for you with stencils that just need to be configured. You can add and remove stencils to modify the workflow so it best suits your needs.
- Blank Workflow: Creates a new workflow that starts as a blank canvas. There are no already existing stencils or connections.
- Export to Email: Creates a new workflow designed to deliver documents via email.
- Export to Fax: Creates a new workflow designed to deliver documents to a CloudFAX account.
- Export to FileBound: Creates a new workflow designed to deliver documents to a project in FileBound.
- Export to SharePoint Online: Creates a new workflow designed to deliver documents to a specific folder on a Microsoft® Office 365 SharePoint site.
- Export to NetDocuments: Creates a new workflow designed to deliver documents to the NetDocuments document management system.
- Export to FTP: Creates a new workflow designed to deliver documents to a File Transfer Protocol (FTP) destination.
- Export to AWS S3: Creates a new workflow designed to deliver documents to a specific folder within an Amazon S3 bucket.
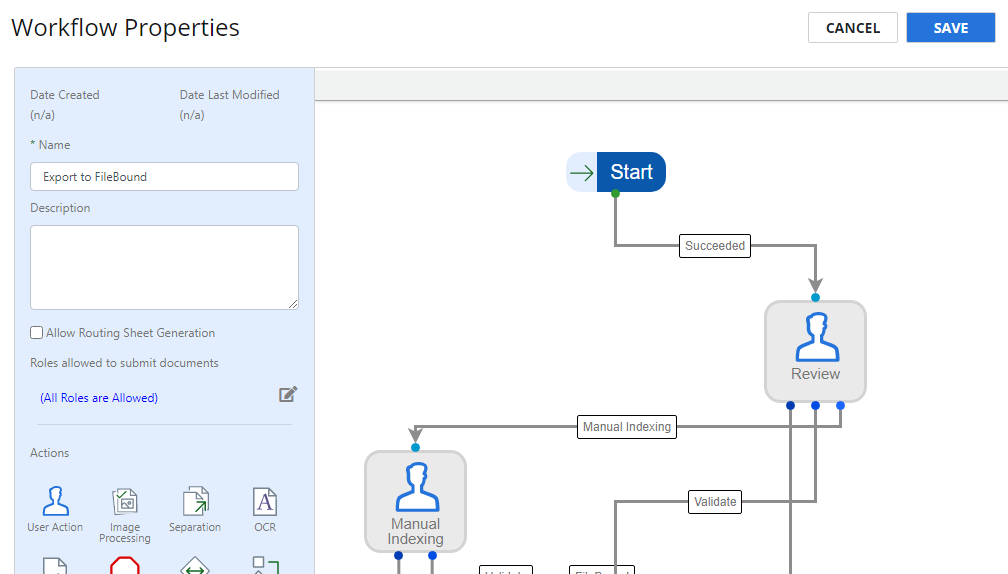
- In the Name box, modify the name of the workflow process as needed. This name will appear in the Profile drop-down menu.
- In the Description box, enter a brief description of workflow process. This field is optional, but can help describe the purpose of the workflow.
- Select the Allow Routing Sheet Generation check box to allow users to generate a routing sheet for the workflow. When this is selected, the Download Workflow Routing Sheet option is available in the toolbar.
- Click the All Roles are Allowed hyperlink to select the roles that you want to allow to submit documents to the workflow. When specific roles are selected, they will be listed here.
-
Add, remove, and configure workflow stencils as needed. See Workflow stencils for more information about each workflow stencil.
- Click Save.
Import a workflow
Any user that is assigned to a role with the Import Workflows permission can import a workflow.
-
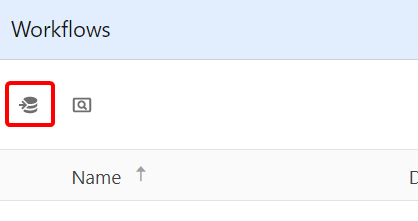
Click Import.
-
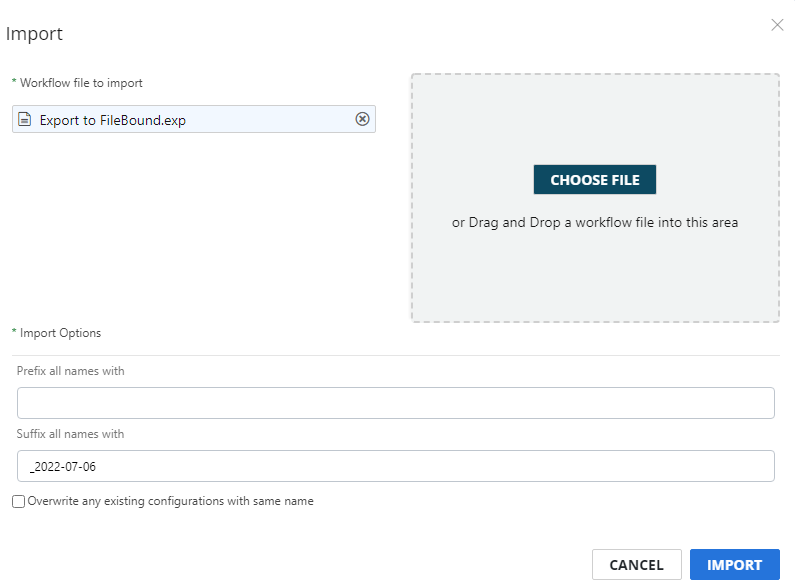
Click Choose File to locate the workflow file (.exp) you want to import or move the file to the area using a drag-and-drop operation.
-
Under Import Options, specify a prefix or suffix for names if necessary. This will be added to everything that was included when the workflow was exported (roles, data fields, data sources, etc). By adding a prefix or suffix, you can alter the names consistently in order to avoid conflicts with existing names.
-
Or, select Overwrite any existing configurations with the same name to replace all existing names with imported information.
-
Click Import.
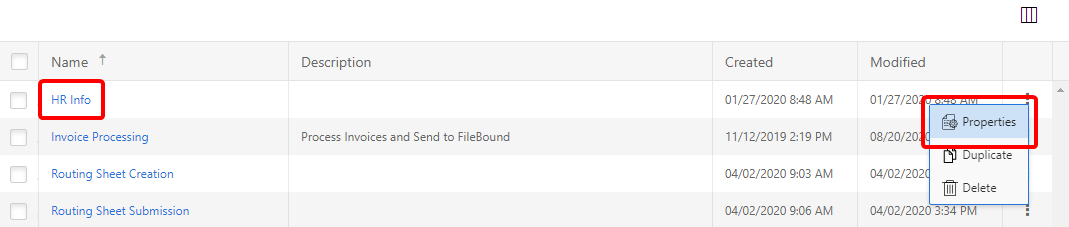
View or edit workflow properties
In Workflow Properties, you can edit the name and description for a workflow or add, remove, and configure workflow stencils.
-
Perform one of the following:
-
Right-click anywhere in the workflow row or click the three dots next to the workflow you want to view properties for, then select Properties from the drop-down menu.
-
Or, click the name of the workflow you want to view properties for.
-
- Modify workflow properties as needed, then click Save.
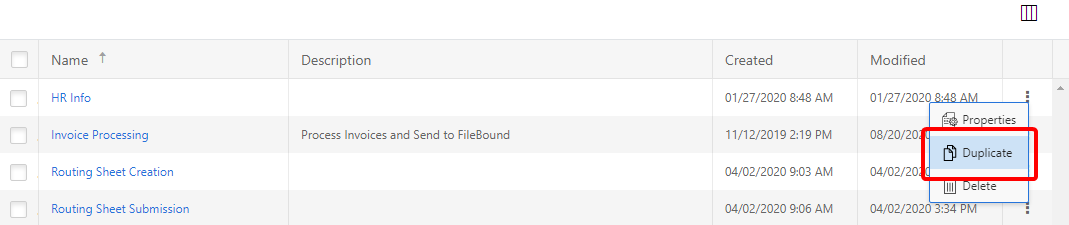
Duplicate a workflow
You may have a workflow process that is already configured very similarly to a new workflow process you want to create. Instead of configuring a new workflow from scratch, you can save time by duplicating the existing workflow and making modifications to the workflow properties.
-
Right-click anywhere in the workflow row or click the three dots next to the workflow you want to copy, then select Duplicate from the drop-down menu.
- Update the Name and Description for the new workflow.
-
Add, remove, or configure existing workflow stencils as needed.
See Workflow stencils for more information about each workflow stencil.
- Click Save.
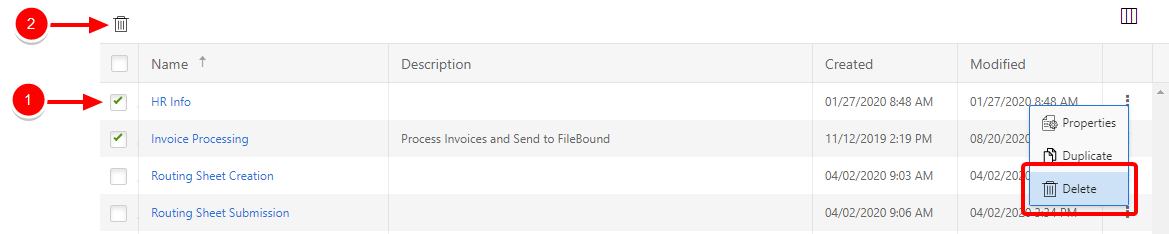
Delete a workflow
A workflow cannot be deleted when there are documents routing through the workflow process.
-
Perform one of the following:
-
Right-click anywhere in the workflow row or click the three dots next to the workflow you want to delete, then select Delete from the drop-down menu.
-
Or, select the check box next to one or multiple workflows, then click Delete.
-
- Click Delete to confirm the deletion.
Manage training
For workflows with Advanced Classifier steps, you will have the option to manage training. See Manage Training for more information.
Access the Project Editor
For workflows with Learned Automation steps, you will have the option to access the Project Editor. See Project Editor for more information.
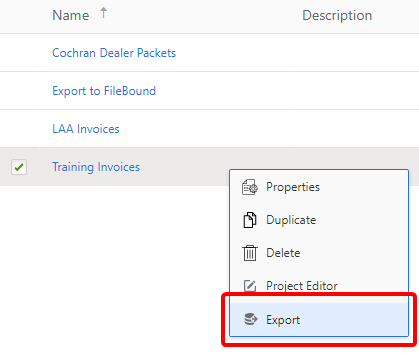
Export a workflow
Workflow information can be exported to a compressed file in .exp format.
Any user that is assigned to a role with the Export Workflows permission can import a workflow.
-
Right-click anywhere in the workflow row or click the three dots next to the workflow you want to export, then select Export from the drop-down menu.
-
In the Save As dialog box, select a location to save the file, then click Save.
View user permissions
You can easily view which roles and users are assigned to each step in a workflow.
-
Click View User Permissions.
-
From the Type drop-down menu, select whether you want to view workflow permissions by user or by role.
-
Select the role or user you want to view workflow permissions for from the Roles or Users drop-down list. The workflow permissions list will update automatically.
