The following areas make up the InterFAX + AI interface:
Toolbar

The Toolbar is the bar right under the header and displays the following items from left to right.
Profile: The Profile drop-down menu contains a list of all workflow processes that you are assigned to. Once scanned or imported into InterFAX + AI, documents will follow the selected workflow.
Scan: Scan documents into InterFAX + AI. See Scan documents.
Import: Import documents into InterFAX + AI. See Import documents.
Capture: Use your webcam to get documents into InterFAX + AI. See Capture documents.
Generate QR Code for mobile scanning: Generate a QR code and scan it with their mobile device in order to quickly access the mobile application for document scanning. See Generate a QR code for mobile scanning for more information.
Actions: The action buttons that appear in the Toolbar allow you to take action on a document in a workflow. See Take action on a document for more information.
Document Panel
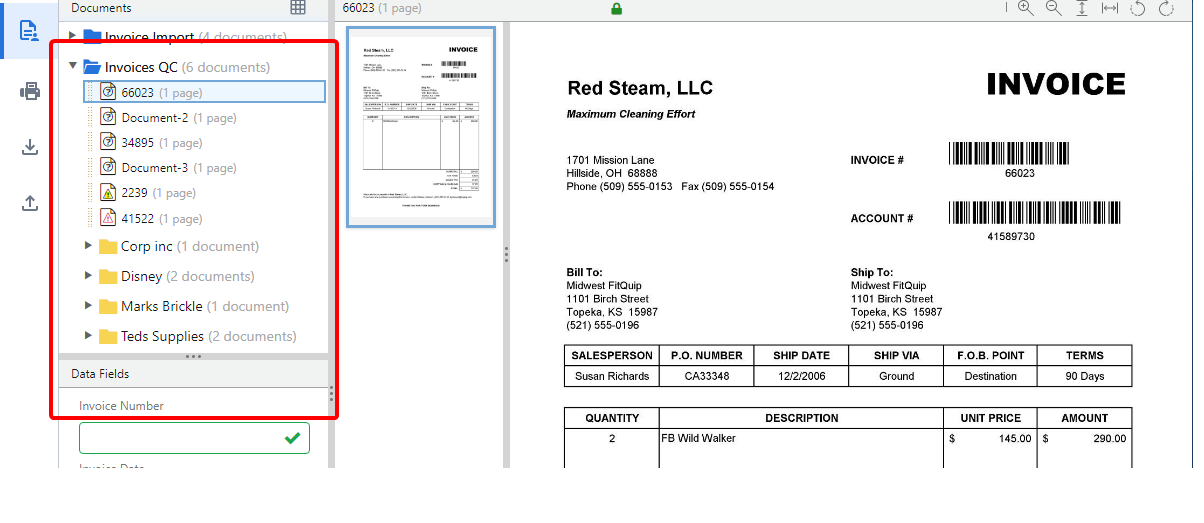
The Document Panel displays scanned or imported documents. Each folder in the Document Panel represents a step in the selected workflow route. The panel can be resized both vertically and horizontally to fit your needs. Simply move the pointer to the edge of the pane. When the pointer becomes a  , drag the pointer to make the pane the desired size.
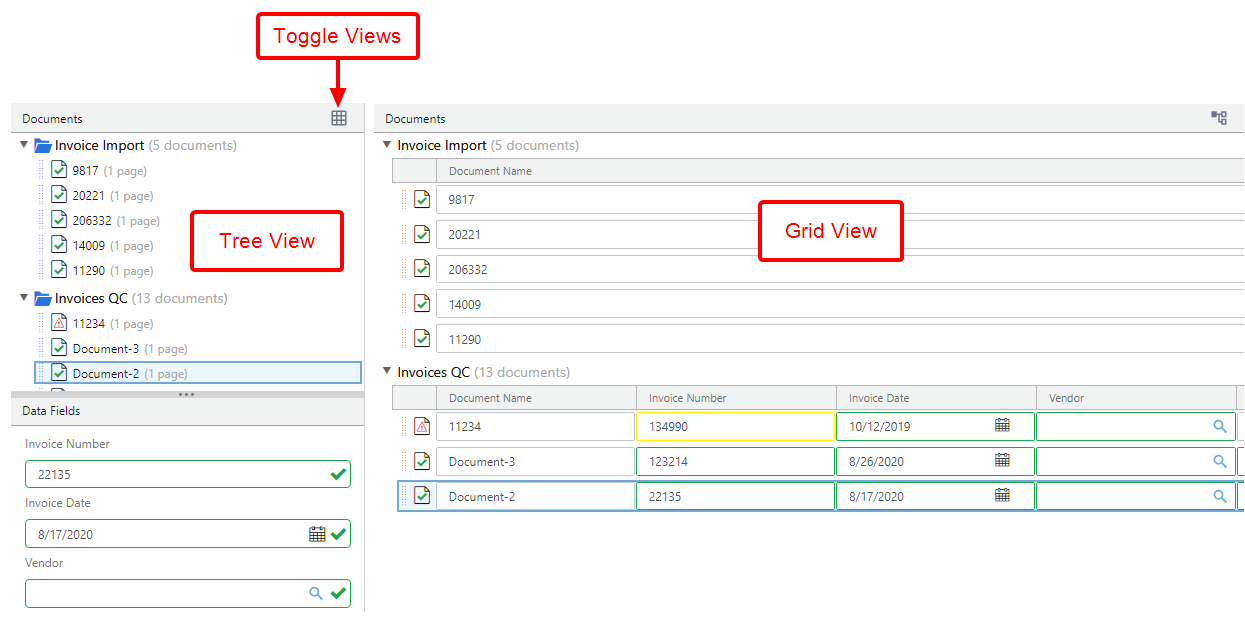
There are two different ways to view the Documents and Data Fields panels. Tree view shows all folders and documents in a hierarchical view and only data fields applicable to the selected document. Grid view shows all document names and data fields in an easy to edit, linear format.
Data Fields Panel
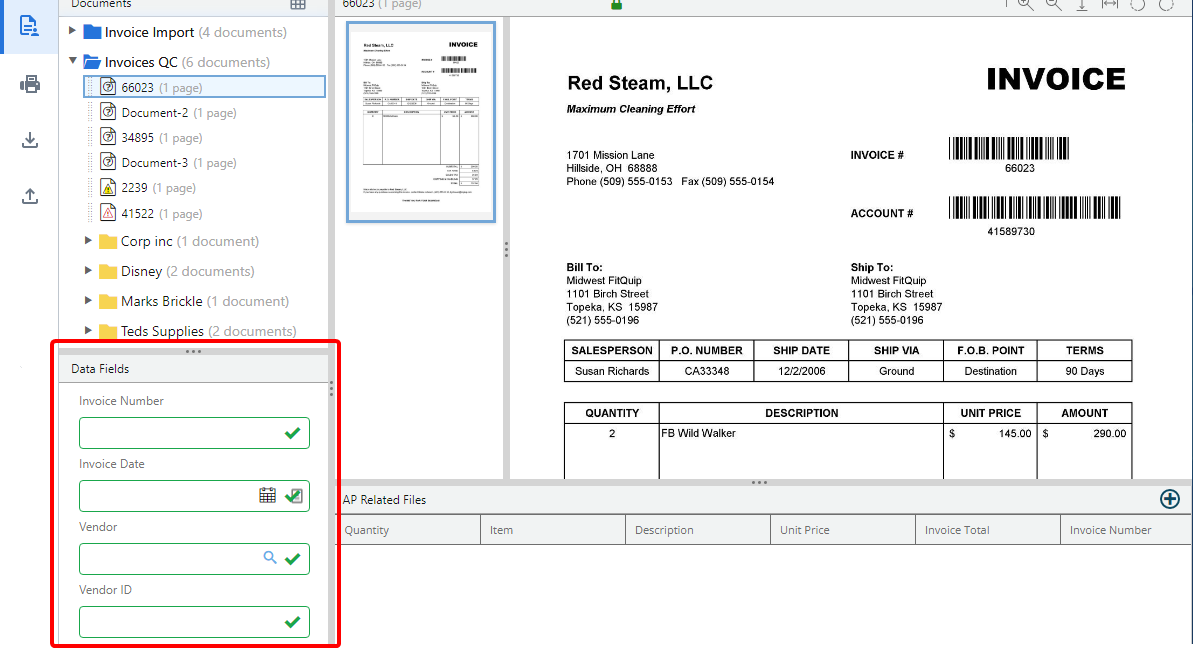
The Data Fields Panel displays all data fields associated with a workflow step. You can enter index information for documents in this pane. The panel can be resized both vertically and horizontally to fit your needs. Simply move the pointer to the edge of the pane. When the pointer becomes a , drag the pointer to make the pane the desired size.
Document Preview Window
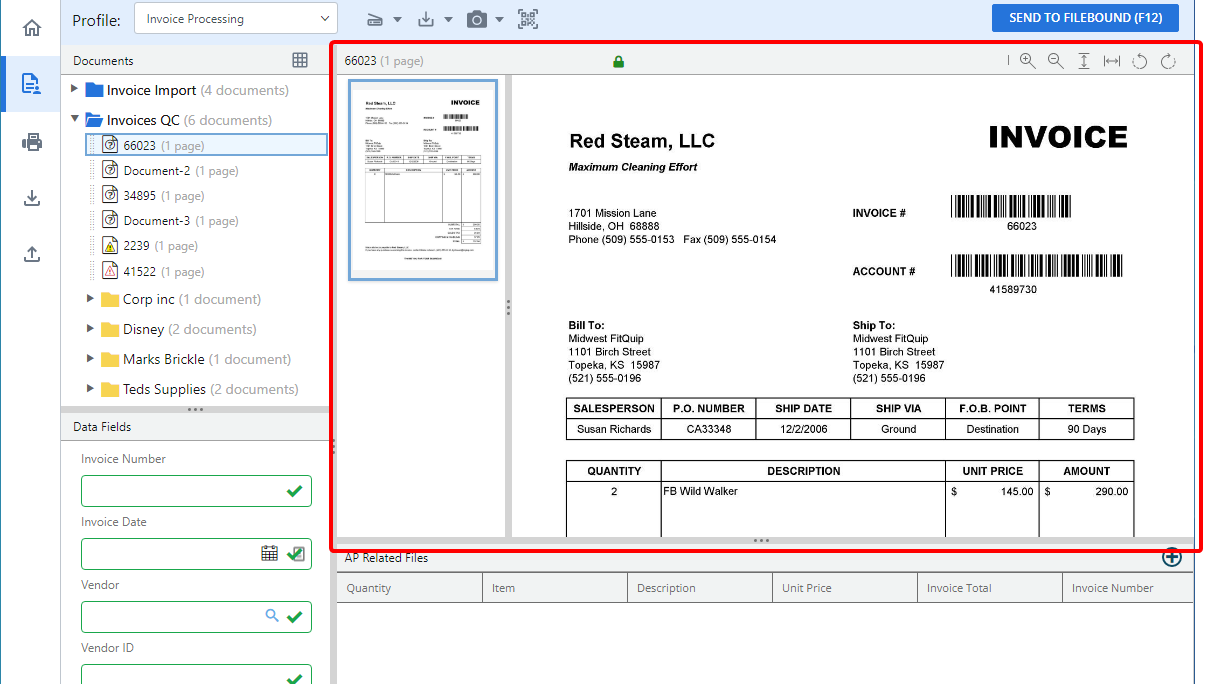
The Document Preview Window displays the documents you have scanned or imported into InterFAX + AI. On the left is the thumbnail view, which displays thumbnails of each page within the document. The right side displays a preview of the selected page.
The two sections of the window can be resized horizontally to fit your needs. Simply move the pointer to the line between the thumbnail view and the full size view. When the pointer becomes a , drag the pointer to make the pane the desired size.

The options on the toolbar in the Document Preview Window allow you to further customize your view. You can:
-
Zoom in: Make the page larger (Ctrl++ keyboard shortcut).
-
Zoom out : Make the page smaller (Ctrl+- keyboard shortcut).
-
Fit to height: Fit the page to the height of the Document Preview Window.
-
Fit to width: Fit the page to the width of the Document Preview Window.
-
Rotate Left: Rotate the page 90 degrees to the left. Page rotations are applied to the document permanently.
-
Rotate Right: Rotate the page 90 degrees to the right. Page rotations are applied to the document permanently.
If annotations are allowed for the selected workflow step, you will see an Annotations toolbar. See Annotations for more information.
Line Item Panel
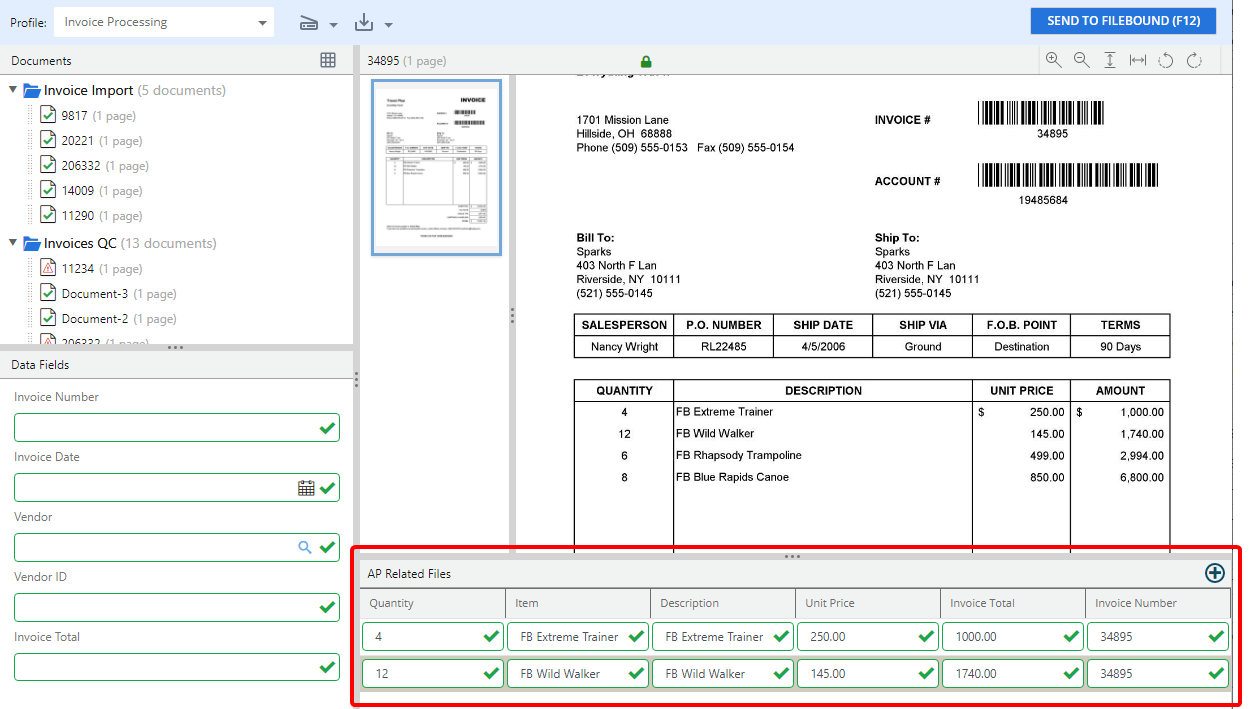
The Line Items Panel will appear when you have a line item type index field selected for the workflow step and allows you to enter line items applicable to the document. Line items values can be populated using manual or point and click indexing. Or, you can use a rubber band selection to add multiple line items at a single time.