Account Managers can create templates that users can apply as cover pages when sending a fax.
Topics include:
View or edit template properties
Add a template
-
Click New...

-
In the Name box, enter a name for the template.
-
Select a template type from the Type drop-down menu. The following options are available:
-
Message Only: This type of template only allows text to be entered in the Message box when sending a fax.
-
Html: This type of template allows you to create a template in the HTML editor on the Body tab.
-
-
If Html is selected for Type, select what users are able to input in the Message box when sending a fax from the Message Type drop-down menu. The following options are available:
-
None: The Message box will be disabled when sending a fax using the template as the cover page.
-
Text: Users will only be able to add text in the Message box when sending a fax using the template as the cover page. The %%Fax.Message%% substitution variable must be included in the HTML editor on the Body tab.
-
Html: Users will be able to use the formatting bar along the top of the Message box when sending a fax using the template as the cover page. The %%Fax.Message%% substitution variable must be included in the HTML editor on the Body tab.
-
-
Select the Public (Can be used by all account users) check box to make the template available to all users.
-
Configure the template using the following tabs, then click Save.
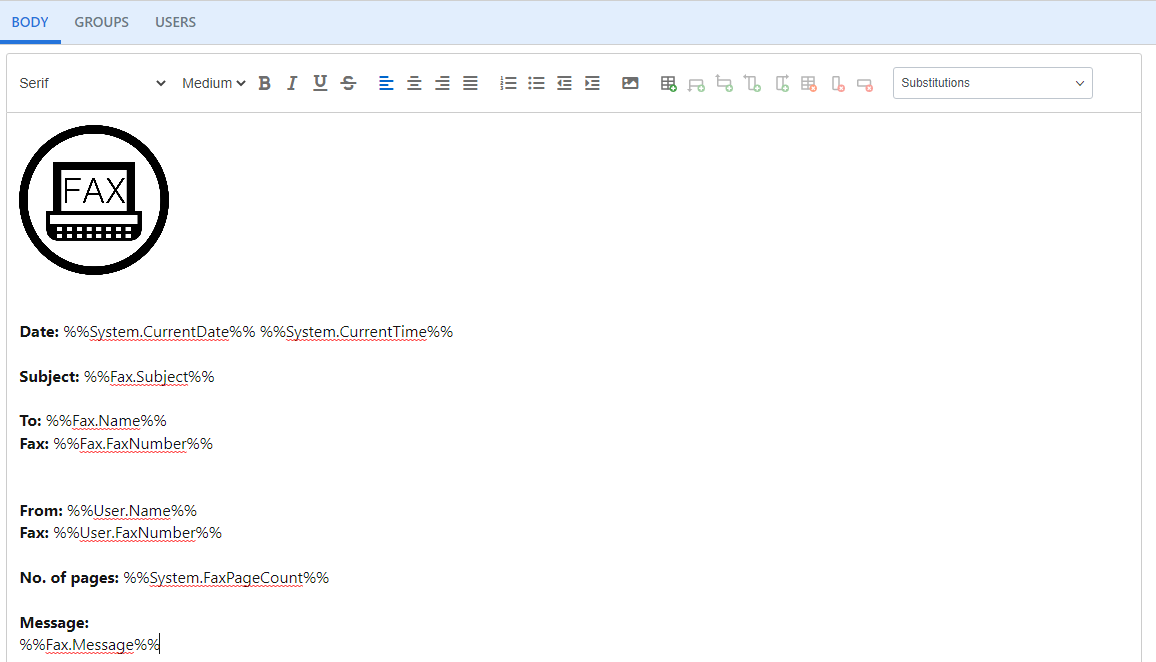
Body tab
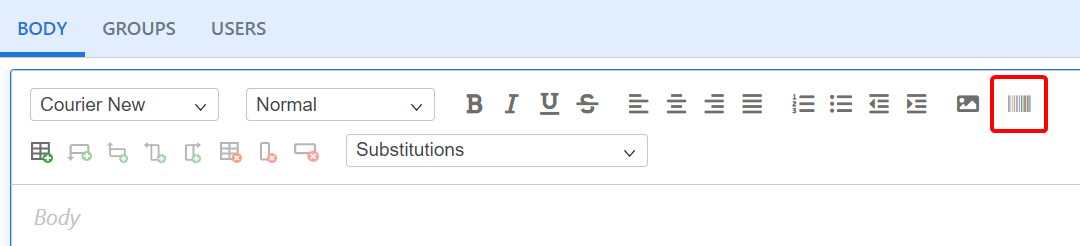
On the body tab, you can create your template. Use the formatting bar along the top to format the text. You can insert images, barcodes, tables, and substitution variables. Substitution variables can pull account information, system date/time, user information, or values from fields when the fax is sent.
-
Click Insert Barcode.
-
In the Data box, enter an identifier for the barcode. This can be a literal value or a substitution variable. For example, Company or %%Account.Company%%.
-
Select a barcode type from the Type drop-down list. The following barcode formats are supported:
-
Pdf417
-
DataMatrix
-
MacroPdf417
-
GS1DataMatrix
-
MicroPdf417
-
GS1QR
-
MaxiCode
-
DotCode
-
AustraliaPost
-
Postnet
-
Planet
-
OneCode
-
RM4SCC
-
-
Click Add.
Groups tab
Templates can be assigned as cover pages to users in specific groups. These templates will be available in the Cover Page drop-down list when sending a fax. Templates can also be assigned as cover pages when configuring a group. See Groups for more information.
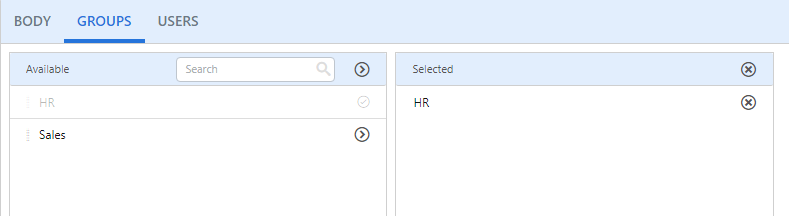
Click Add (>) next to the group(s) you want to make the template available to. Or, move groups from the Available box to the Selected box using a drag-and-drop operation.
To remove a group from a template, click Remove (X) next to the group in the Selected box.
Users tab
Templates can be assigned as cover pages that are only available to specific users. Templates can also can also be assigned as cover pages when configuring a user. See Fax Users for more information.
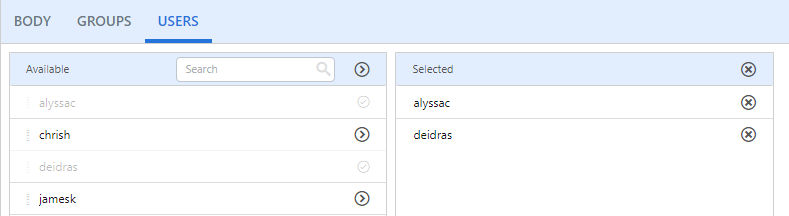
Click Add (>) next to the user(s) you want to make the template available to. Or, move users from the Available box to the Selected box using a drag-and-drop operation.
To remove a user from a template, click Remove (X) next to the user in the Selected box.
View or edit template properties
-
Perform one of the following:
- Right-click anywhere in the template row or click the three dots next to the template you want to view properties for, then select Properties from the drop-down menu.
- Or, click the name of the template you want to view properties for.

-
Modify template properties as needed, then click Save.
Delete a template
-
Perform one of the following:
-
Right-click anywhere in the template row or click the three dots next to the template you want to delete, then select Delete from the drop-down menu.
-
Or, select the check box next to one or multiple templates, then click Delete.

-
-
Click Delete to confirm the deletion.