When you open an account with InterFAX, a user is automatically created and assigned the Account Manager level of permissions. Account Managers can then add any number of additional users under an account.
To manage users, log into InterFAX as an Account Manager. In the Navigation Menu, click Settings, then click Fax Users.
From the Fax Users page, you can:
View or edit a user's properties
Add inbound service for a user
Add outbound service for a user
Force a password reset for a user
Remove inbound service from a user
Remove outbound service from a user
Filter users
Fax users can be filtered by username, status, fax number, or type of service.
-
Perform one of the following:
-
Enter the name of the user you want to filter on in the Username box.
-
Select a status from the Status drop-down list: All, Open, or Closed.
-
Enter the fax number of the user you want to filter on in the Fax Number box.
-
Select a type of service from the Services drop-down list: All, None, Receive Faxes, Send Faxes, Receive and Send Faxes, Receive Faxes or Send Faxes.

The page will automatically refresh to display only users meeting the specified criteria.
Click Pin filters to save the current filters and apply them every time you navigate to the Fax Users page. Click Unpin filters to removed pinned filters.
Click Clear Filters to remove all filters.
-
Add a user
Note: The maximum number of users allowed per account is 500. This can be increased upon request.
-
Click New...

- In the Username box, enter a username for the user. Usernames must be unique and be between 3-20 characters in length.
- In the Name box, enter the user's full name.
- In the Email box, enter the user's email address.
-
Select an option from the User Type drop-down list. The following options are available:
-
Regular: The user is a normal user.
-
Account Manager: The user will have access to all the options under Account Management.
-
-
In the Password box, enter a password for the user. Your password must:
Tip: Your password must:
- Be between 12 - 24 characters in length.
- Contain 3 of the following:
- At least 1 uppercase letter (A-Z)
- At least 1 lowercase letter (a-z)
- At least 1 number
- At least 1 special characters: ! @ # $ " % & ' ( ) * + , - .
-
Not include your username.
-
Select an option from the Login Method drop-down list. The following options are available:
- Use Account Settings: This is the default setting, and will use the same settings that have been configured under Account Properties.
- Classic Login: Allows the user to use an application based username and password when single sign-on is configured for the account.
- Select the user's Time Zone.
- Enter the CSID.
- Enter any Notes applicable to the user.
-
Configure the user using the following tabs, then click Save.
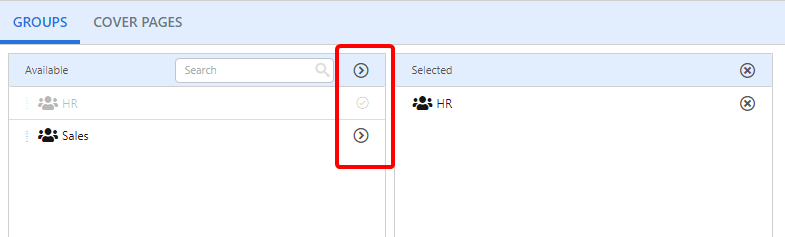
Groups Tab
Click Add (>) next to the group(s) you want the user to belong to. Or, move groups from the Available box to the Selected box using a drag-and-drop operation.
To remove a group from a user, click Remove (X) next to the group in the Selected box.
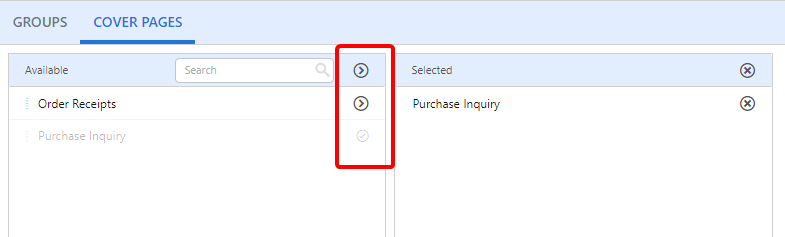
Cover Pages tab
Templates can be assigned as cover pages for users. The cover pages selected on this tab will be available to the user in the Cover Page drop-down list when sending a fax. Users can also be added when configuring a template. See Templates for more information.
Click Add (>) next to the cover page(s) you want to add for the user. Or, move cover pages from the Available box to the Selected box using a drag-and-drop operation.
To remove a cover page from a user, click Remove (X) next to the cover page in the Selected box.
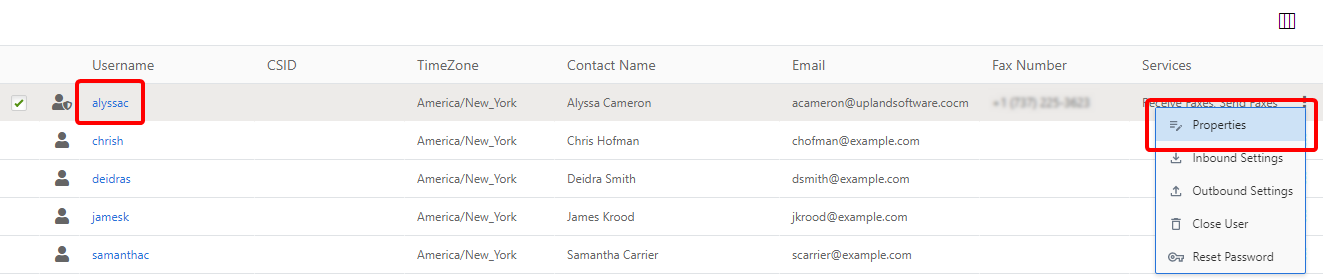
View or edit a user's properties
Account Managers can view and edit account information for users under an account.
-
Perform one of the following:
- Right-click anywhere in the user row or click the three dots next to the user you want to view properties for, then select Properties from the drop-down menu.
- Or, click the username for the user you want to view properties for.
-
Modify fax user properties as needed, then click Save.
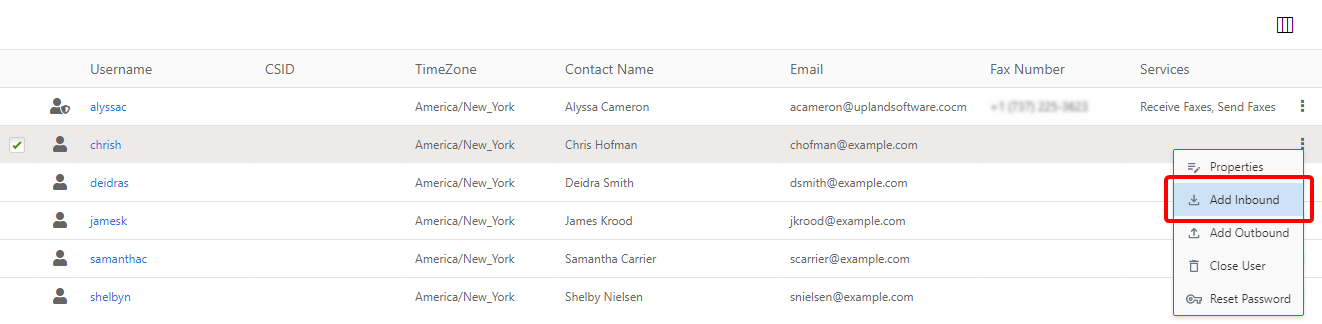
Add inbound service for a user
Account Managers can add services to users under the account.
-
Right-click anywhere in the user row or click the three dots next to the user you want to add inbound service for, then select Add Inbound from the drop-down menu.
- In the E-mail received faxes to field, enter the email addresses that fax notifications should be sent to for the user.
- Select a country that the fax number will originate from in the Country to locate Fax Number in drop-down list.
-
Select the location that the fax number will originate from in the Location in Country drop-down list.
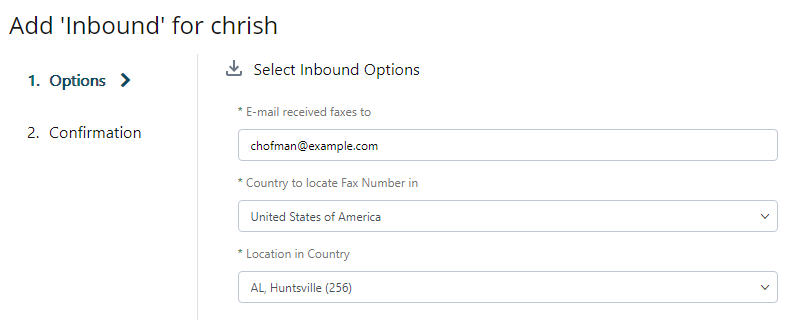
- Click Next.
- View the purchase summary, then click Add Service.
Once inbound service has been added for a user, this menu option will change to Inbound Settings.
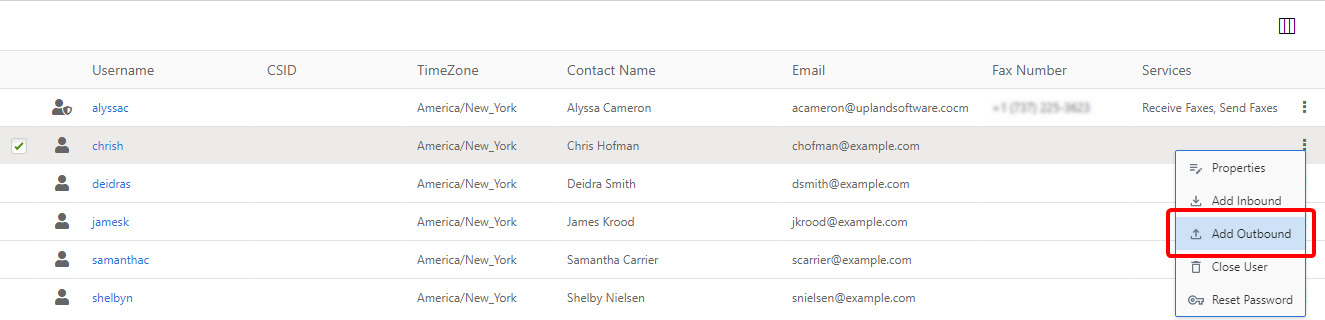
Add outbound service for a user
Account Managers can add services to users under the account.
-
Right-click anywhere in the user row or click the three dots next to the user you want to add outbound service for, then select Add Outbound from the drop-down menu.
-
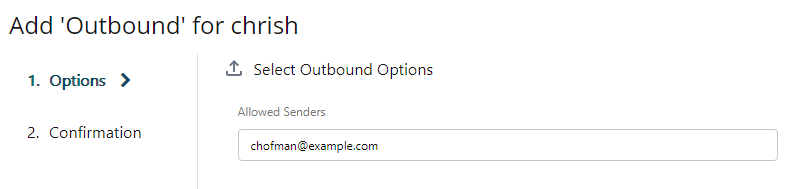
- View the purchase summary, then click Add Service.
Once outbound service has been added for a user, this menu option will change to Outbound Settings.
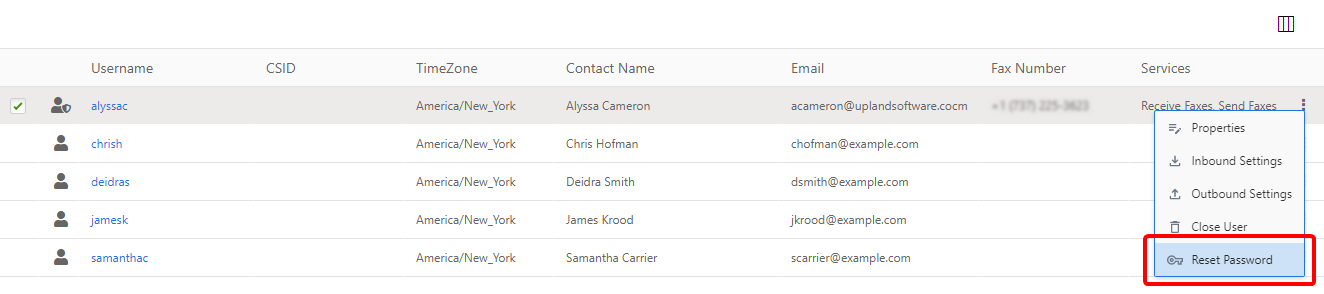
Force a password reset for a user
-
Right-click anywhere in the user row or click the three dots next to the user you want to force a password reset for, then select Reset Password from the drop-down menu.
-
Enter the email address that you want to send the reset password link to for the selected user, then click Reset.
Close a user
Note: Closing a user will also close any services associated with that user.
-
Right-click anywhere in the user row or click the three dots next to the user you want to close, then select Close User from the drop-down menu.
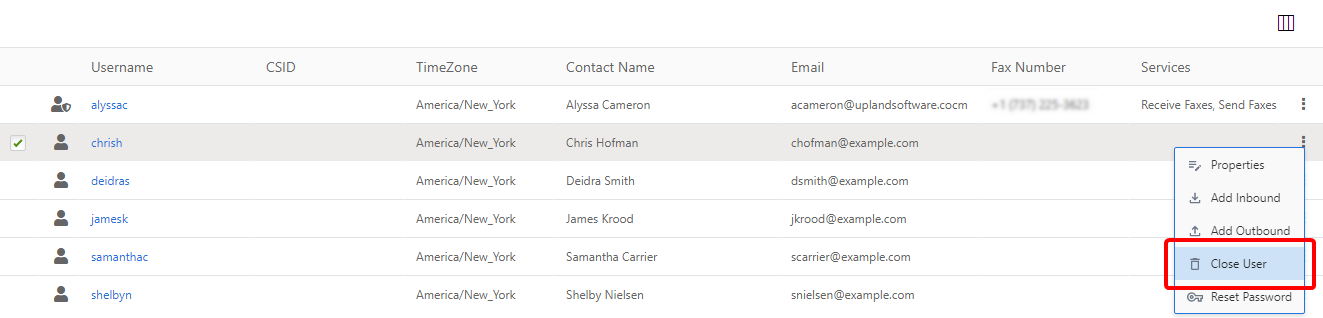
- Click Close User to confirm.
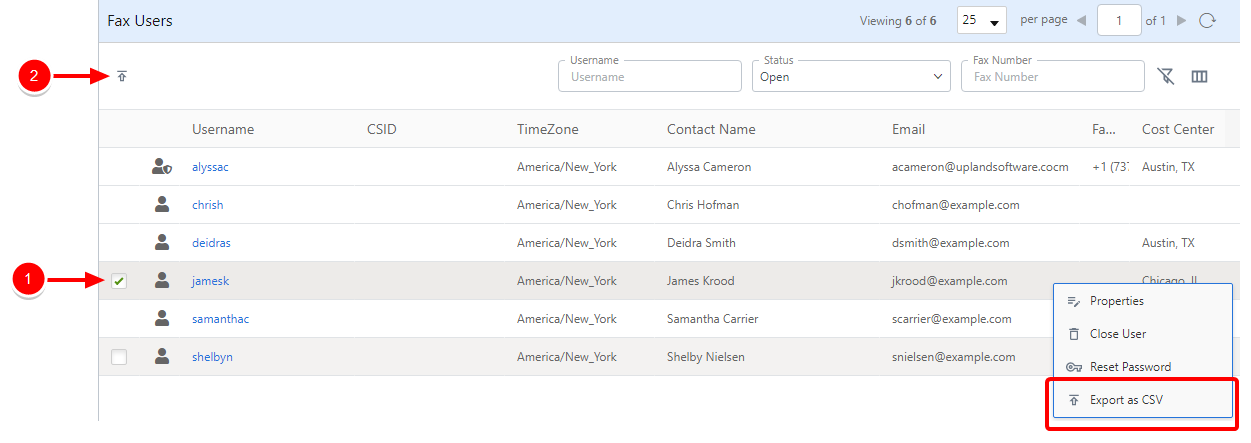
Export users
You can export a CSV file that contains user information for all users, a filtered set of users, or just a specific user.
-
Ensure that you don't have any filter criteria applied or any users selected, then click Export as CSV.

-
In the Save As dialog box, navigate to the location where you want the file to be saved.
-
Edit the file name as necessary, then click Save.
-
Apply user filters as needed, then click Export as CSV.

-
In the Save As dialog box, navigate to the location where you want the file to be saved.
-
Edit the file name as necessary, then click Save.
-
Perform one of the following:
-
Right-click anywhere in the user row or click the three dots next to the user you want to export a CSV file for, then select Export as CSV from the drop-down menu.
-
Or, select the check box next to one or multiple users, then click Export as CSV.
-
-
In the Save As dialog box, navigate to the location where you want the file to be saved.
-
Edit the file name as necessary, then click Save.
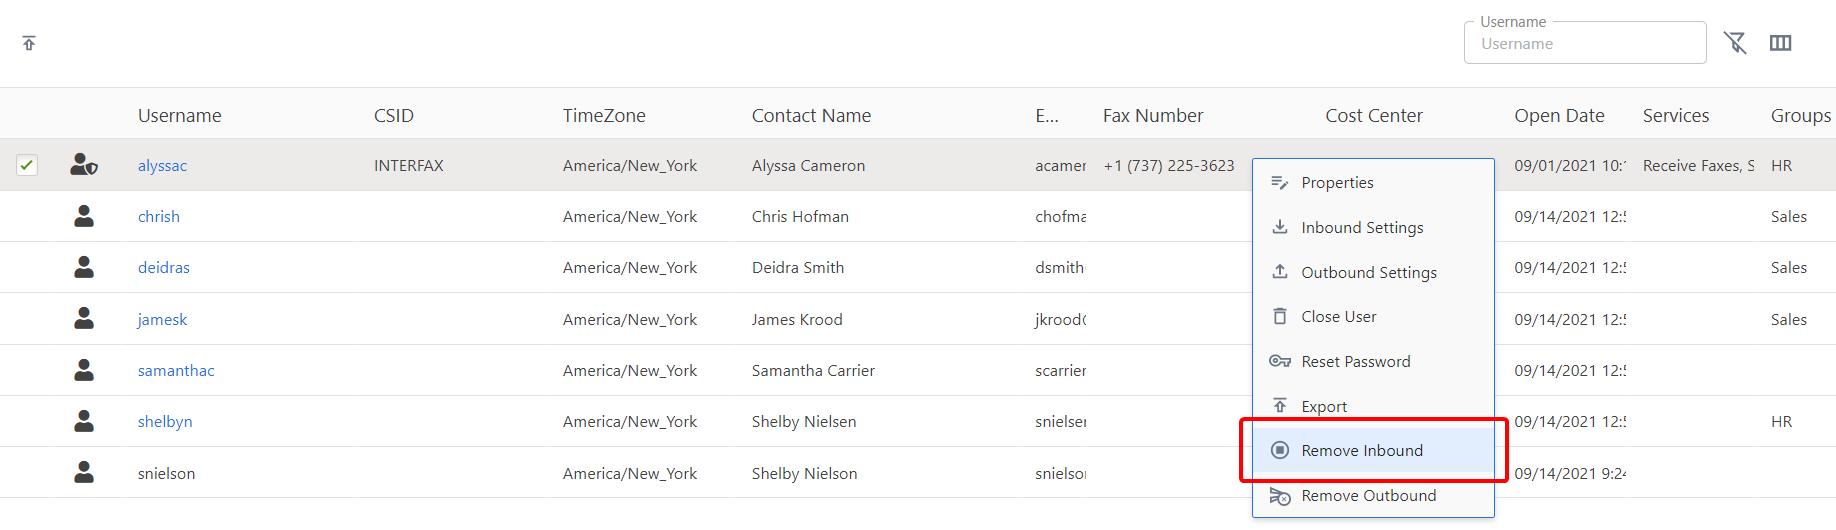
Remove inbound service from a user
Account Managers can remove services from users under the account.
-
Right-click anywhere in the user row or click the three dots next to the user you want to remove inbound service from, then select Remove Inbound from the drop-down menu.
-
Click Remove Inbound to confirm the removal.
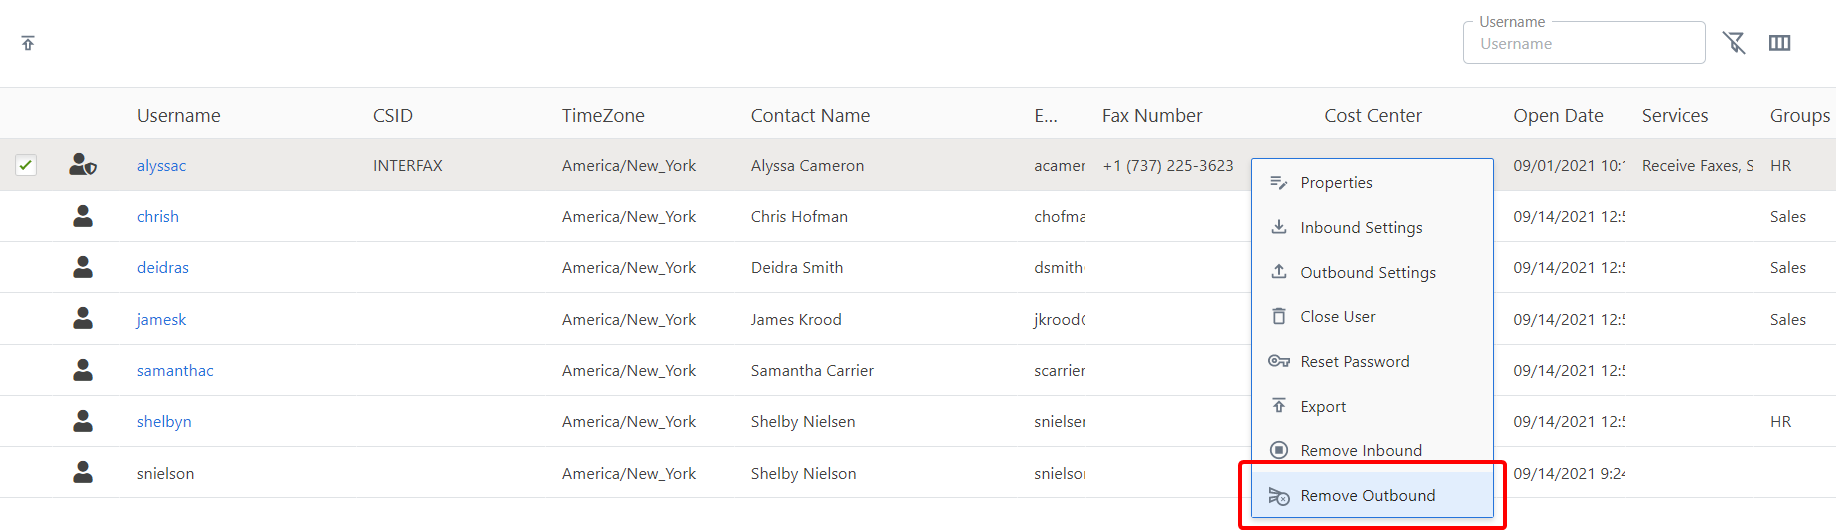
Remove outbound service from a user
Account Managers can remove services from users under the account.
-
Right-click anywhere in the user row or click the three dots next to the user you want to remove outbound service from, then select Remove Outbound from the drop-down menu.
-
Click Remove Outbound to confirm the removal.