Installing OL Connect Send Printer Driver
Note: OL Connect Send Printer Driver can be found on the Upland Software - Objectif Lune website at https://help.objectiflune.com/en/#csend.
The OL Connect Send Printer Driver must be installed on a dedicated machine and a Windows printer must be set up using this driver. Additionally several settings regarding the host for sending print jobs have to be set. All this is done with the Printer Driver installer, as explained in this documentation.
Before you start
Please note that any OL Connect Send Printer Driver with a version number less than 1.0.5 should be uninstalled before installing the newest Printer Driver.
- Open the Windows Control Panel and click Programs and Features.
-
Select OL Connect Send Printer Driver and click Uninstall.
Setup process – new installation
The following section describes the installation process for the OL Connect Send Printer Driver.
Starting the installation
Click the OLCS_Printer_Driver_Certified_2.1.3_Setup.msi file to start the OL Connect Send Printer Driver Setup.
If an OLCSClient.ini file is found in the folder from which the installer runs, the fields in the installer will be pre-populated using the settings contained in that file.
For information on how to prepare the OLCSClient.ini file, see Configuration file content.
Note: Do not run the installer from the Windows TEMP folder.
As this folder is known as a location from which malicious applications might try to install themselves, it is under intense surveillance of the Windows' protection systems, including SmartScreen. This might prevent the installation.
Nevertheless, OL Connect Send Printer Driver is secure and it is Microsoft Certified, so it is guaranteed to be non-intrusive.
A message will be shown while the Setup program checks if all prerequisites are met and prepares the machine.
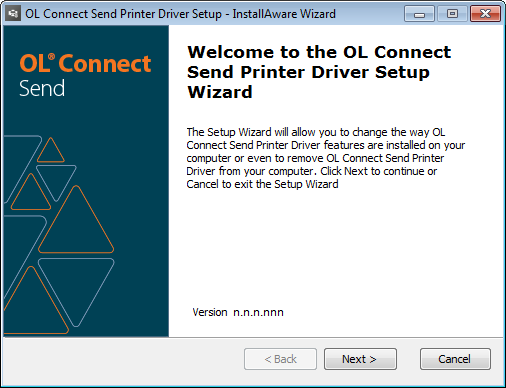
When the setup is prepared, the Welcome screen appears, containing basic information.
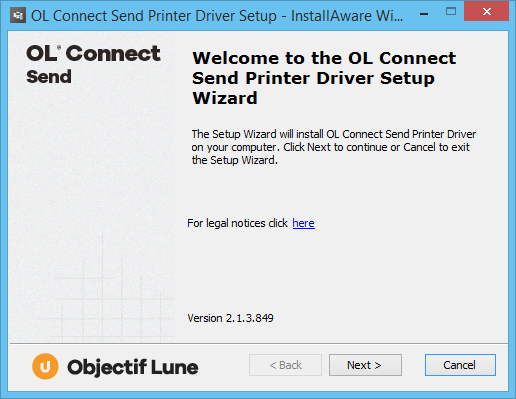
Click Next to proceed.
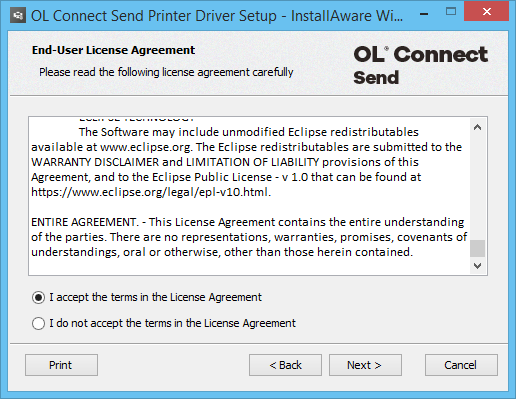
End-user License Agreement
The next screen shows the End-user License Agreement (EULA). Please read and accept it to proceed further by clicking Next.
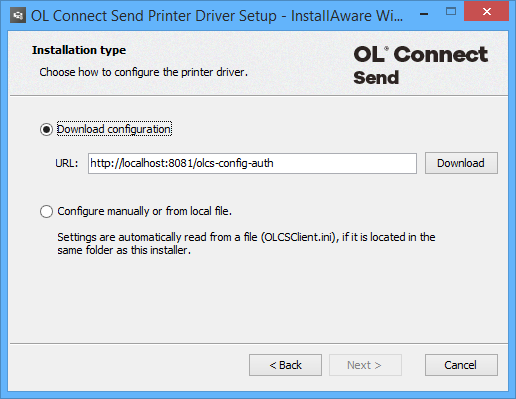
Installation Type
The OL Connect Send Printer Driver setup can be tailored for individual installations.
On this page, select whether to install using download customized settings (via a URL that will need to be specified), or whether to use local or default settings.
-
Download configuration: Select this option if your print service provider has provided an option to download customized settings for the Printer Driver.
Enter the URL provided and Download.
If there are errors in the download, these will be reported in the lower portion of this page.
Once downloaded, the settings will populate the options found in subsequent pages of the installation Wizard.
If the download server requires authentication, you will be prompted to provide a valid username-and-password combination. Your service provider should provide this.
Only when the download has completed successfully will the Next button become active. -
Configure manually or from local file:
Settings are automatically read from a local file (OLSCClient.ini), if it located in the same folder as the installer.
Click the Next button to proceed.
Authorization
Note: This Wizard page might not appear, if the installation is being run in conjunction with a provided (or downloaded) OLCSClient.ini settings file.
If you have received an API key for OL Connect Send from your print service provider, select the I have an API key checkbox and enter the API key.
Otherwise select the My provider does not require an API key option.
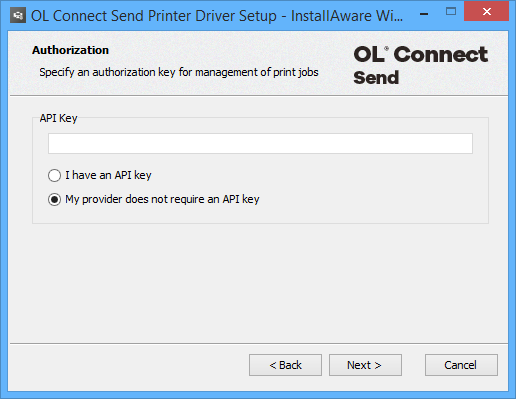
Click Next to proceed.
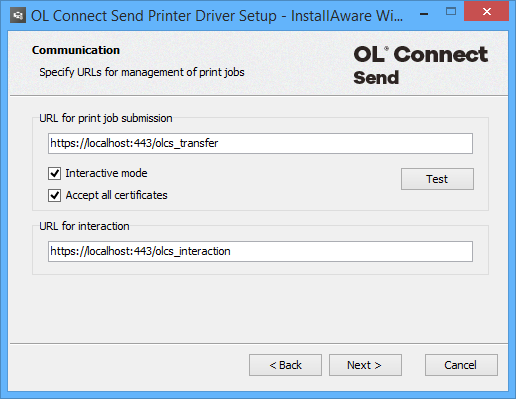
Communication URL settings
Note: This Wizard page might not appear, if the installation is being run in conjunction with a provided (or downloaded) OLCSClient.ini settings file.
The URL for the print job submission is required for the HTTP connection with the receiving OL Connect Workflow server (e.g. http://192.168.159.100:9090/olcs_transfer). This would be the Workflow process which accepts the relevant data.
If the Workflow server is active, it is useful to test the connection.
For greater security, HTTPS can be selected as the connection; it is possible to set whether valid certificates only are accepted by the Workflow server in this regard. HTTPS is recommended for production situations, and should be regarded as required for any production situation where the URL refers to a server outside the local network.
If a license is valid for the local system and the interactive mode is activated, the action name has to be given for this (default: “olcs_interaction”). This would be the Workflow process that starts/executes the interaction.
URL for print job submission
The URL for print job submission allows the URL for Workflow to be entered. This is the server that will capture and process print jobs.
It needs to be entered as a full URL, for example:
http://demo.objectiflune.com:8080/olcs_transfer
The required pattern is:
<protocol>://<host>:<port>/[<path>/]<http action>
The pattern components are:
-
<protocol>: Sets the communication protocol and has to be either HTTP or HTTPS. Any other setting is invalid. As soon as HTTPS is set as protocol, the communication will automatically run in protected mode (SSL).
Tip: For additional information about secure file transfer, HTTPS certificates and how to request a countersigned certificate, please see this page: SSL HowTo.
-
<host>: The host name or IP address of the target machine. This is either the computer where the related Connect Workflow is running or a gateway machine.
-
<port>: The port entry is mandatory, even if the port should be one of the standard ones (80 for HTTP or 443 for HTTPS).
-
<path>: Optional additional URL path components.
-
<http action>: The HTTP action name as defined in the related Workflow HTTP Input plugin.
The Test button can be used to check if the URL is pointing to a machine with a correctly set up Connect Workflow with a HTTP Input plugin and the OLCS Job Processor plugin.
If the test was successful, and the response status code is 200 OK, this will be indicated by the green text "Server for job submission is ALIVE", "Interaction server is ALIVE". If there was no response from the server, the message will be that the respective server "is DOWN, no response from server". If there is a response from the server, but the response status code is not 200 OK, the response status code of the HTTP request will be given.
By unchecking Interactive mode you can set this specific printer to only send jobs to the server, without further user interaction. In that case, the printer will not pop up a browser window. Nevertheless, messages will pop up in the tray area, informing about transfer, success or failure.
When the Interactive mode is disabled, the HTTP action for interaction field also becomes disabled.
Accept all certificates: By default, if HTTPS is set as protocol (see above), the Printer Driver will only accept valid certificates on the server side for the transfer. However in some cases a self-signed certificate may be seen as sufficient for the transfer, e.g. during development and testing, or when the server doesn't have a public address that can be known by (Root) Certificate Authorities. In that case, the root validation of the certificate can be switched off by unchecking this option.
URL for interaction
Enter the URL for interaction, following the same pattern as the URL for job submission.
The last part of this URL is the action as defined in the related Workflow HTTP Input plugin, including any path components. For example: http://demo.myhost.com:80/path/to/target/olcs_interaction.
This URL may be entirely different from the URL for job submission.
If the protocol, host and port of the URL are the same as in the URL for print job submission, it suffices to give the action and any path components.
For example:
The URL for job submission is given as http://demo.myhost.com:80/path/to/target/olcs_transfer.
If the protocol, host and port of the URL for interaction are the same, the URL for interaction can be entered as: path/to/target/olcs_interaction.
When done, click Next to continue.
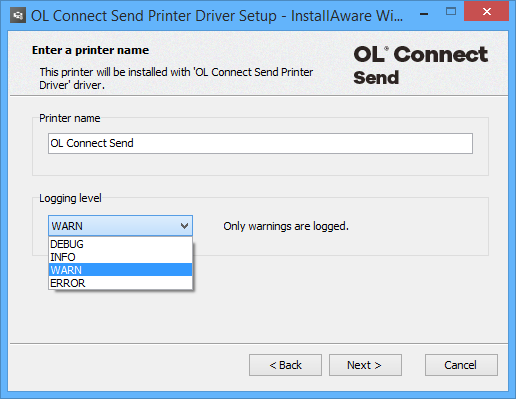
Printer name and logging
In the Printer name and logging screen, you can set a name for the printer you wish to create and setup the logging level.
The printer names can be defined in the following step (default: OL Connect Send Printer #1), as can the feedback level (Debug, Info, Warn, Error).
Note: The printer name cannot be altered subsequently.
Printer name
By default the printer name is OL Connect Send Printer. If a printer with the same name already exists, a number is added and increased until no matching printer name is detected. This then becomes the proposed printer name in this dialog.
The printer name must consist of valid characters. Invalid, forbidden characters are:
-
/ = forward slash, 0x2F
-
" = quote, 0x22
-
\ = backslash, 0x5C
-
* = asterisk, 0x2A
-
: = colon, 0x3A
-
? = question mark, 0x3F
-
< = less than sign, 0x3C
-
> = greater than sign, 0x3E
-
| = pipe symbol, 0x7C
-
, = comma, 0x2C
Note: As opposed to the other settings, the printer name cannot be changed after installation.
Logging
The OL Connect Send Printer Driver creates one log file per printer per day.
-
DEBUG: Logs all messages and is intended to be used only for bug research. It is not recommended to have the log level set to DEBUG for a long period, as this will have an impact on the driver's processing speed. This mode will include INFO, WARN and ERROR messages too.
-
INFO: Logs initialization messages. Administrators may choose this level for an initial installation to supervise the operation of the driver. This mode will include WARN and ERROR messages too.
-
WARN: This is the default level and should be used for production use. In this mode log files may be empty: this is by design and indicates, that the printer and the driver work as expected. This mode will include ERROR messages too.
-
ERROR: For users familiar to OLCS, this log level reduces the overhead to a minimum. It is intended for machines where OLCS has been working error free for several weeks.
Note: This setting has an impact on the number of messages shown and logged by the OLCS Notifier (see OLCS Notifier).
When done, click Next to continue.
Finishing the installation
At this point Setup has collected all the required information for creating and installing the printer driver. A summary page will then appear.
If the setup were run with an associated OLCSClient.ini settings file with the LockSettings value set to true, then a summary of the options selected by the settings file will be presented, along with a Test button to allow testing of the values.
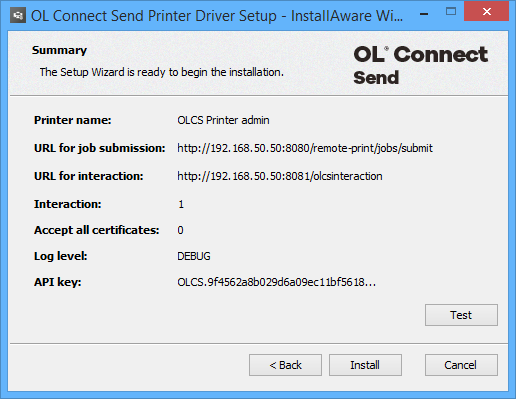
To finalize the installation, click the Install button.
A progress bar will then be shown, displaying the progress of the installation process.
After a successful installation, the Finish dialog is shown.
Depending on what applications and Visual C++ runtimes already installed, a reboot may be required after the successful installation of the OL Connect Send Printer Driver. A respective dialog is shown to the user in this case, offering to do a restart right away or chose to do it at a later time.
If this message should be shown, a reboot is mandatory before using OL Connect Send, otherwise it may not work correctly!
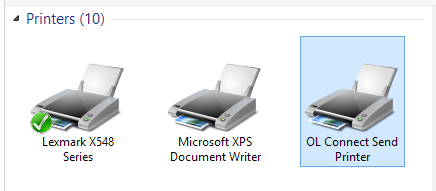
Your OLCS Printer Driver is now installed:
The OLCS Notifier
Once a OL Connect Send Printer Driver is installed, an application called OLCS Notifier is also installed. It displays and logs information relating to the preparation and transfer of each print job. For more information see OLCS Notifier.
Adding, modifying or deleting a printer
To install an additional printer, modify a printer or delete a printer, run the installer again.
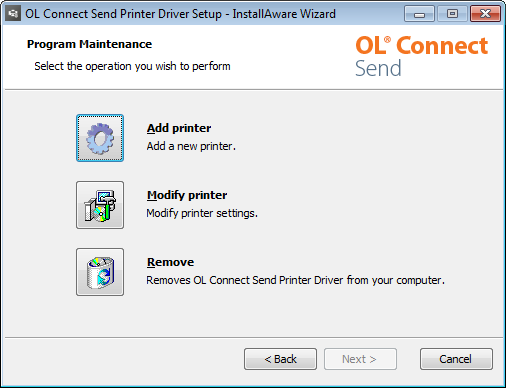
The installer will detect that it’s not being used for the first time and will present a different screen.
Clicking the Next button will bring you to the selection page where you can decide to:
-
Add a printer.
-
Modify the settings of an existing printer.
-
Delete one or all existing printers.
Adding a printer
The wizard pages that follow when clicking the Add printer button are the same as for a new installation. Each printer can have its own settings.
Modifying the printer settings
Depending on the number of printers already installed, you will either see the Wizard window or a dialog box from which you must select the printer you wish to modify.
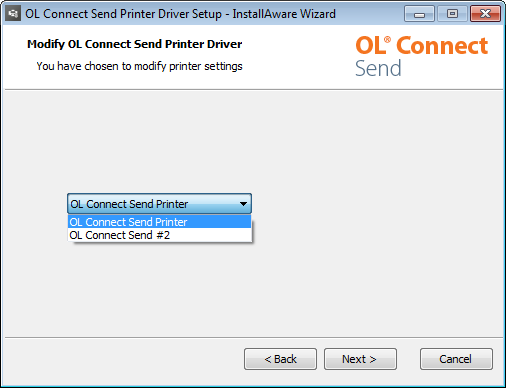
The wizard pages are the same again, so you can modify any of the values (e.g. if the host name has changed), except for the printer name which is grayed out and locked.
Removing a printer
Depending on the number of OLCS printers installed, you will either get a selection box to identify which printer to remove, or you can just delete the only one.
Updating the Printer Driver
When a newer version of the installer becomes available, the Connect Send Printer Driver can be updated by installing one new Connect Send printer with it (see Adding a printer). It is not necessary to delete previously installed OL Connect Send printers: when the new driver is installed, this affects all existing OL Connect Send printers as well.
Some driver settings may need to be updated in order for existing printers to be compatible with the new driver; see Printer driver properties and advanced settings.
Note: Printers installed and running with the pre-release of Connect Send have to be removed before updating the Printer Driver (see also: Workflow Plugins).
Shared Printers
The OL Connect Send Printer Driver is not a shareable driver. This is because the browser interaction cannot be routed through the print server to the end user's desktop. Also a shared printer would transfer the print server's machine name, user name, domain etc., thus invalidating the intended behavior.
So, OL Connect Send Printer Driver must be installed on each dedicated machine.
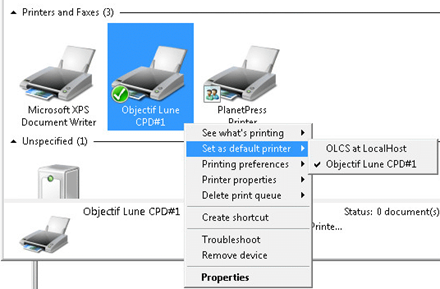
Managing multiple OLCS printers
Newer versions of Windows automatically group all printers that use the same driver under one single entry in the "Devices and Printers" dialog of the control panel. This means that if multiple printers have been set up with OLCS, only the first one will show up in this page. Microsoft has documented this behavior here: https://support.microsoft.com/en-us/kb/2015694.
Each printer can be managed individually however, by using the context menu of the printer and selecting the relevant context.