Prepare output for a personalized print job
This topic continues the tutorial on how to Personalize a print job, with detailed steps to prepare the output. The flow should already be created, as detailed in Build a flow to personalize a print job.
Generate PDF output
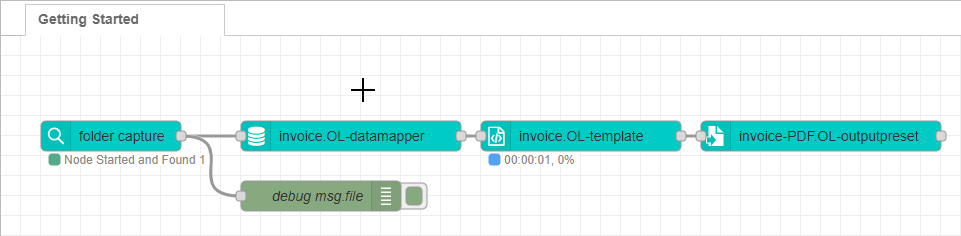
At this stage, the content has been merged and stored in OL Connect’s File Store as intermediate paginated files. To produce the final output, add a paginated output node. This node reads msg.contentSetId to locate the intermediate content in the File Store, then applies the selected Output Preset to generate the final output file(s).
An Output Preset defines how the output is generated. It can:
-
Specify the final output format (PDF, PostScript, PCL, etc.).
-
Split a large print job into smaller jobs.
-
Apply print options such as virtual stationery, grayscale output, or add OMR marks.
Follow these steps to generate the output:
-
Add a paginated output node to the flow after the paginated content node.
-
Double-click the node to open its Properties panel.
-
In the Server drop-down, select the appropriate OL Connect Server configuration.
-
In the Output Preset drop-down, choose
invoice_pdf.OL-outputpreset. -
Under Output Method, select Send File(s) to Folder and specify the output path in the Folder field. In this example, we’re saving the output to:
C:\workspace\gettingstarted\invoices\out

-
Click Done to save your changes.
-
Click Deploy to apply your changes to the server.
Generate PDF Review
When triggered, the flow will generate the final PDF output and save it to the specified folder. Depending on the Output Preset configuration, this may produce a single PDF containing multiple documents or separate PDF files when document separation is enabled.
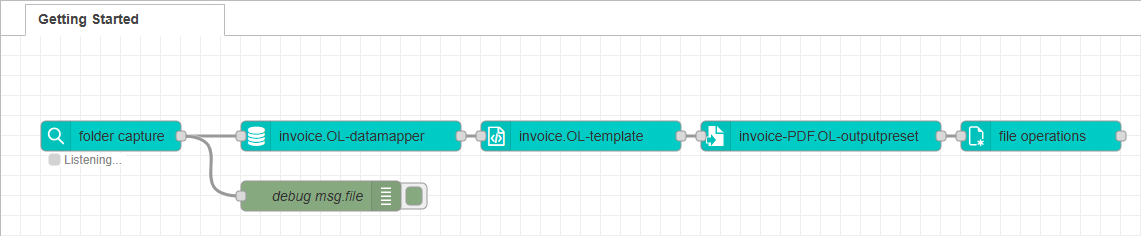
Move the input file after processing
The final step involves handling the original data file. After the flow runs, the data file remains in the hot folder, meaning it would be picked up again the next time the flow is deployed. To prevent this, you can either delete or move the file. In this example, we’ll move it to the output folder.
Follow these steps to configure the file move operation:
-
Add a file operations node to the flow after the paginated output node.
-
Double-click the node to open its Properties panel.
-
Set Operation to Move.
-
In Source file, set the value to
msg.filename. This property still contains the full path to the original input file used by the data mapping node. -
In Target file, select J: expression from the drop-down and enter the following expression:
Copy"C:\\workspace\\gettingstarted\\invoices\\out\\" & file.basename -
Click Done to save your changes.
-
Click Deploy to apply your changes to the server.
Move the input file review
The J: expression option uses the JSONata language to dynamically build the destination path by concatenating the base output folder with the original input file name stored in msg.file.name (coming from the folder capture node).
In JSONata, string concatenation is performed using the & operator. Note that backslashes must be escaped with double backslashes \\, or you can use one forward slash /.
Tip: Many nodes in OL Connect Automate accept JSONata expressions. For sample expressions, see JSONata expression samples