Manage accounts
The OLRP Server provides a management console that can be accessed by URL at the appropriate IP address and port, for example, http://127.0.0.1:9180. The left menu provides access to different features, Help, and can show icons or icons and descriptions using the toggle button in the upper left. By default, the console can only be accessed from the local machine where the OLRP Server is installed.
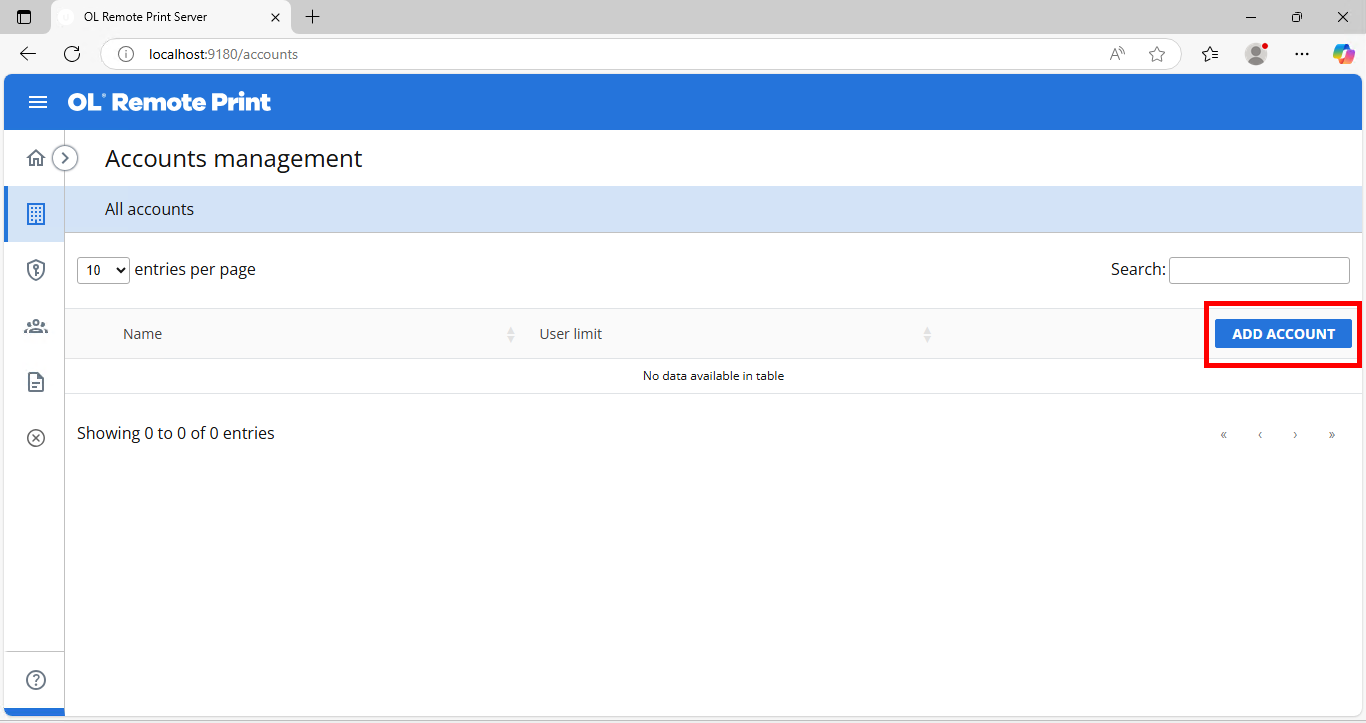
The Accounts management page displays each account and its user limit, and can also be used to manage API keys.
Manage access with accounts
In OLRP, accounts are used to label and group API keys. API keys, generated by the OLRP Server, provide client computers the authorization to submit print jobs.
You can use accounts to control the number of concurrent users allowed to submit print jobs—an essential feature for environments with user-based licensing, where limiting the number of active users within an organization is often required.
Limiting active users can be done with a single account for each API key, or multiple API keys can be under one account with manually controlled distribution.
For example, an administrator might create 10 separate accounts—each containing a single API key named after an employee or employee ID—and assign each key to a specific individual. Alternatively, they could create a single account for the HR department, limit it to 10 concurrent users, and generate one API key to be shared among the department’s employees.
The level of granularity in access control is entirely up to you, based on how strictly you want to manage user access.
Add an account
-
To add an account, click Add Account on the right, at the top of the list.
-
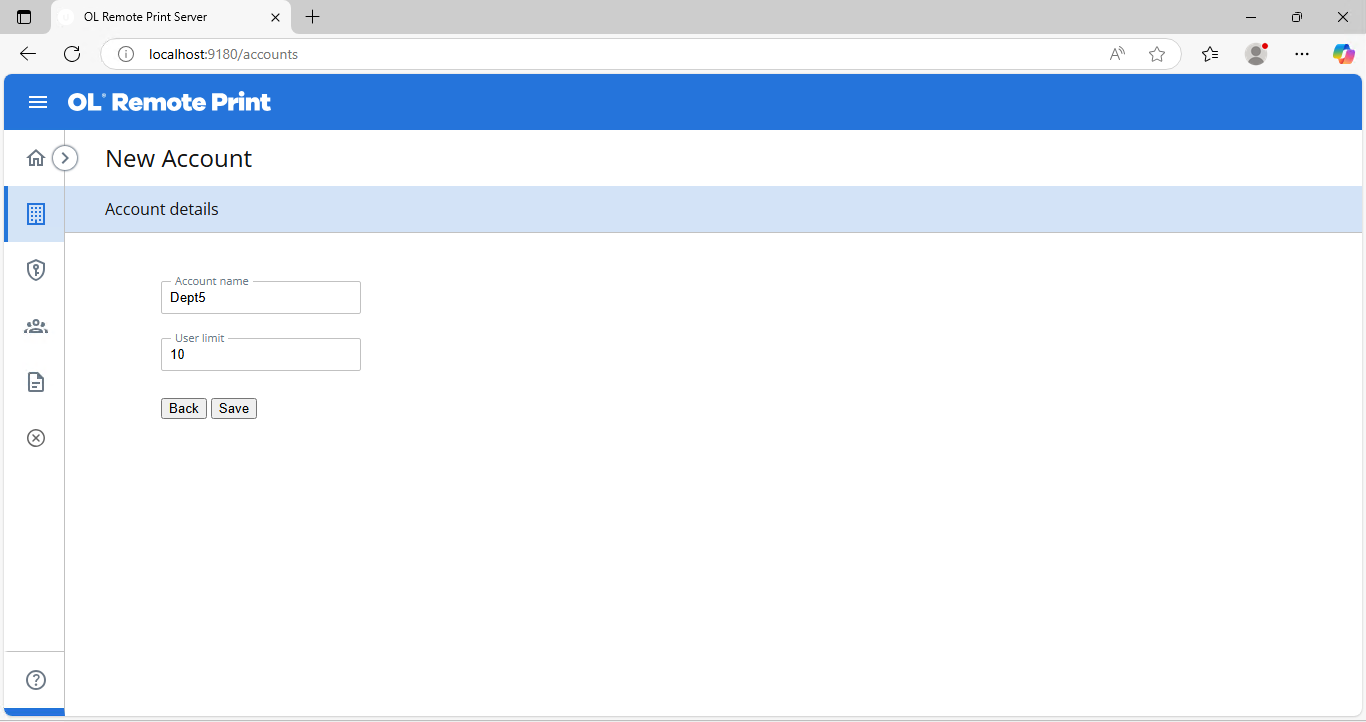
Enter the Account name and User limit, and click Save.
-
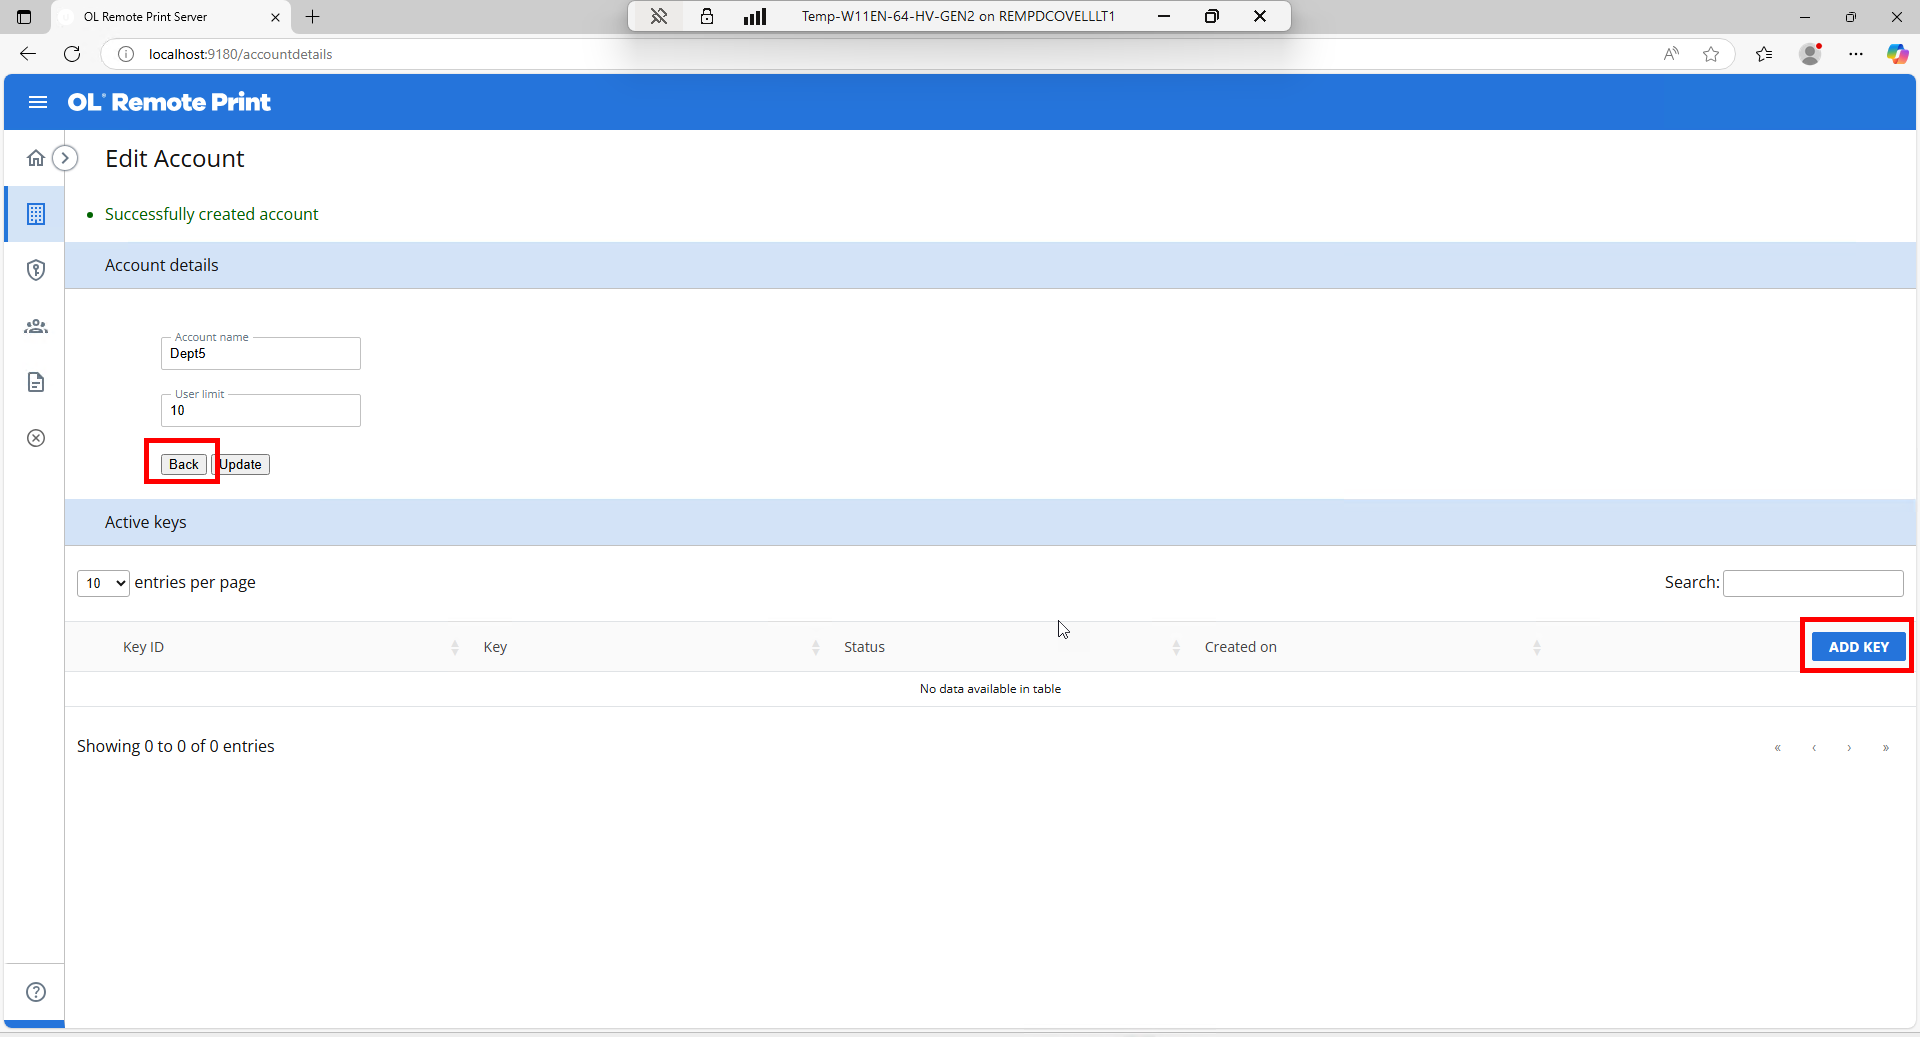
Now you have the option to add one of more API keys for this account. If you do not wish to add an API key, click Back. Otherwise, click Add Key.
-
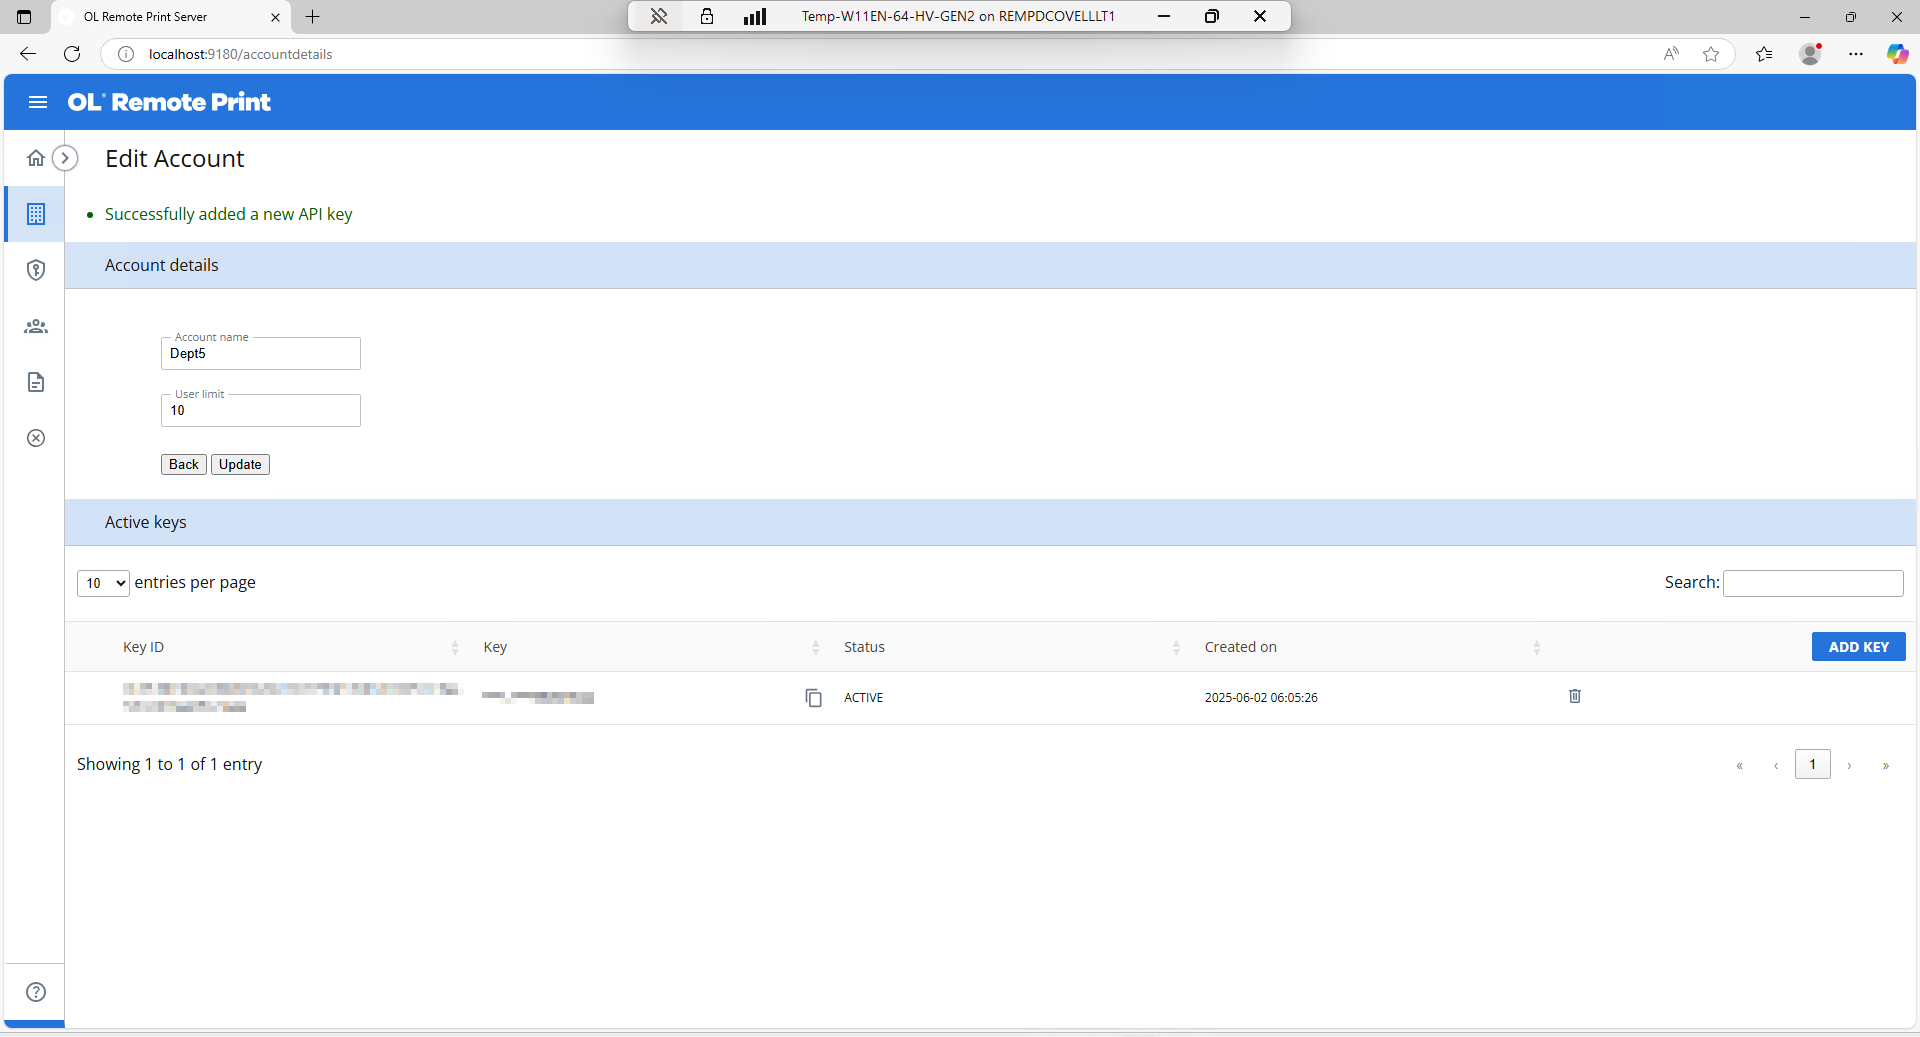
A Key ID and a Key are created for this account. You can copy the key, using the copy icon, revoke the key, or add another key. The key is available for copying later, and can also be copied from the Manage API keys page.
-
Click Add Key to add another key to this account, or Back to return to the list of accounts. You can also select Accounts or any other option from the left menu.
Note: One account may have multiple API Keys. For example, you can assign a unique key to each user in that account, instead of all users of that account sharing one key. However, a key can only belong to one account.
Edit an account
To edit an account, click the pencil and paper edit icon in that account's row on the Accounts Management screen. Edit the Account name, the User limit, or both, and click Update.
You can also copy, revoke, or add an API key while editing an account, and view the date and time an existing key was created.
Delete an account
To delete an account, click the trash can icon in that account's row. Accounts with active keys cannot be deleted.