Content Builder
The content builder allows you to build your email using:
-
Pre-designed templates to structure your mailing.
-
Themes to quickly tailor your design.
-
Building blocks to construct your mailing.
To create an email using the content builder:
-
Create a mailing as normal.
-
On the content tab, select content builder from the editing menu dropdown.
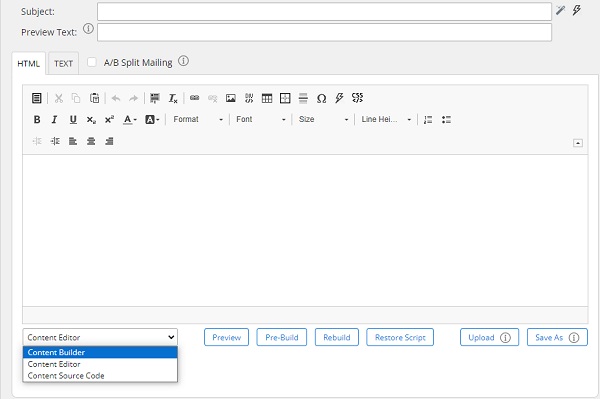
The content builder will load with a default template.
Select a template in the content builder
-
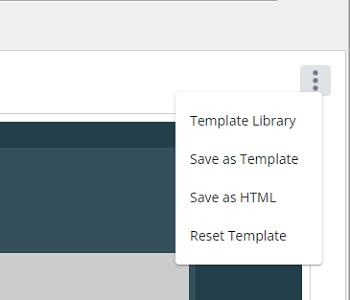
Expand the more options menu (⋮) and select the template library.
-
Use the tabs to view either starter templates or previously saved templates.
-
Select a template to replace the default template.
With your template selected, you can further modify your mailing structure by applying a theme, adding content blocks, or adding content from the asset library.
Tip: if you need to use your modified design for other campaigns, use the more options menu to save your design as a new template or HTML.
Set a theme using the content builder
The content builder allows you to apply pre-designed themes to your mailing. These themes may be used to make it easy to match your content to your branding, e.g. add logos, color schemes, etc. into your mailing.
-
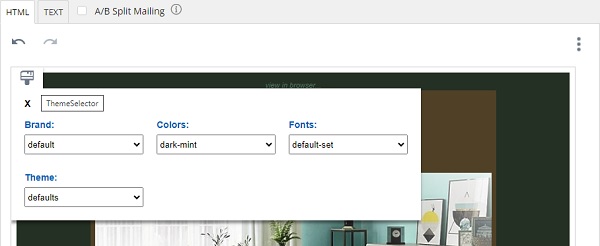
Hover over the mailing and press the theme selector button.
-
Use the dropdown menus to select a theme, colour scheme, or font style. The mailing will automatically update.
Tip: you can also apply a theme to individual content blocks by pressing the theme selector button in the corner of each block.
Structure your content using builder blocks
Your content builder template contains structural blocks that define the layout for your email copy. These blocks may define the positioning of text, columns, images, etc.
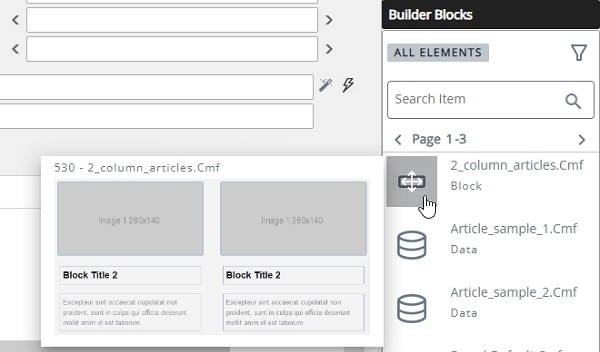
Structural blocks are identified by a rectangular icon in the builder blocks dropdown and are labeled as Block.
Tip: hover over a structural block to preview how the block will appear within your mailing.
To place a content block in your mailing:
-
Drag the chosen block from the builder block dropdown.
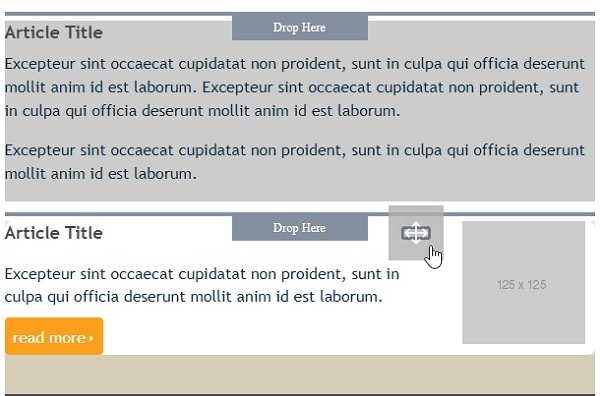
Guides will appear on the canvas to show where existing blocks are positioned and where to drop your new block.
-
Drop your block onto the canvas.
Note: if you drop onto the drop here lines, your block will be inserted at that location, i.e. it will go above the blocks below the line.
If you drop below a line, i.e. on an existing block, the new block will be inserted below the existing block.
-
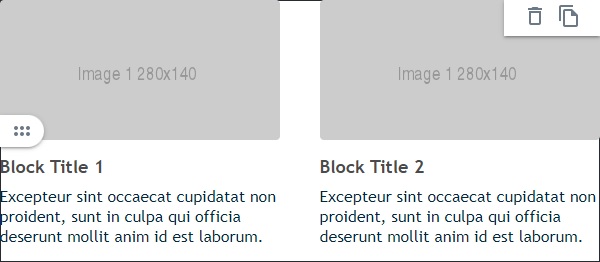
If you drop a block in the wrong location, hover over the block to reveal additional controls.
-
Use the drag handle to the left of the content block to move the block to a new position on the canvas.
Alternatively, you can use the trashcan icon to delete the block and drag in a different block.
Tip: if you want to add a block with the same content and styling as an existing block, hover over the block and press the copy icon. The new block will be placed directly beneath the one you copied.
Import from the asset library
The asset library contains additional tabs that allow you to further customize your mailing.
-
Content tab - contains your uploaded images, etc. Drag-and-drop items from here to populate your mailing content.
-
Images tab - contains image tags for insertion into your HTML.
-
Tags tab - allows you to add personalization to your mailing.