Add a New Document to a Work Item
Documents, such as requirements, contracts, meeting notes, etc., can be directly attached to work items in PowerSteering. Adding relevant Documents to work items creates a centralized location for work-related files and URL links, which prevents Team Members from having to search through emails, shared drives, or other systems for certain information.
Tip: Documents can be added directly to specific gates in Gated Projects.
To add a Document to a work item:
Before You Start: Users require the "Add Document" Project Task permission on the work item to attach Documents. Also, they require the "Edit Document Approval Settings" Project Task permission on the work item if they wish to edit any of the Document approvers during the upload.
-
Navigate to the work item.
-
Select Project
 → Documents from the Navigation Menu.
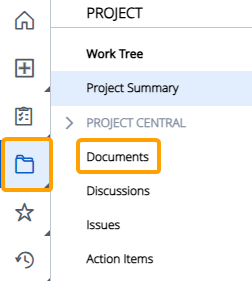
OR
Scroll to the "Documents" module on the Summary page.

Note: If you cannot see the "Documents" module on the Summary page, its visibility may have been limited.
-
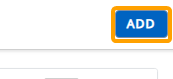
Select the Add button.
-
Select the Choose Document button to upload a local file from your device.
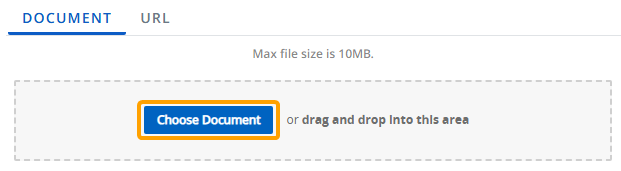
Tip: You can also drag and drop files directly into the dotted area.
OR
Select the URL tab, enter a URL into the textbox, and select the Add URL button to add a URL link as a Document.

-
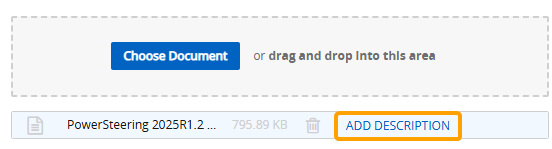
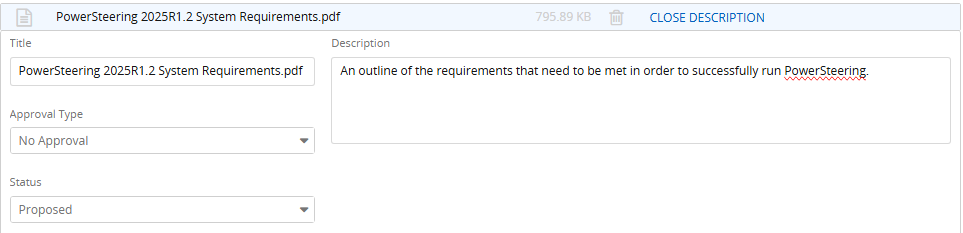
Select Add Description.
-
Fill out any of the Document fields.
 Click here for more information on these fields
-
Title: Edit the display name of the Document.
Note: The default title is always the file name or URL.
-
Description: Enter a brief description to provide some context around the Document.
-
Approval Type: Determine whether the Document will require approval.
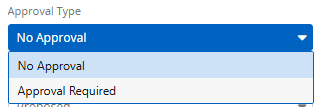
Note: This field will only appear for users with the "Edit Document Approval Settings" Project Task permission on the work item.
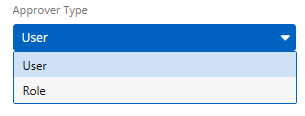
If Approval Required is selected, an "Approver Type" menu will appear. This field offers two options for determining the Document's approval settings.
-
User: Specific users will be given approval responsibility on the Document. An "Approvers" textfield will appear, allowing users to be searched and selected by name.
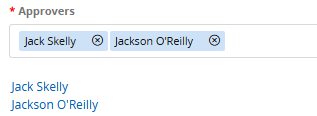
Note: Only one approver is necessary for Documents. Selecting multiple users does not require each user to approve the Document.
-
Role: Specific Roles will be given approval responsibility on the Document. A "Roles" menu will appear, allowing users to select any of the work item's Roles.

Users who are assigned to the selected Role(s) on the work item will be given approval responsibility over the Document.
Note: Only one approver is necessary for Documents. Selecting multiple Roles does not require a user in each Role to approve the Document.
-
-
Status: Select the status of the Document upon upload.
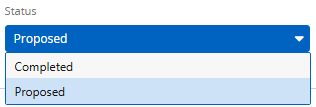
Note: This field will only appear if No Approval is selected from the "Approval Type" field. When Documents require approval, their statuses cannot be edited; they are totally reliant on whether or not the Document has been approved. Instead of "Proposed" and "Completed", the potential Document statuses will be "Unapproved" and "Approved".
-
-
Fill out any Tags that have been associated with Documents.
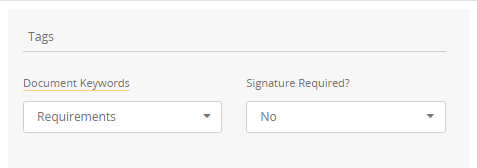
Note: Tags are only displayed if they have been associated with Documents (see creating or editing Tags) and set to be visible through Field Management.
-
Repeat Steps 4-7 to add another Document to the work item.
-
Select the Save button.

After selecting Save, the Document(s) will be attached to the work item. They can be viewed from the work item's "Documents" page or the "Documents" module on the Summary page.
