Filter the Project Central Display
The "Filters" tab in Project Central allows users to control which data is displayed on the page:
Everything on the "Filters" tab falls into two categories:
Project Plan Filters
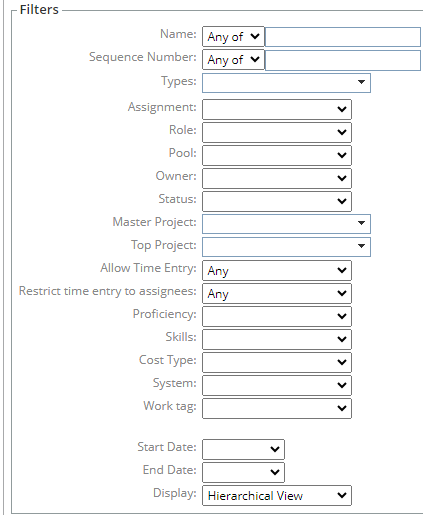
The "Filters" portion allows users to apply filters to the Project Plan section of Project Central:

Before You Start: Users will require the "View Project Central" Project Task permission on the work item in order to access Project Central.
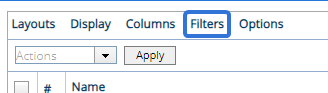
Once you navigate to Project Central, select the "Filters" tab:
Use the "Filters" portion to apply filters to the Project Plan section:
-
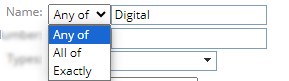
Name: Filter work items on the Project Plan section by name. The text box is not case sensitive.
-
Any of: Only work items with names that contain any of the entered words or portions of words (i.e. "Dig" will return names containing "Digital") will be included on the page.
-
All of: Only work items with names that contain all of the entered words or portions of words (i.e. "Dig" will return names containing "Digital") will be included on the page.
-
Exactly: Only work items with names that exactly match the entered text will be included on the page.
Note: Sequence numbers must also be included in the text box.
-
-
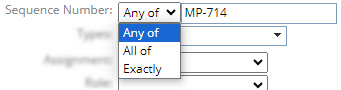
Sequence Number: Filter work items on the Project Plan section by their Sequence Numbers. The text box is not case sensitive.
Note: This will only return work items that have been automatically assigned a Sequence Number due to object type. Descendants of these work items that share the same Sequence Numbers will not be included.
-
Any of: Only work items with Sequence Numbers that contain any of the entered text will be included on the page.
-
All of: Only work items with Sequence Numbers that contain all of the entered text will be included on the page.
-
Exactly: Only work items with Sequence Numbers that exactly match the entered text will be included on the page.
-
-
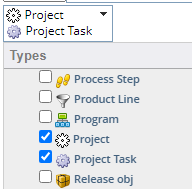
Types: Select which object types should be included on the page. Only work items of the selected object types will be included.
-
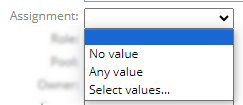
Assignment: Filter the work items by the Resource(s) assigned to them.
-
No value: Only work items without any Resources assigned to them will be included.
-
Any value: Only work items that have Resources assigned to them will be included.
-
Select values...: Use the window that appears to select which Resources the work items must have assigned to them to be included.
Note: Only one of the selected Resources must be assigned to a work item for it to be included.
Note: Even if the work item has multiple Resources assigned to it, only the selected Resource(s) will be displayed in the "Assignment" column on the page.
-
-
Role: Filter the work items by the Role(s) assigned to them. Roles assigned to Resources or assigned without a Resource (unstaffed demand) will be taken into account.
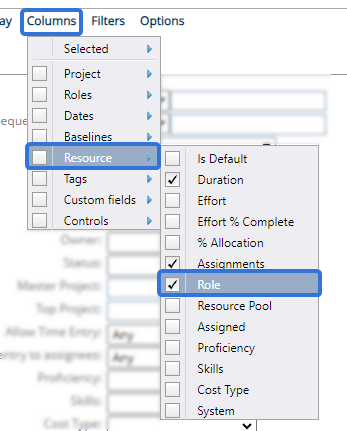
Note: This filter is based on the "Role" column that can be added by selecting Resource → Role from the "Columns" menu:

Click thumbnail to enlarge.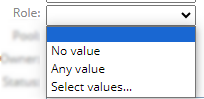
-
No value: Only work items with no value in the "Role" column will be included.
-
Any value: Only work items with a value in the "Role" column will be included.
-
Select values...: Use the window that appears to select which Roles the work items must have assigned to them (either to a Resource or as unstaffed demand) to be included.
Note: Only selected Roles will appear on the page. If the work item has another Role that is not selected, that Role will not be displayed in the "Role" column.
-
-
Pool: Filter the work items by the Resource Pool(s) attached to them.
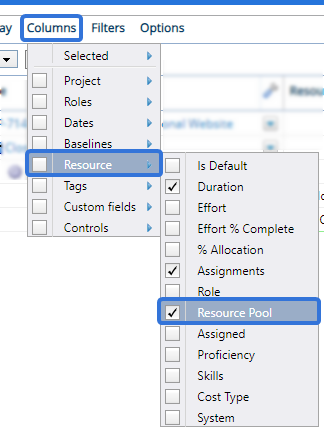
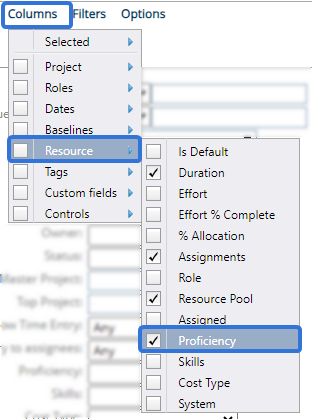
Note: This filter is based on the "Resource Pool" column that can be added by selecting Resource → Resource Pool from the "Columns" menu:

Click thumbnail to enlarge.
Please note that Resource Pools can be added to work items without a Resource assignment.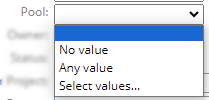
-
No value: Only work items with no value in the "Resource Pool" column will be included.
-
Any value: Only work items with a value in the "Resource" column will be included.
-
Select values...: Use the window that appears to select which Resource Pools the work items must have attached to them (either to a Resource or as unstaffed demand) to be included.
Note: Only selected Resource Pools will appear on the page. If the work item has another Resource Pool that is not selected, it will not be displayed.
-
-
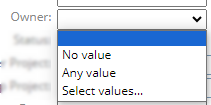
Owner: Filter the work item(s) based on their Owner.
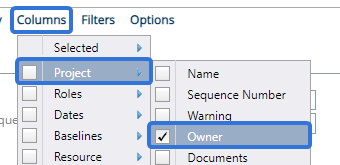
Note: An "Owner" column can be added to the page by selecting Project → Owner from the "Columns" menu:

Click thumbnail to enlarge.Note: "Owner" is a replaceable term in PowerSteering. It may be named something different in your PowerSteering environment. Contact a PowerSteering administrator for more information.
-
No value: Only work items with no Owner will be included.
-
Any value: Only work items with an Owner will be included.
-
Select values...: Use the window that appears to select which Owners the work items must have to be included.
-
-
Status: Filter the work item(s) based on their current status.
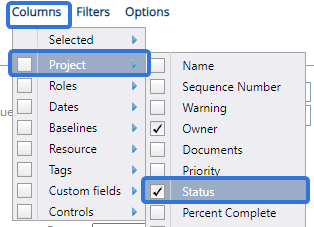
Note: A "Status" column can be added to the page by selecting Project → Status from the "Columns" menu:

Click thumbnail to enlarge.
-
No value: Only work items with no status will be included.
Note: All work items have statuses, so selecting this will remove all work items.
-
Any value: Only work items with a status will be included.
Note: All work items have statuses, so selecting this will include all work items.
-
Select values...: Use the window that appears to select which current statuses the work items must have to be included.
-
-
Master Project: Filter the work items based on their Master Projects. Only work items with Master Projects that match the selection(s) will be included.
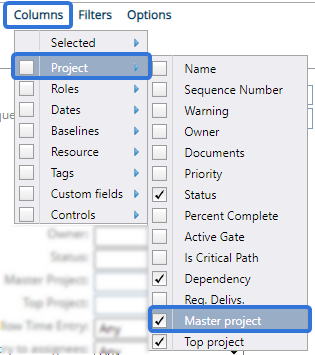
Note: A "Master Project" column can be added to the page by selecting Project → Master project from the "Columns" menu:

Click thumbnail to enlarge. -
Top Project: Filter the work items based on their Top Projects. Only work items with Top Projects that match the selection(s) will be included.
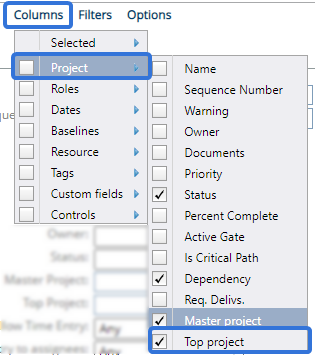
Note: A "Top Project" column can be added to the page by selecting Project → Top project from the "Columns" menu:

Click thumbnail to enlarge. -
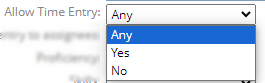
Allow Time Entry: Filter the work items based on their "Allow time entry" settings.
Note: A work item's "Allow time entry" settings can be configured while editing work details.
-
Any: All work items will be included regardless of their "Allow time entry" settings.
-
Yes: Work items must allow time entry in order to be included.
-
No: Work items must not allow time entry in order to be included.
-
-
Restrict time entry to assignees: Filter the work items based on their "Restrict time entry to assignees" settings.
Note: A work item's "Restrict time entry to assignees" settings can be configured while editing work details.
-
Any: All work items will be included regardless of their "Restrict time entry to assignees" settings.
-
Yes: Work items must restrict time entry to assignees in order to be included.
-
No: Work items must not restrict time entry to assignees in order to be included.
-
-
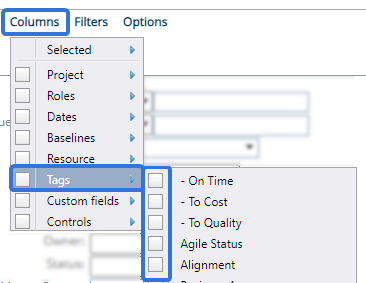
Tags: Filter the work items by any of the available Resource Tags.
Note: Resource Tags must be configured in Resource Planning to be included as filters.
Note: Columns for the available Resource Tags can be added to the page by selecting Resource → [Tag Name] from the "Columns" menu:

Click thumbnail to enlarge.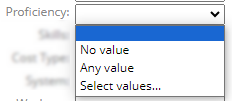
-
No value: Only work items that do not contain a value for the Tag will be included.
-
Any value: Only work items that contain a value for the Tag will be included.
-
Select values...: Use the window that appears to select which Tag values the work items must have to be included.
-
-
Work tag: Filter the work items by a selected work Tag.
Note: Only Tags that are associated with Work Types will be included.
Note: Columns for work Tags can be added to the page by selecting Tags → [Tag Name] from the "Columns" menu:

Click thumbnail to enlarge.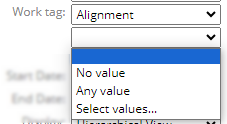
-
No value: Only work items that do not contain a value for the Tag will be included.
-
Any value: Only work items that contain a value for the Tag will be included.
-
Select values...: Use the window that appears to select which Tag values the work items must have to be included.
-
-
Start Date: Filter the work items by one (or any) of their start dates.
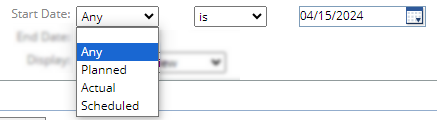
In this example, only work items with any start date (either Planned, Actual, or Scheduled) that lands exactly on April 15th, 2024 will be included.
-
End Date: Filter the work items by one (or any) of their end dates.
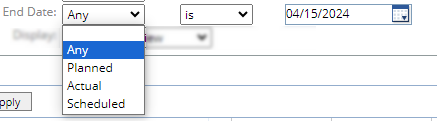
In this example, only work items with any end date (either Planned, Actual, or Scheduled) that lands exactly on April 15th, 2024 will be included.
-
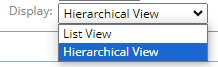
Display: Determine how the work items should be displayed.
-
List View: The work items will be listed without any hierarchy. Each Descendant will still be listed under its "parent" work.
-
Hierarchical View (recommended): The work items will be indented based on the hierarchies between them (Descendants will be indented under their "parent" work). Users can expand and collapse "parent" work to view and hide Descendant work.
-
Team Panel Filters
The "Team Panel" portion allows users to apply filters to the Resource List section of Project Central:
Before You Start: Users will require the "View Project Central" Project Task permission on the work item in order to access Project Central.
To display the Resource List in Project Central, select the "Resource list" checkbox from the "Display" menu: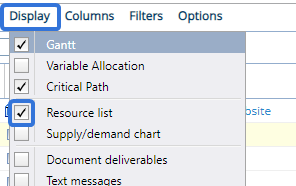
Once you navigate to Project Central, select the "Filters" tab:
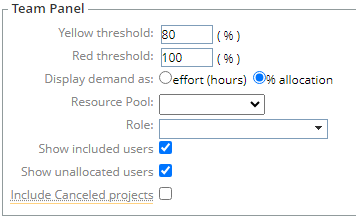
Use the "Team Panel" portion to apply filters to the Resource List section:
-
Yellow threshold: When a Resource's allocated availability for the time period reaches a value between this percentage and the percentage from the "Red threshold" (below), both the "Allocation" and "Availability" values will turn yellow.
-
Red threshold: When a Resource's allocated availability for the time period reaches a value greater than this percentage, both the "Allocation" and "Availability" values will turn yellow.
-
Display demand as: Determine how the data will be displayed in the Resource List.
-
effort (hours): The data will be displayed as actual working hours.
-
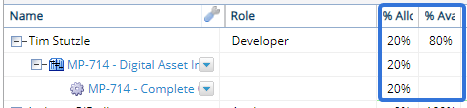
% allocation: The data will be displayed as percentages of the Resource's allocation and availability.
Example: 20% of Tim's availability has been allocated towards work for the time period. He still has 80% of his availability left:
-
-
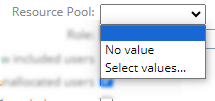
Resource Pool: Filter the listed Resources by the Resource Pools they belong to.
-
No value: Only Resources that do not belong to a Resource Pool will be included.
-
Select values...: Use the window that appears to select which Resource Pools the Resources must belong to in order to be included.
-
-
Role: Filter the listed Resources by their Roles on the Resource List. Only users with the specified Role(s) will be displayed.
Note: This refers to the Roles that Resources have on the Resource List. If the Resource has the Role on their profile but not on the Resource List, it will not be included.
-
Show included users: Select this checkbox to display the Resources that have been assigned to the work displayed in Project Central.
-
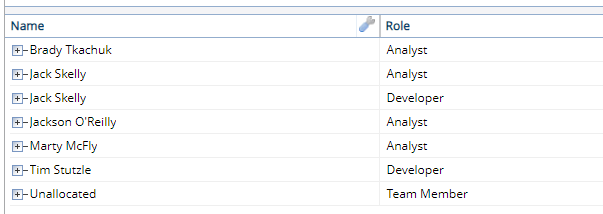
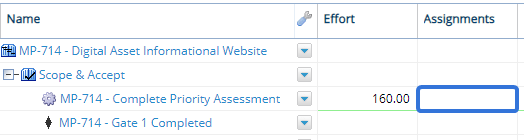
Show unallocated users: Select this checkbox to display unstaffed demand in the Resource List. These Resources will be named "Unallocated".
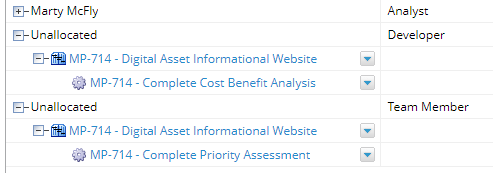
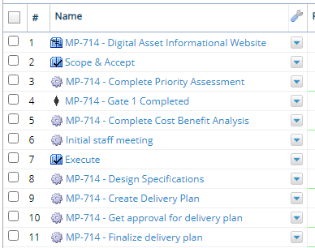
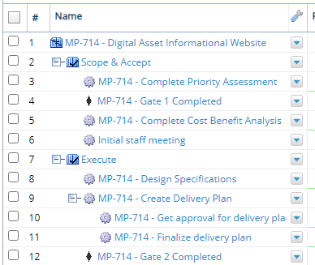
Note: Unstaffed demand occurs when effort (hours) exists on a work item without a Resource assigned to it. For example, the "Complete Priority Assessment" work item in the image above is included under an "Unallocated" Resource because it requires 160 hours of effort, but no Resource has been assigned yet:
-
Include canceled projects: Select this checkbox to include data from work items with a "Canceled" status.
Note: Work status names can be changed in PowerSteering; the "Canceled" status might be called something different in your PowerSteering environment. Speak to an administrator if you are unsure.