This covers the creation of a new batch template.
- From the Icon Bar click Setup
 .
. - From the Navigation Menu click Financial to expand the corresponding menu.
- From the menu click System.
- Upon the Financial Settings page displaying navigate to the Invoice tab.
- Click the Batch Templates sub-tab to view the list of available Batch Templates
- Click New.
- Enter the Name of the batch template,
- Indicate if this is to be the Default selection.

- Select the Invoice Generation Options. If you require creating a Custom batch template, proceed to step 10, otherwise proceed the step 12.
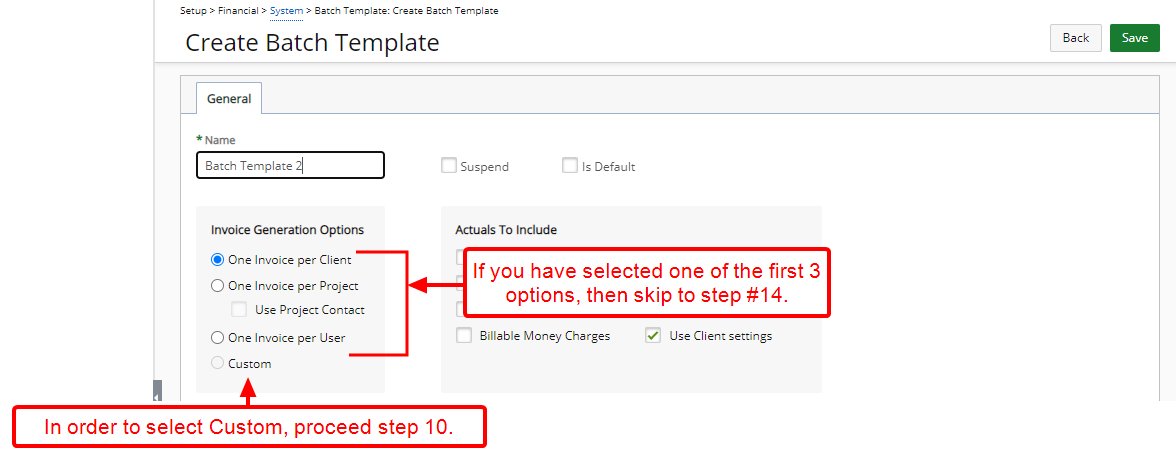
- Click Save, and then choose the Custom option.
Note: Upon clicking Save, you can access the Filter tab and the Group Invoices based on identical values of the following attributes section.
- Under the Group Invoices based on identical values of the following attributes section:
- Select attributes by which to group invoices:
- Click the Add
 button
 - View the selection under the Selected Columns.
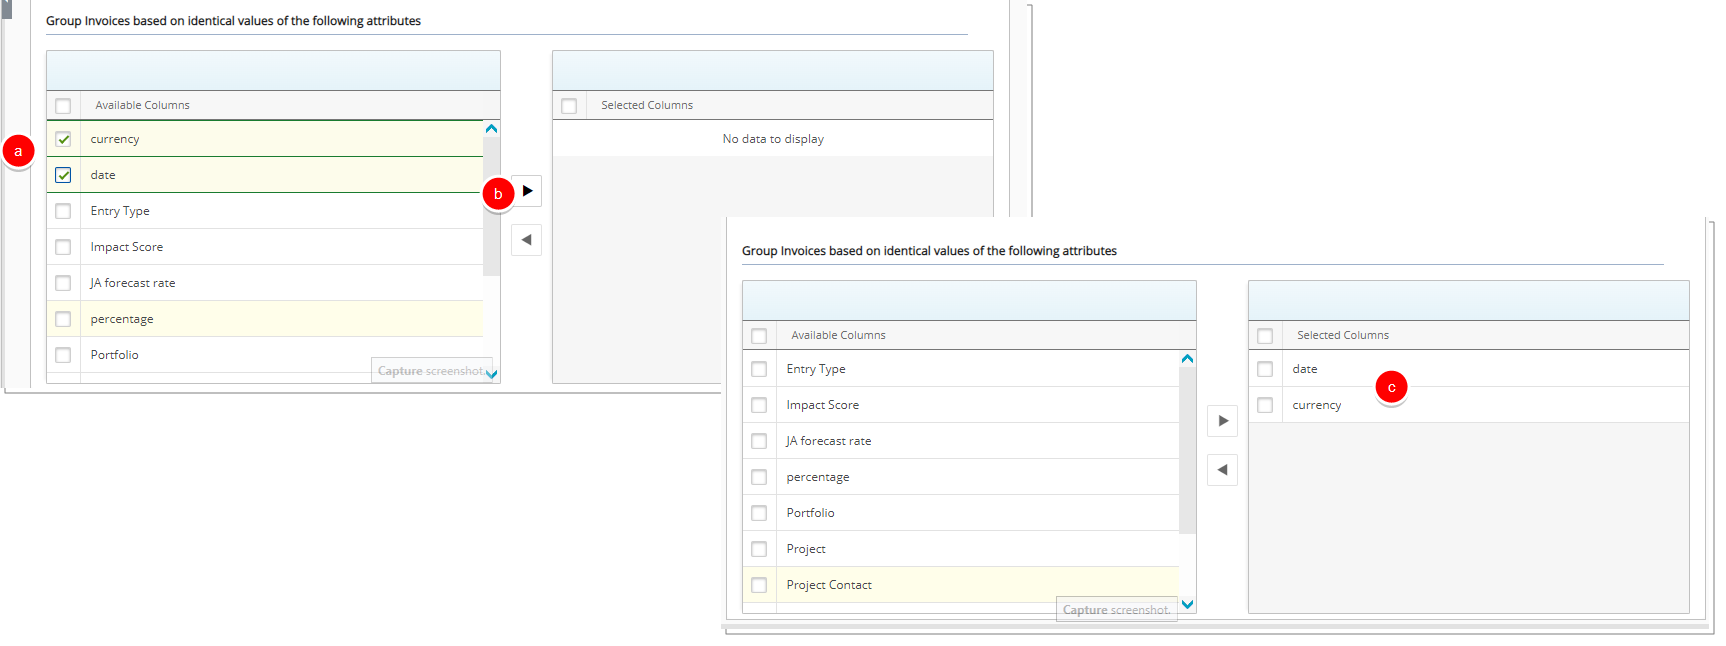
Note: The Available Columns (left grid) displays a list of available attributes to select from:
- The default attributes being: Project, Portfolio, Project Contact, User, Entry Type, and Project Currency (Displays only if the "Enable Project Currency override" option has been enabled through the Clients > Work Defaults page. Click here to view the article on enabling the Project Currency override.).
- All non multi-select Project-level UDFs are also included.
- Select the Actuals To Include if different from the default.
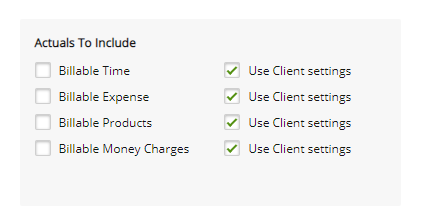
- Click Save to apply your changes.