A Workflow Role may be needed if the work process requires review/approval by a Role, at some point in the Workflow, that does not fall under any of the readily available, out-of-the-box manager roles (Project, Group, Approval, Functional), or that is designated to only specific User(s).
A Workflow Role can be associated to a User either from the: User Edit page or Workflow Role edit page.
Associate a Workflow Role to a User from the User Edit page:
- From the Icon Bar click Setup
 .
. - From the Navigation Menu click Organization.
- From the available options select Users.
- Upon the Users list page displaying, click the name of the User you wish to edit, to access the User Edit page.
Tip: You may wish to narrow your Users list so that you retrieve just the right amount of information you need. To do so you can perform a search. Select a search criterion from the list of available search criteria and then enter a corresponding value in the Search box. Click the Search icon to narrow down the Users list. For more information on the contains-in logic search click here.
- From the User Edit page displaying, expand the Entry Options menu item.
- Click Workflow Roles.
-
Select the required Workflow from the following options:
- Expense
- Invoicing
- Leave Request
- Project
- Resource Request
- Timesheet
- Work Item

Note: By default Timesheet is selected.
- Select the appropriate Workflow Role(s) from the available table on the left.
- Click the Add
 button to move the selected Workflow Roles to the selected table on the right.
 Note: Modifications are saved automatically.
- Click Back to return to the previous page.
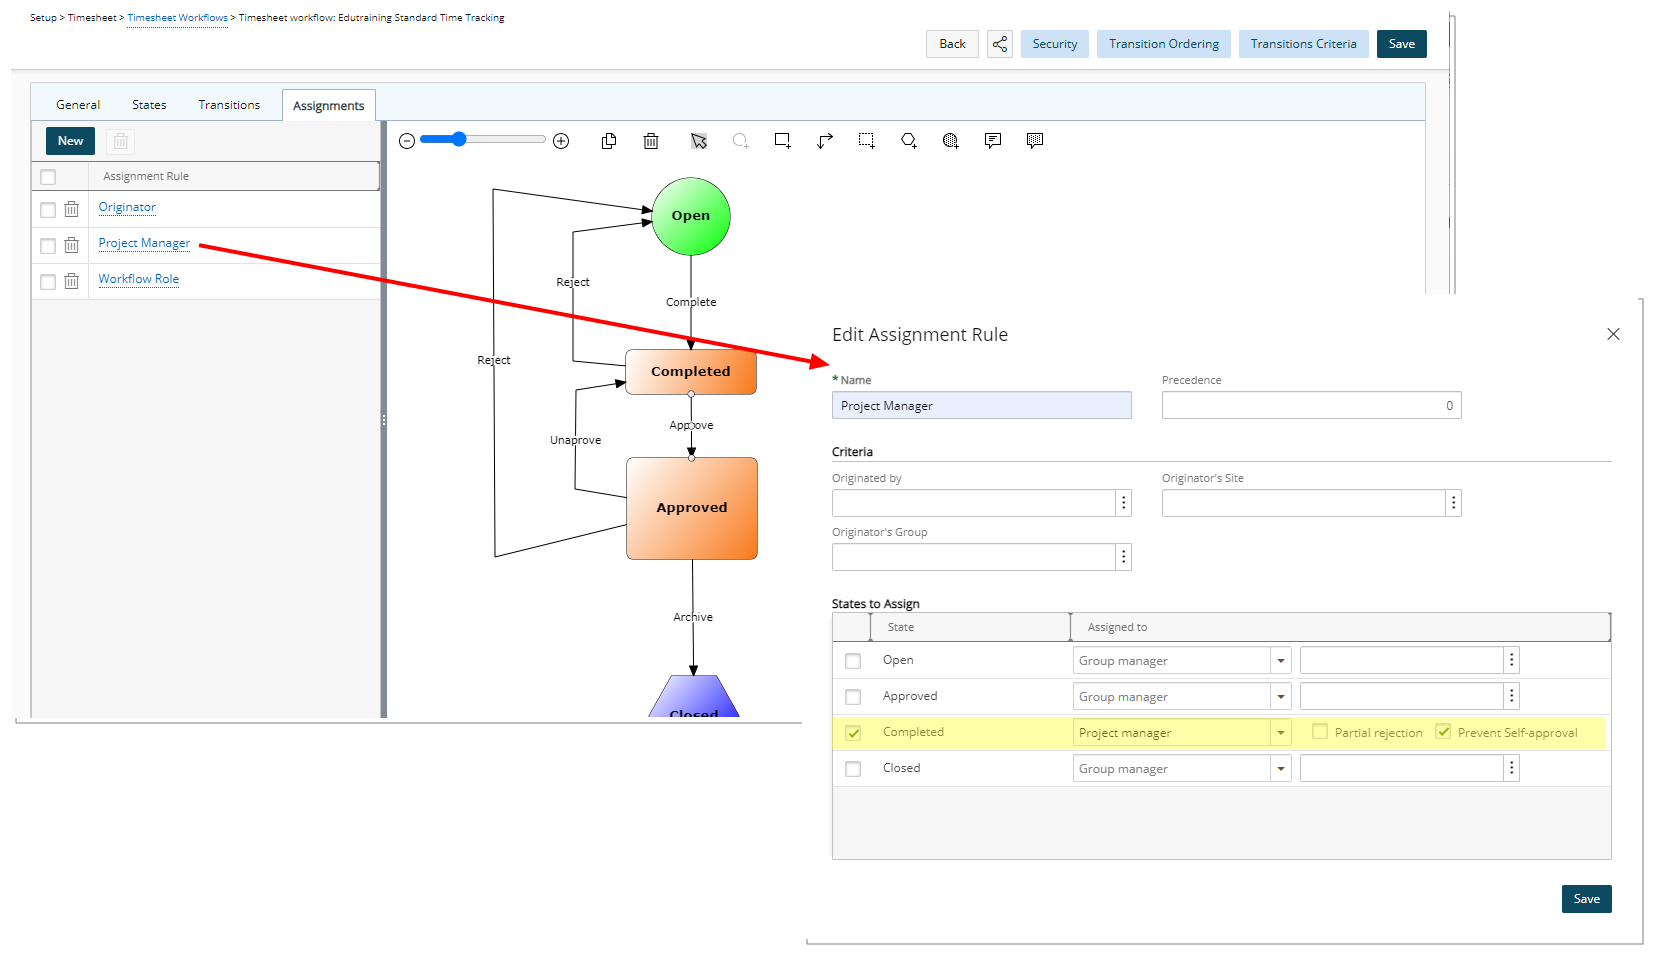
- View the Workflow and the State assignment wherein the Workflow Role has been assigned.
- Entries can be moved through the process, from State to State. A User, who has been designated the Workflow Role, will be able to view the Entry and select the Transition.
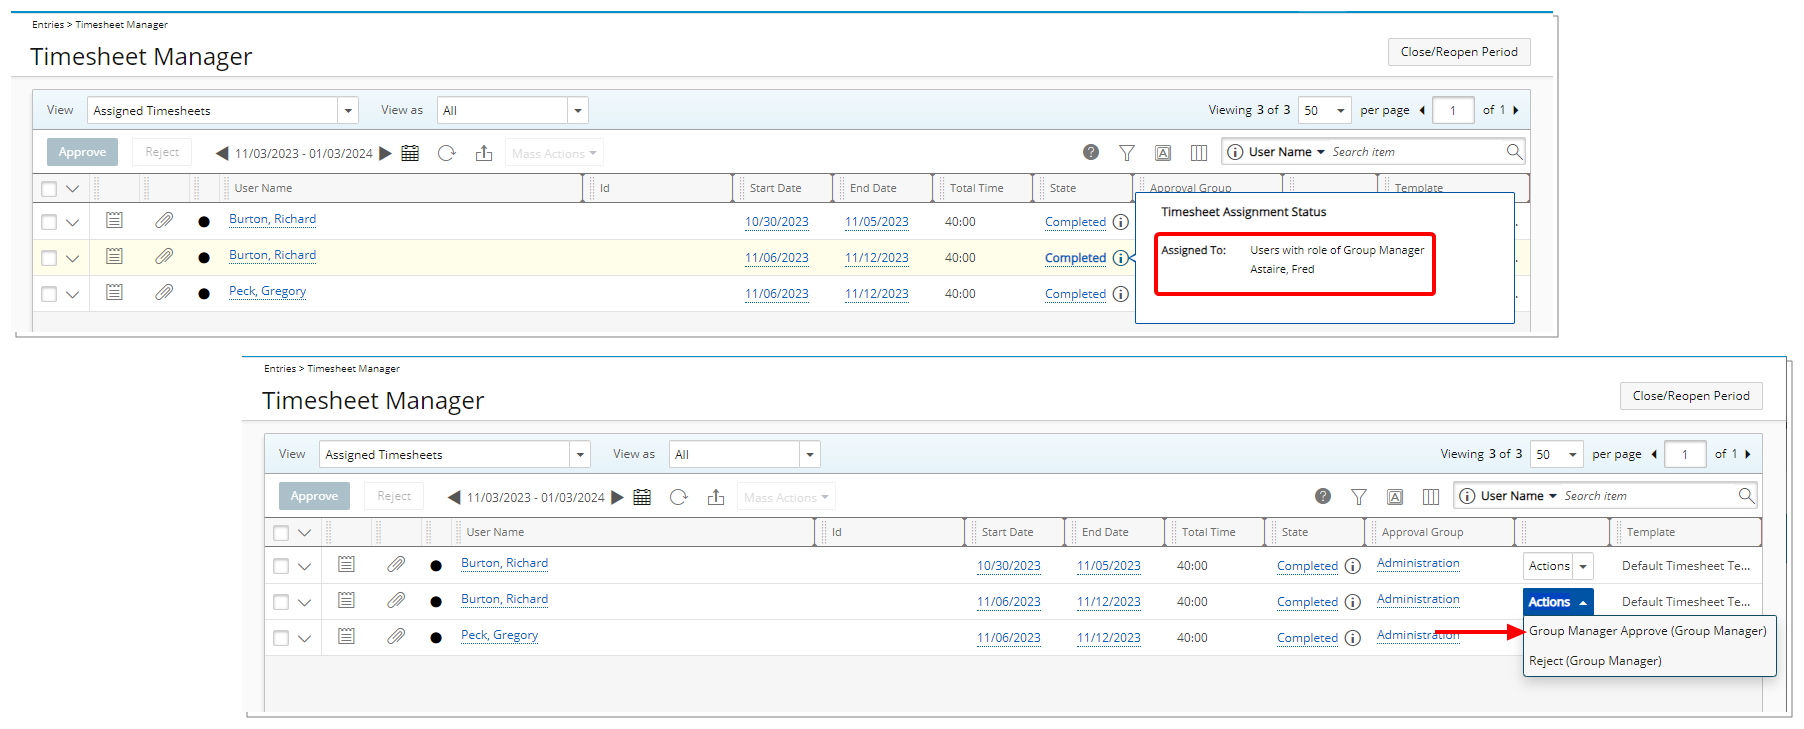
Note: In this example, as it is a Timesheet Entry, with the appropriate rights, the Entry and Transition can be seen and selected from the Timesheet Manager page, in addition to the Entry page.
Associate a Workflow Role to a User from the Workflow Role edit page:
The steps below detail how to Associate a Workflow Role to a User from the Workflow Role edit page. Through the example here illustrates a Timesheet Workflow Role, the manner in which to associate a Workflow Role to a User is basically the same with the main difference being the navigation to access the Workflow Role Edit page. For further details visit Accessing the Workflow Edit page article.
- From the Icon Bar click Setup .
- From the Navigation Menu click Timesheet.
- Select Timesheet Workflows.
- From the top of the Workflows page, click Workflow Roles.
- Upon the corresponding Workflow Roles list page displaying you can associate Users by either:
- Choosing a Role and then clicking the Associations button.
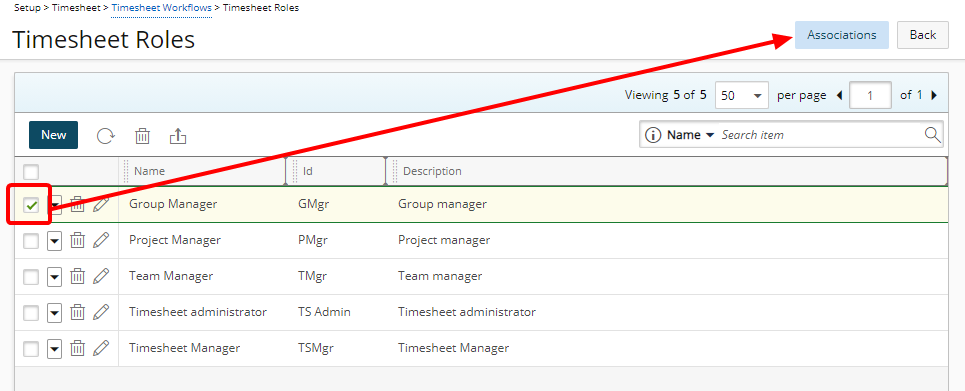
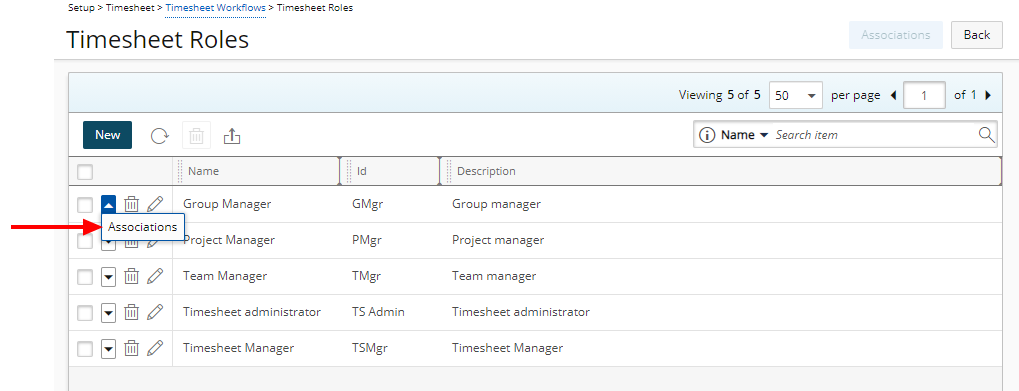
- Accessing the Role context menu and then choosing Associations.
- Choosing a Role and then clicking the Associations button.
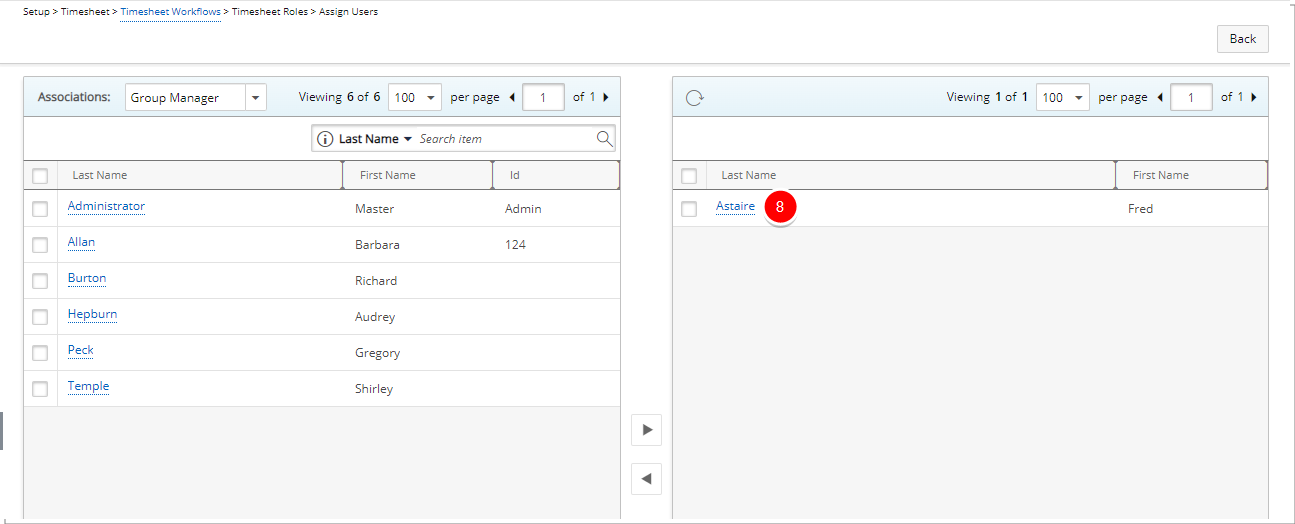
- Upon the Assign Users page displaying, select the User(s) you wish to Assign, from the left table.
Tip: You may wish to narrow your Assign Users list so that you retrieve just the right amount of information you need. To do so you can perform a search. Select a search criterion from the list of available search criteria and then enter a corresponding value in the Search box. Click the Search icon to narrow down the Users list. For more information on the contains-in logic search click here.
- Click the Add button.
- View the list of assigned User(s).
- Click Back to return to the previous page.
- View the Workflow and the State assignment wherein the Workflow Role has been assigned.
- With the Workflow successfully revised, Entries can be moved through the process, being transitioned from State to State. A User, who has been designated the Workflow Role, will be able to view the Entry and select the Transition.
Note: In this example, as it is a Timesheet Entry, with the appropriate rights, the Entry and Transition can be seen and selected from the Timesheet Manager page, in addition to the Entry page.