The details of your Time Entry can be accessed a viewed through the Time Entry Details panel.
This article details how to access and view the Time Entry Details panel.
Note:To allow Users access to the new and improved My Timesheet in your Sandbox/Implementation/production environments, you must add them to the New Timesheet list. For further details refer to Adding users to the New Timesheet list. If you prefer, you can choose to enforce the use of New Timesheet for all Users at the global level.
- From the Icon Bar click Entries
 .
. - From the Navigation Menu click My Timesheet.
Tip: You can access your timesheet through different avenues, which are further detailed in Accessing My Timesheet.
- Navigate to the required Period:
- Click the Calendar button and select the appropriate period.
- Click the Next/Previous buttons to navigate to next/previous Period.
- Click Today to navigate to current Period.

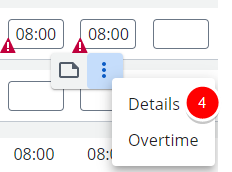
- Click a Time Entry cell to trigger the context menu. Then click the ellipsis
 and choose Details.
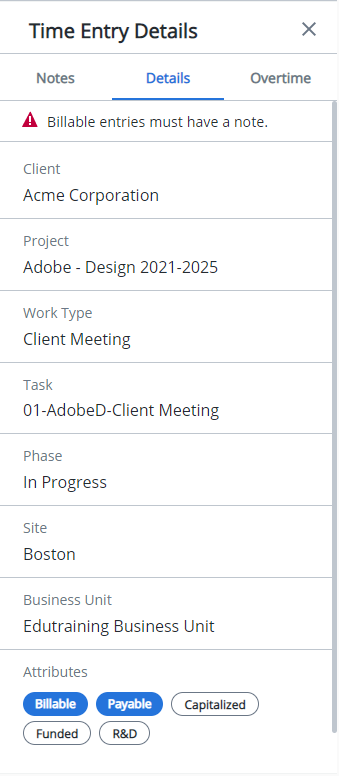
- From the Details tab you can view the following:
- Any Exceptions are listed on top of the panel.
- The Client, Project, Work Type, and Task fields are pre-populated with the information from the Time Entry.
- The Phase, Site and Business Unit options are displayed by default.
Note: You may have more Fields displayed in this section based on your Timesheet Template.
- From the Attributes section you can view the Time Entry attributes inherited from the Task associated to it. Therefore, if the Task is Billable, the Time Entry will be marked as Billable.
- Click the X button to close the panel.