From the Documents dialog box, accessible through the Timesheet context menu, you can manage Timesheet Documents & Links and view Documents & Links associated to assigned Task(s).
Note: To allow Users access to the new and improved My Timesheet in your Sandbox/Implementation/production environments, you must add them to the New Timesheet list. For further details refer to Adding users to the New Timesheet list. If you prefer, you can choose to enforce the use of New Timesheet for all Users at the global level.
Accessing Timesheet Documents & Links
- From the Icon Bar click Entries
 .
. - From the Navigation Menu click My Timesheet.
Tip: You can access your timesheet through different avenues, which are further detailed in Accessing My Timesheet.
- Upon My Timesheet page displaying, navigate to the required Period by following one of these steps:
- Click the Calendar button and select the appropriate period.
- Click the Next/Previous buttons to navigate to next/previous Period.
- Click Today to navigate to current Period.

- Click the Timesheet context menu
 button.
 - From the available options click Documents.
- Upon accessing the Documentsthe Timesheet tab will be displayed by default You can:
- Add new Timesheet Document(s) or Link(s)
- Delete existing Timesheet Document(s) or Link(s)
- Filter the list based on Type/Name/Date Modified
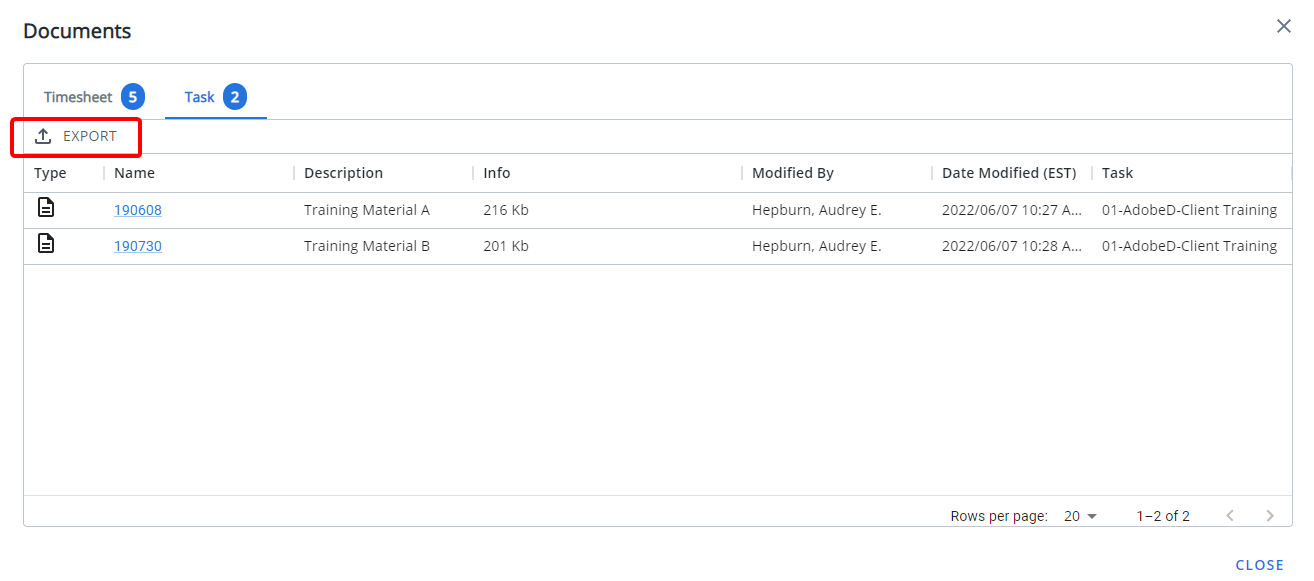
- Export the list to Excel
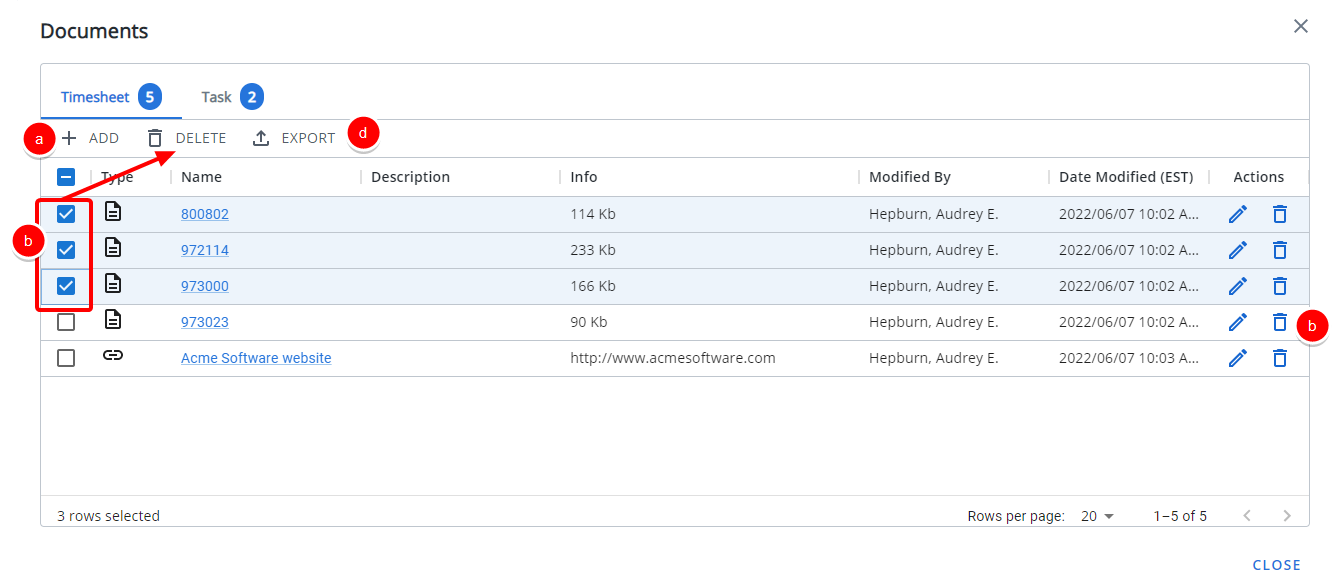
- Click the Timesheet tab to export the list to Excel.
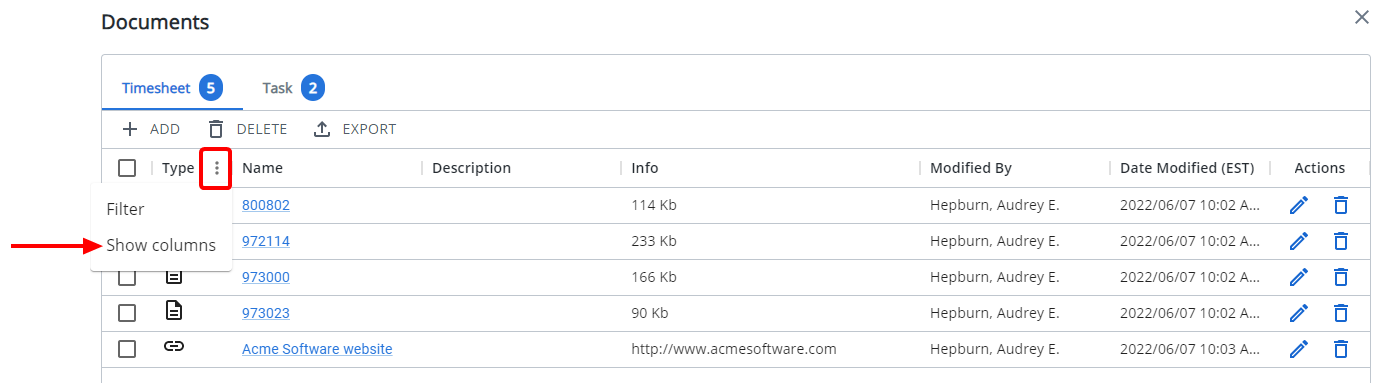
- In addition Filtering and Column Selection are available through the ellipsis button located on each table column.
- You can choose to display the information in ascending or descending order.
- Column positions can also be rearranged by drag/dropping the column to a new location and adjusting the column widths by dragging the column boundary.
Applying a Filter
Depending on which tab you have selected, you can apply the following filters:
- From the Timesheet tab you can filter the list based on Type, Name and Date Mortified
- From the Task tab you can filter the list based on Type, Name, Date Mortified and Task.
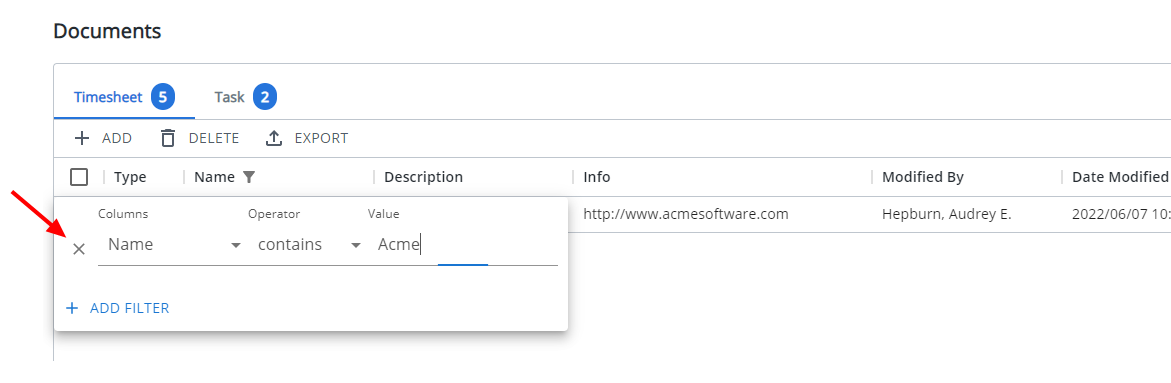
Regardless of the tab you have selected the process of applying a Filter is the same. In our example we will apply a filter based on the Name Field containing the company name "Acme".
- From the Documents page, mouse over the Type, Name or Date Mortified column header.
- Click the Menu
 button.
 - From the available options click Filter.
- From the Columns options choose the required item.
- Select the corresponding Operator from the available options.
- Then enter or select the corresponding Value.
- Click anywhere on the page to apply the Filter.
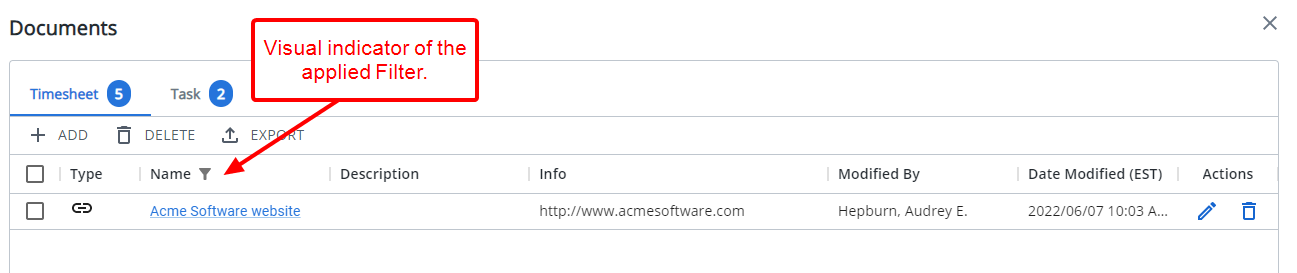
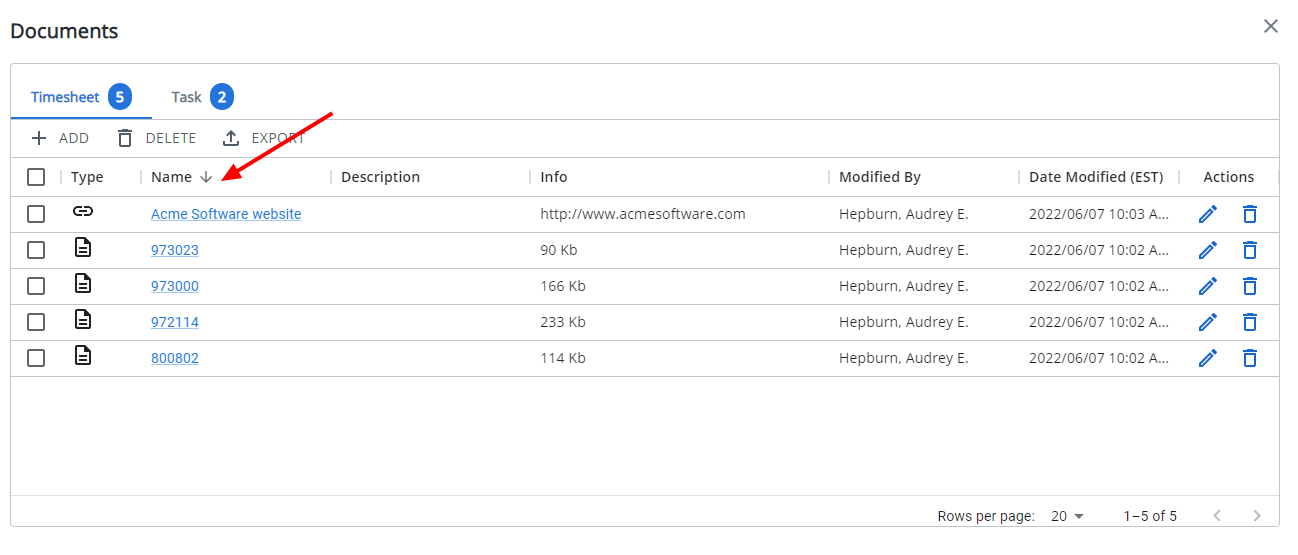
- You can access the Filter by clicking the filter icon located against a filtered column.
- Click the x button located against a filter row to remove the it.
Sorting columns
Regardless of the tab you have selected the process of sorting columns is the same. To sort the columns based on ascending or descending order:
- From the Documents page, move your mouse over a column header.
- Click the up/down arrow to sort the column in ascending or descending order.
- Note that an arrow indicates the descending (
 ) or ascending (
 ) order applied to the column.
Show/Hide columns
The available column options will vary depending on the selected tab.
From the Timesheet tab:
- The following columns are displayed by default: Checkbox selection, Type, Name, Description, Info, Modified By, Date Modified and Actions.
- You can choose to Show/hide the following columns: Checkbox selection, Type, Description, Info, Modified By, Date Modified and Actions.
From the Task tab:
- The following columns are displayed by default: Type, Name, Description, Info, Modified By, Date Modified and Task.
- You can choose to Show/hide the following columns: Type, Description, Info, Modified By, Date Modified and Task.
- you can filter the list based on Type, Name, Date Mortified and Task.
Regardless of the tab you have selected the process of showing or hiding a column is the same. In our example we will hide the Description column from the Timesheet tab.
- From the Documents page, mouse over a column header.
- Click the Menu button
- From the available options click Show columns.
- Select the columns you wish to display or hide.
In our example we chose to hide the Description column
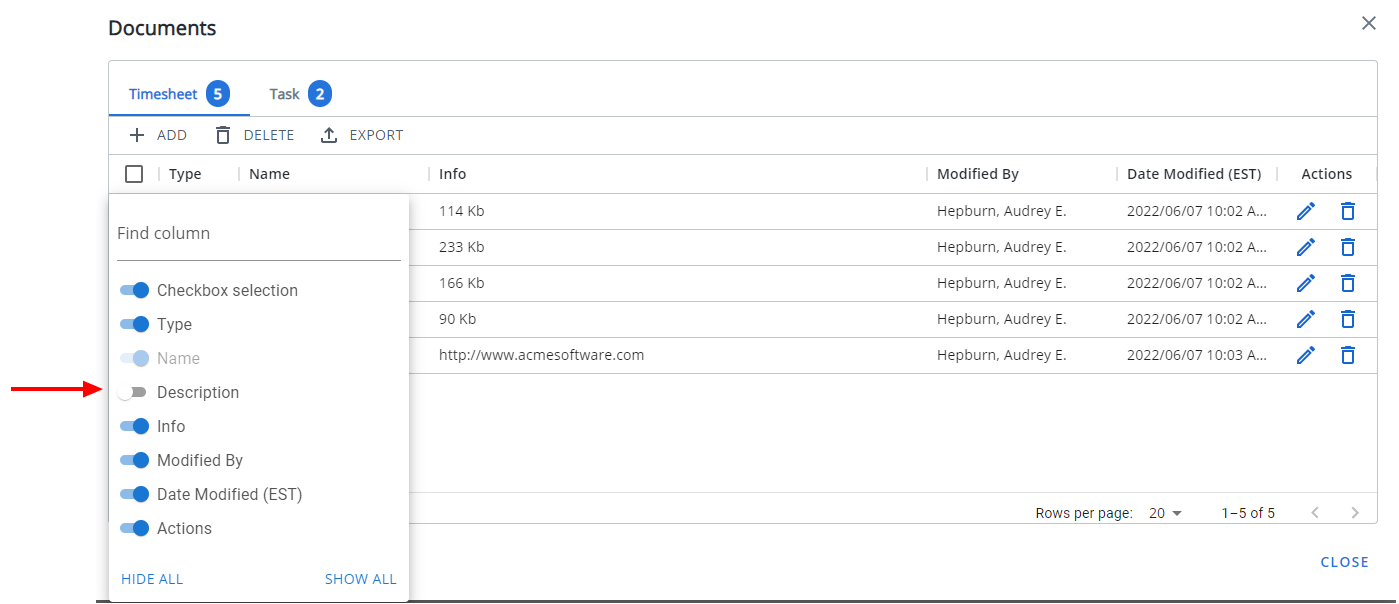
- Click anywhere on the page to view your changes.
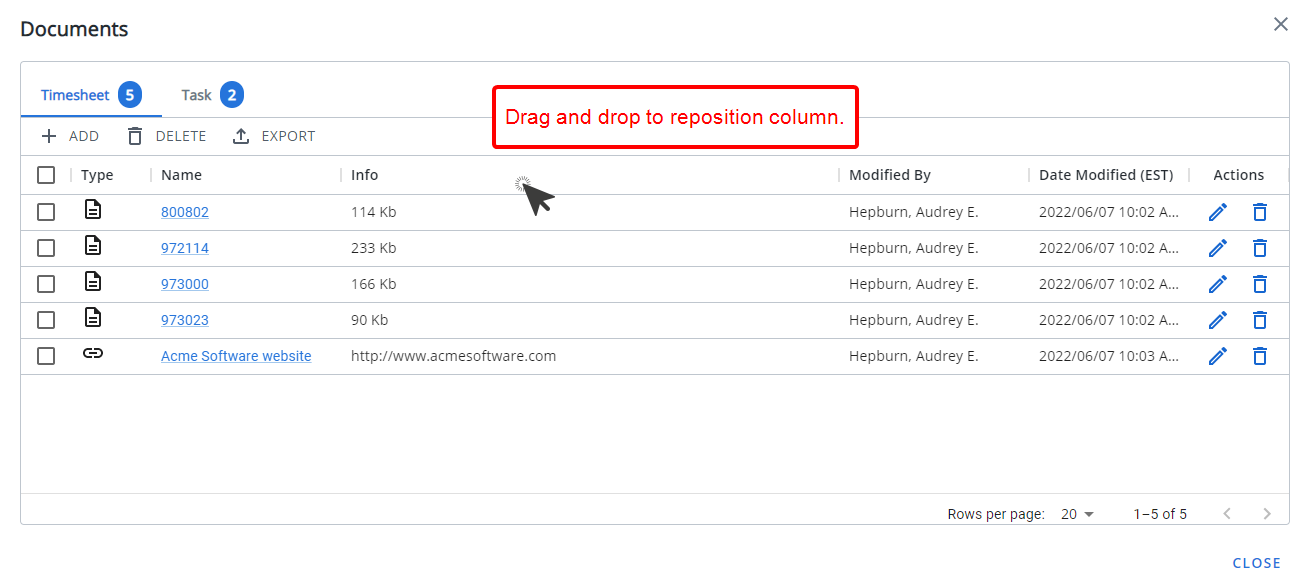
Rearrange the column position
To rearrange column positions, simply drag and drop a column in it's new position.
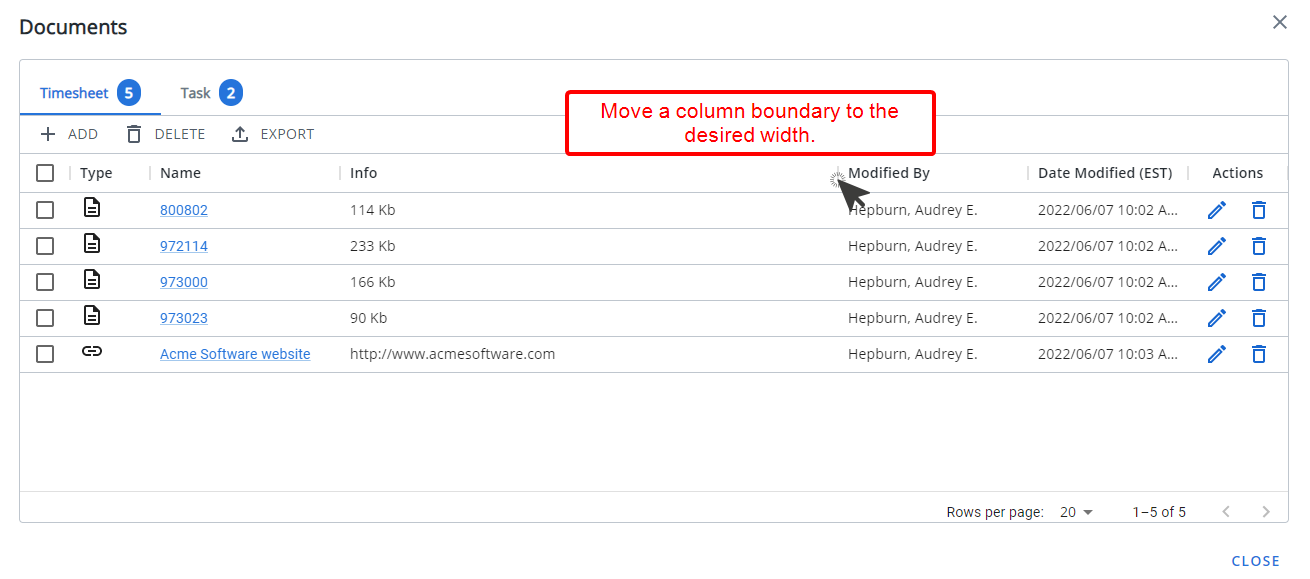
Adjust the column widths
To adjust a column width, simply move a column boundary to the desired width.