Search Mode Results
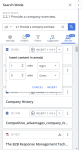
After completing a search, the top content results appear in the Search Mode panel, sorted by relevance. When searched content is inserted into the RFP, Qvidian will remember the search terms that were entered.
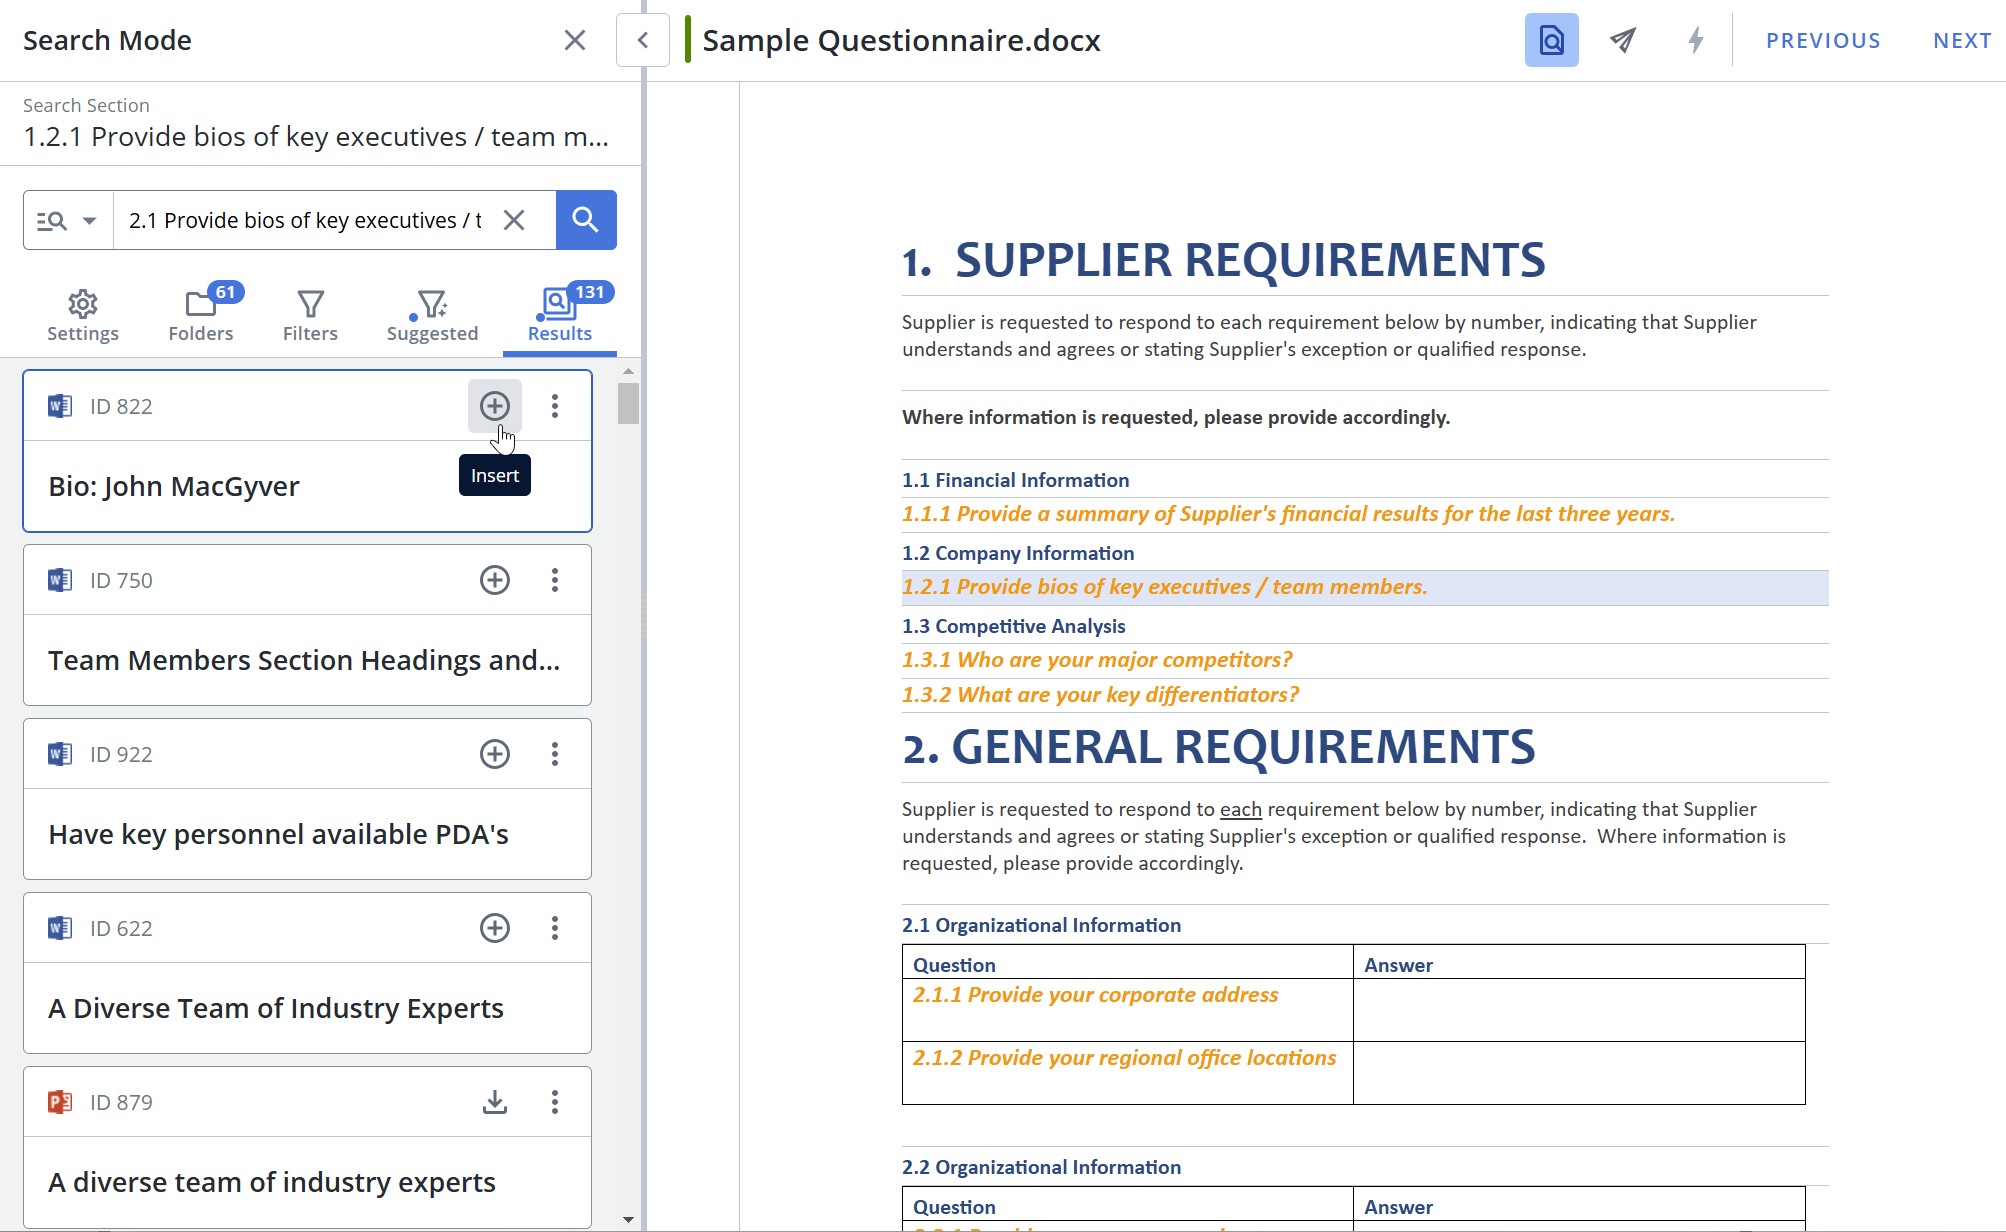

Project Search Mode before inserting content (left) and after inserting content (right).
Inserting Content
- Once you've completed a search, top content results will appear, including Bundles, in the Results tab.
- Drag & Drop Method: Found content can be dragged and dropped directly from the Search Mode panel onto the RFP to add the answer.
- Insert Method: Hover over the results to display the Insert icon.
- Word: Click Insert Below to insert an answer directly below the active paragraph slice.
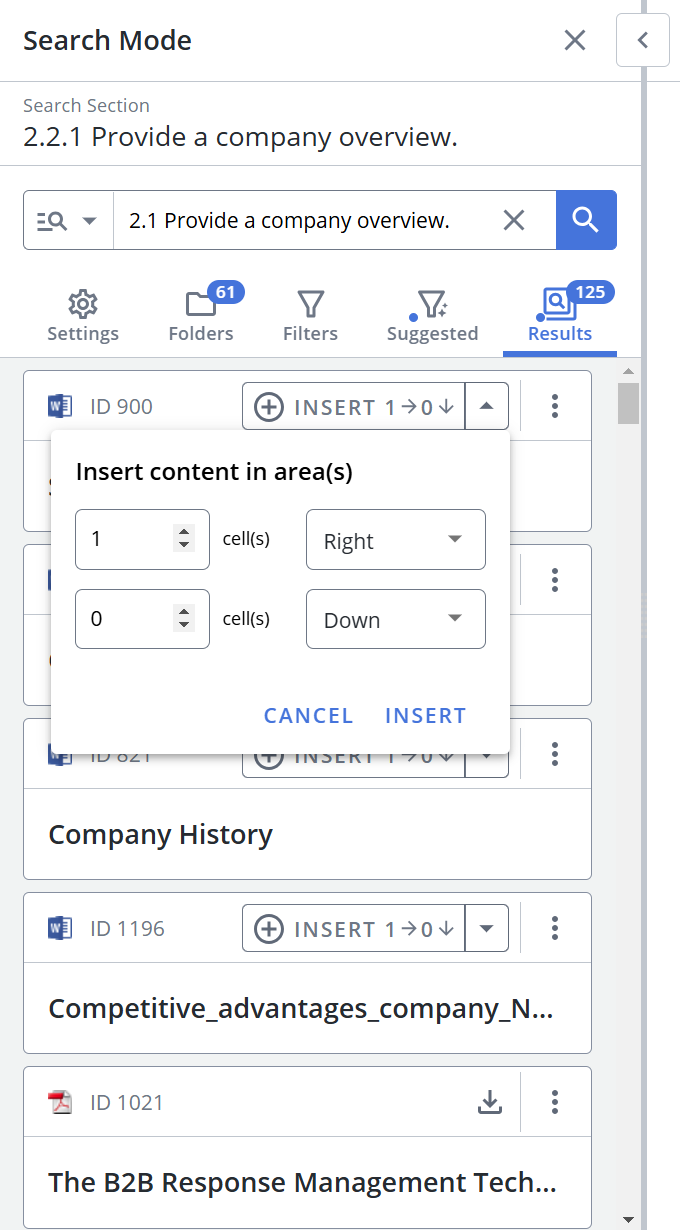
- Excel or Word table: Click Insert to insert desired content into Excel or a Word table cell. By default, the answer is inserted once cell to the right of the active cell. If you wish to update where the answer is inserted, click the dropdown arrow within the Insert icon; the "Insert Answer" dialog will appear and allow you to select the cell where the answer will be inserted.
Caution: If you add a content record that contains images to a cell in Excel, only the text will be inserted. Due to Excel’s limitations, the image will not be added to the cell.
- The Add Content dialog will display. Select one of the following options:
- Replace: Replaces all the content in the cell.
- Append: Inserts the new content in the same cell, below the existing content.
- Cancel: Cancels the addition of content.
- Click the More Options
 menu on a search result to display the following menu options:
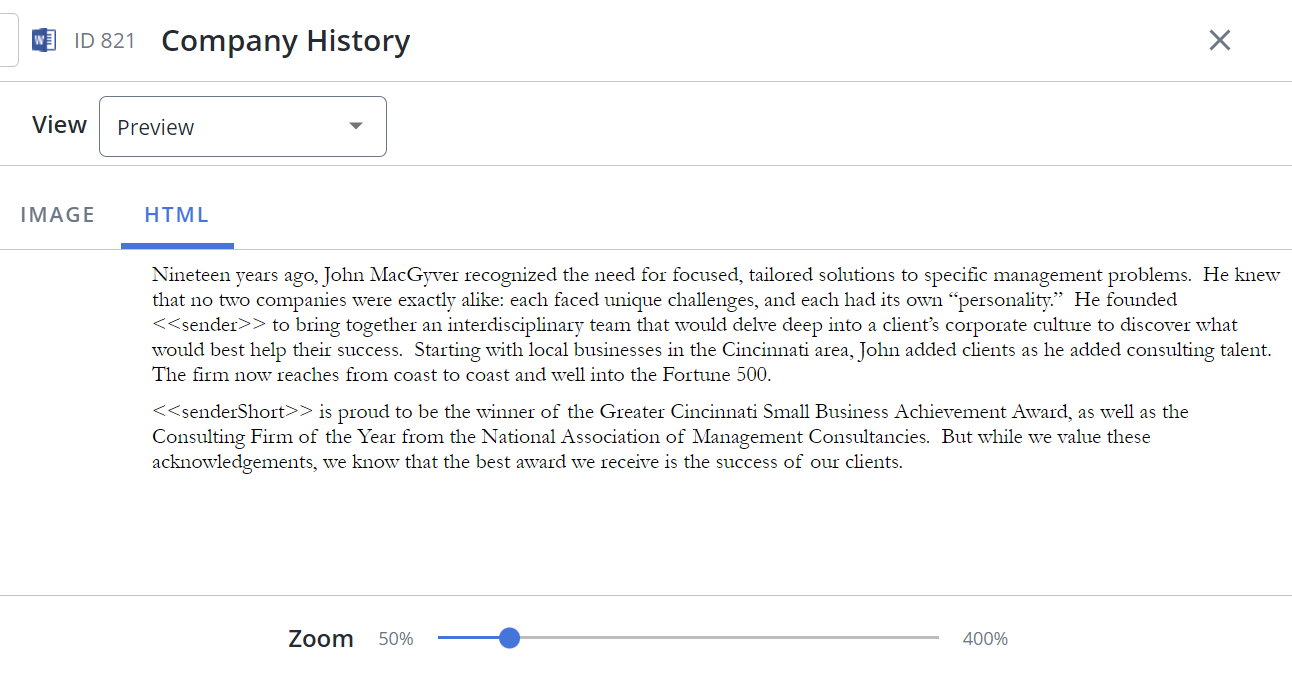
 - Preview: Click to open a dialog that displays an HTML preview of the content record. You can also select and copy text from the preview window, which Qvidian will record as content usage.
- Content Summary: Click to view an overview of the content record's status and additional details like comments, alert messages, checkout etc.
 Configure Content Summary
You can show, hide, and order fields that will be displayed in the Content Summary View.
- Click the Configure Content Summary
 icon. The "Configure Content Summary" dialog appears.
 - To filter the column list, enter text into the search box.
- Select your desired field(s) using the checkboxes or by clicking the rows and using CTRL+CLICK or SHIFT+CLICK to select multiple records. Select the Select All option from the More Options
 menu to enable all the columns and use the Left
  and Right
  icons to move the columns between the Available and Selected columns to determine which columns will be displayed on the grid.
 - To determine grid order: drag and drop any Selected Fields, select specific field checkboxes and use the Move to Top or Move to Bottom options from the More Options menu, or select specific column checkboxes and use the Up
 and Down
 icons to order the columns.
 - Click Restore Default to return to the default settings.
- Click Save to save the changes and close the dialog or Cancel to close without saving changes.
- Click the Configure Content Summary
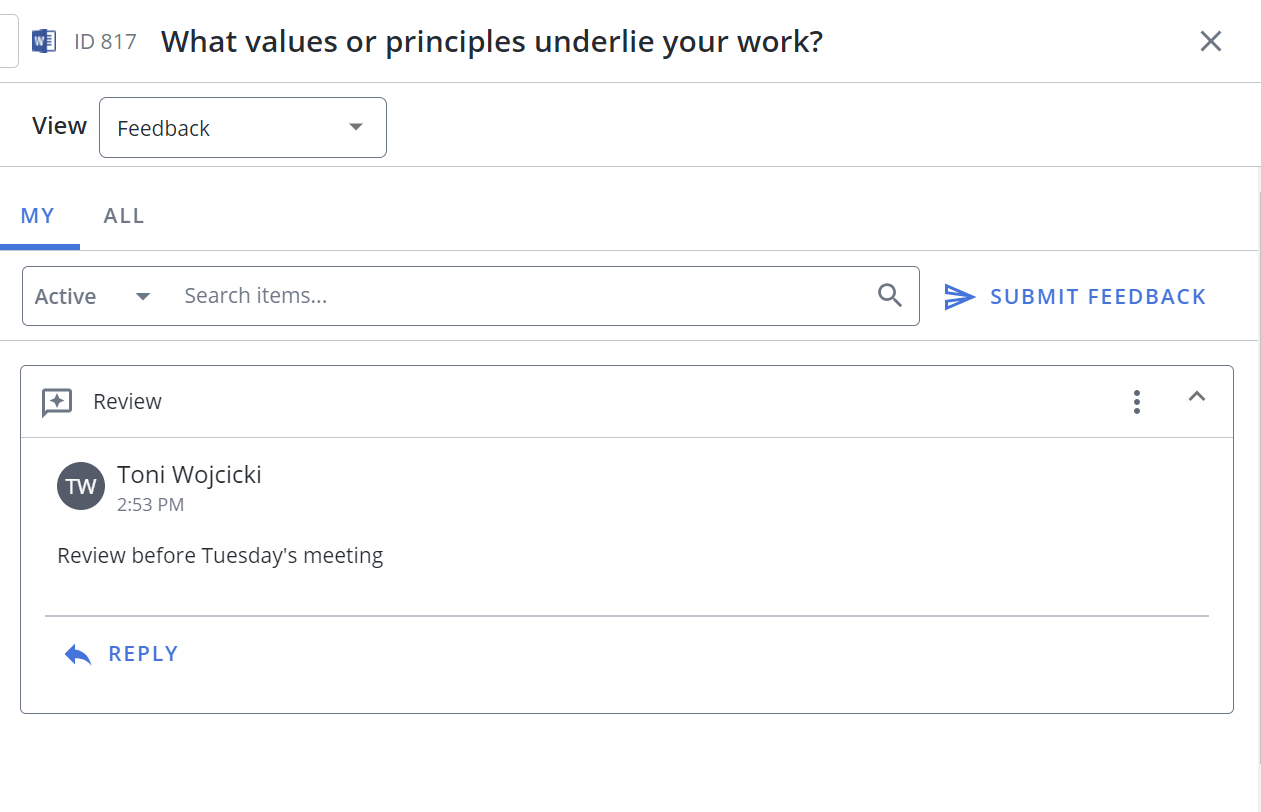
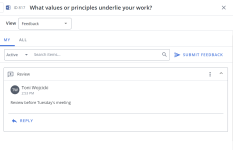
- Feedback: Add feedback on content records and reply to existing feedback. This allows you to direct questions and concerns about content records directly to their associated content owners. This is not for providing feedback related to specific responses or Projects. Feedback submitted here is tied to the content record itself, without any greater context.
- Search: To search through existing feedback, enter text into the Search items... field and click the Search
 icon or Enter.
 - Filter: Choose whether to filter by All or My feedback and narrow your search by selecting Active or Archived from the dropdown menu.
- Reply: To reply to a piece of feedback, click the Reply button or click the More Options menu and select Reply and follow the Submit feedback process.
- View Thread: To view all replies for a particular feedback thread, click the More Options menu and select View Thread.
- Edit Recipients: To edit which recipients receive feedback notifications, click the More Options menu and select Edit Recipients.
- Mark as Closed: To close a feedback thread, click the More Options menu and select Mark as Closed.
- Delete: To delete a feedback thread, click the More Options menu and select Delete.
- Submit feedback

- Click the Submit Feedback button. The "Submit Feedback" dialog displays.
- Click the Edit
 icon to choose which Recipients will receive the feedback. The "Edit Recipients" dialog displays.
 - Filter the list of recipients that are displayed: All, Selected, or Unselected.
- Enter text into the Type to find and manage recipients.... search field, and click the Search
 icon or Enter.
 - Select the desired recipients by clicking their name. Once selected, the name will be highlighted blue and contain a blue checkmark. Click the recipient again to remove the recipient from the list.
- Click Done.
- Select the feedback Type from the dropdown list: Comment, Problem, Question, or Suggestion.
- Enter a Title.
- Enter any Comments.
- Upload any attachments by clicking Browse Files or dragging and dropping the desired files into the area.
- If you do not wish to receive a notification email about this feedback, select the Do not send me a notification email checkbox.
- Click Save.
- Download: All file types can be downloaded. Word files can be downloaded or inserted directly into the Project.
- View Sources in Library: If using AI Assist to write a custom answer, this option will open in a new tab and display all the sources that have been used to generate the AI Assist response.
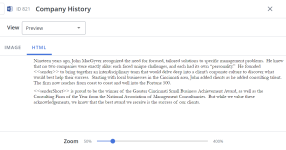
Tip: The HTML preview zoom slider, which defaults at 100% and is available between 50-400% zoom, can be controlled via the zoom control bar or the right/left/up/down keyboard options at 25% increments and will remember the zoom setting last used.
Note: Microsoft Office default fonts are supported when previewing a piece of content.

Tip: New, unread feedback will display the Unread Feedback
 icon.
icon.Note: To add attachments to your content feedback, navigate to the Library and upload the attachments there.