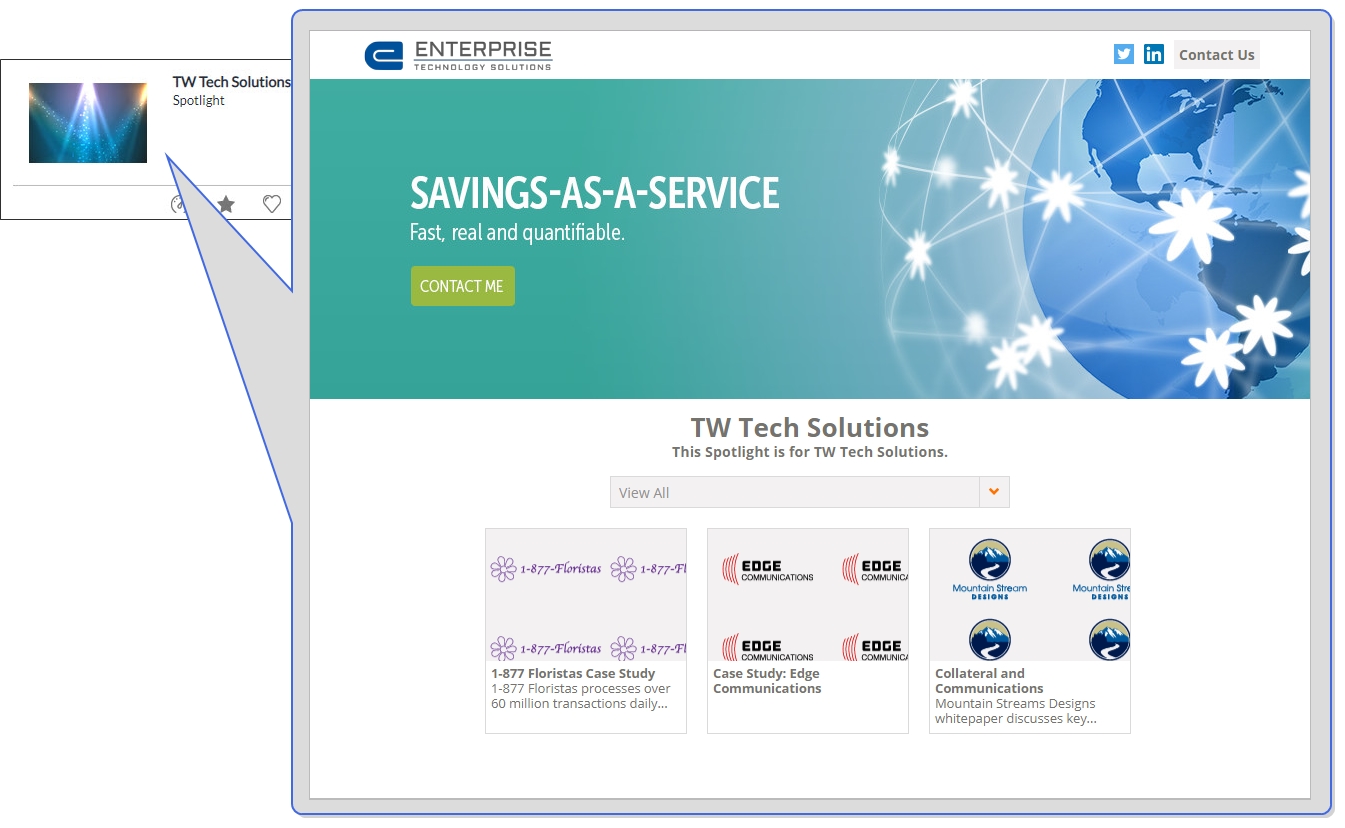
A Spotlight is a dynamically-generated web page that displays a combination of sales and marketing assets, such as case studies, videos, and press releases that you can send to your prospects and clients, and track their engagement in real time. Spotlights should be used as a way to send content in lieu of an email with multiple attachments. Spotlights are branded with your company's branding guidelines. They provide customer intelligence, generating notifications when each asset is visited.
Viewing & Searching Spotlights
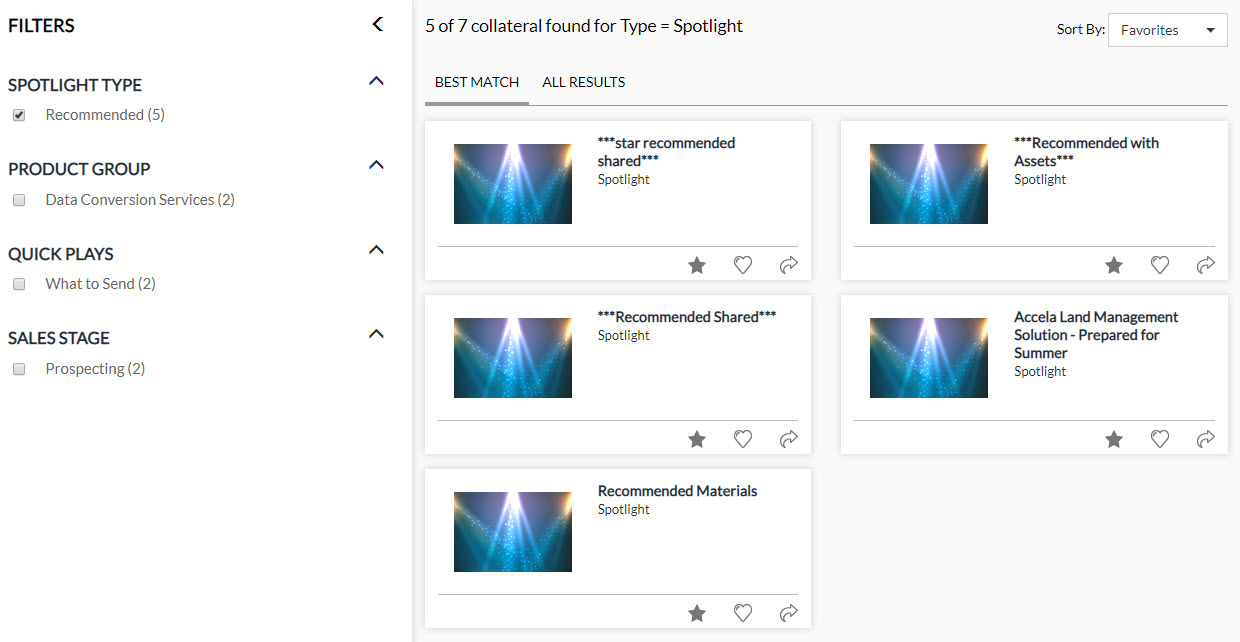
- Click the Spotlights Tile on the RUX Overview. You will be directed to the Spotlight Search Results page.
- (Optional) Sort and filter the Search Results page to locate your desired Spotlight. For more information on displaying search results, see Searching .
- Click the desired Spotlight to view it in a different browser window.
Note: To create and/or send a new Spotlight, see Creating & Sending Spotlights. To edit or resend an existing Spotlight, see Modifying & Sending Spotlights.
Creating & Sending Spotlights
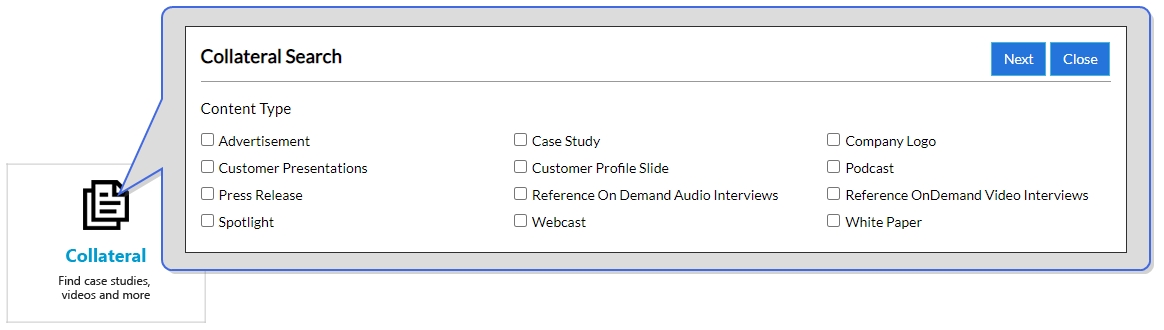
- Click the Collateral Tile on the RUX Overview. The Collateral Search dialog will appear.
- Select the exact assets you are looking for using the Content Type and Product Group check boxes.
- Click Search. You will be directed to the Search Results page.
- (Optional) Sort and filter the Search Results page to locate your desired collateral. For more information on displaying search results, see Searching .
- Select which content assets you want to add to your Spotlight by clicking the
 icon. Once selected, the icon will turn blue.
 - Click Create Spotlight. The Spotlight Details dialog will appear.
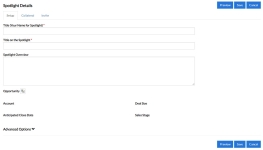
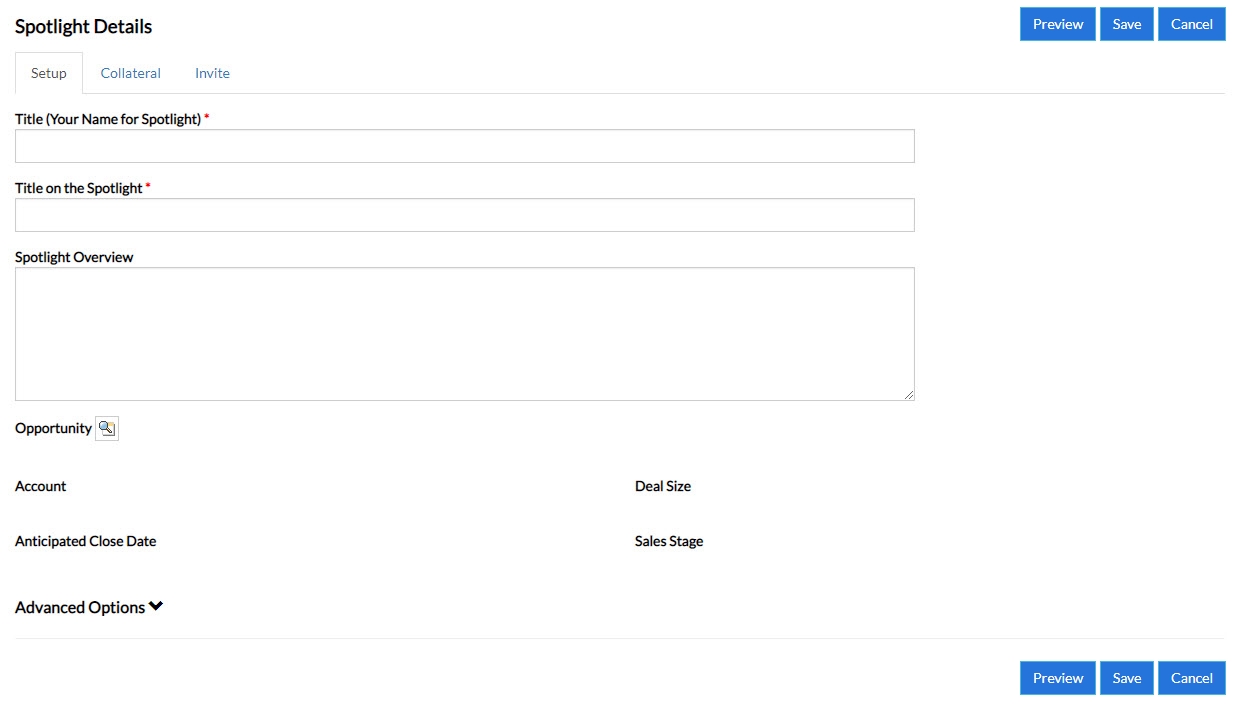
- Setup Tab: Begin setting up your Spotlight here.
- Enter the Title (Your Name for Spotlight), Title on the Spotlight, and Spotlight Overview.
- Click the Magnifying Glass icon to attach the Spotlight to an Opportunity.
- (Optional) Open the Advanced Options section to select Spotlight Template.
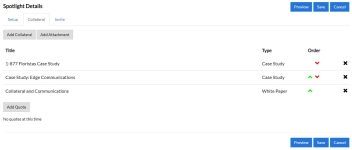
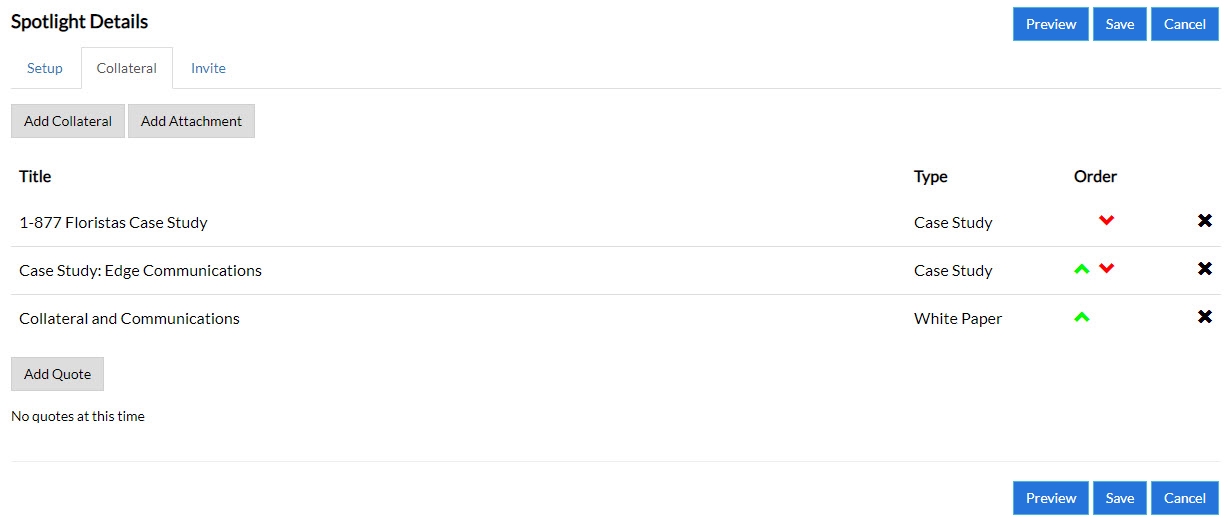
- Collateral Tab: Modify your Spotlight assets here.
- To add assets to your Spotlight, click Add Collateral, Add Attachment, and/or Add Quote.
- Click
 and
and  to re-order your assets.
 - Click X to remove assets.
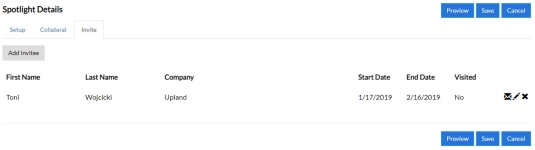
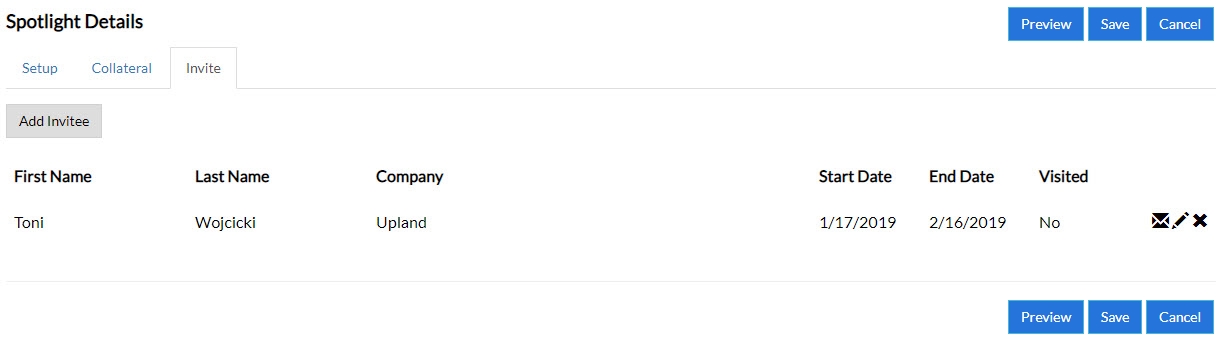
- Invite Tab: Compose the body of your Spotlight message and add any invitees.
- Click Add Invitee. Use one of the following methods:
- Select from Salesforce.com: Add invitees directly from SFDC.
- Single Entry: Enter any invitees manually.
Note: Email Templates are used when Send automatically is selected for the Email Setup; for more information on Email Templates, see Administration. The Send using your default email client option is NOT available in Google Chrome.
- Click
 to resend a Spotlight to a particular invitee.
 - Click
 to edit an existing invitee.
 - Click X to remove an invitee.
- Click Add Invitee. Use one of the following methods:
- Setup Tab: Begin setting up your Spotlight here.
- Click Preview to view the Spotlight before it is sent. This is most often used by companies that have multiple email templates to ensure that the best template is selected.
- Click Save and Send.

Note: After sending, your Spotlight will be searchable and available under My Spotlights, where the creator can view customer engagement (e.g. seeing whether the Spotlight has been opened and how long an invitee has spent viewing the Spotlight and attached materials.
Recommended Spotlights are pre-designed by your Customer Reference Team.
- Click the Spotlights Tile on the RUX Overview. You will be directed to the Spotlight Search Results page.
- Filter your search results to only show Recommended Spotlights by selecting the Recommended Spotlight Type.
- Click
 to send a Recommended Spotlight. The Spotlight Details dialog will appear.
 - Edit the Recommended Spotlight as desired.
- Add Invitees. For more information on adding Invitees, see Creating & Sending Spotlights.
- Click Preview to view the Spotlight before it is sent.
- Click Save and Send.
Note: If a field is grayed out, contact your administrator to enable the "Don't Allow Portal Users To Edit Recommended Spotlights" setting. When this setting is enabled, the Edit button is grayed out and the Clone button is replaced with a Send button.
Note: If integrated with Salesforce, you can enable your collateral for Quick Plays. For more information, see: Salesforce.
Modifying & Sending Spotlights
- Navigate to an existing Spotlight using the search or create a new Spotlight.
- Locate the desired Spotlight and perform one of the following actions:
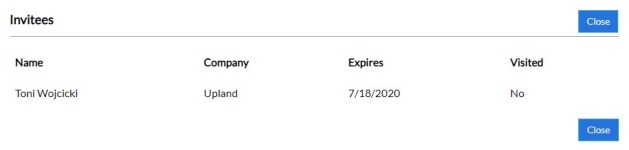
- Engagement: Click
 to view customer engagement (e.g. seeing whether the Spotlight has been opened and how long an invitee has spent viewing the Spotlight and attached materials.
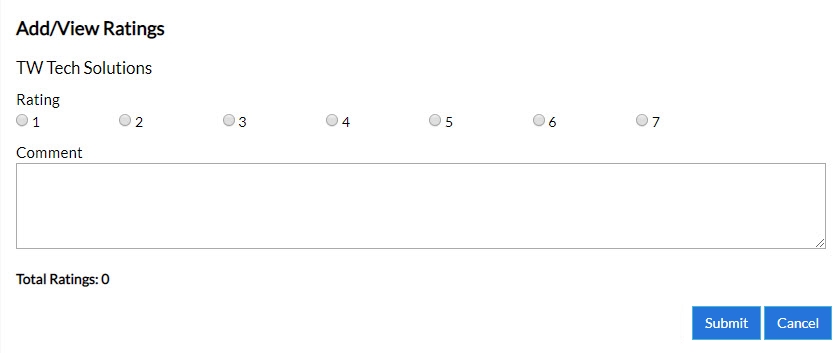
 - Rate: Click
 to rate a Spotlight.
 - Favorite: Click
 to favorite a Spotlight. Once marked as a favorite, the icon turns blue.
 - Edit: Click
 to make any desired changes to your Spotlight details. For more information, see Creating & Sending Spotlights.
 - Send: Click to share a Spotlight. For more information, see Creating & Sending Spotlights.

Note: Email Templates are used when Send automatically is selected for the Email Setup; for more information on Email Templates, see Administration. The Send using your default email client option is NOT available in Google Chrome.
- Engagement: Click

Note: You can perform more actions on My Spotlights. For example, as a Spotlight creator, you can edit your Spotlight and view customer engagement. These actions are not available for Recommended Spotlights.