How do I setup the connection between Tenrox and Great Plains?
Before setting up integration, communication must first be established between Great Plains and Tenrox.
Note: Only users with administrative rights can set up integration.
1. Launch the Tenrox Application.
- Launch the Tenrox application and log on as a user with administrative rights.
2. Access the System page within Financial Setup
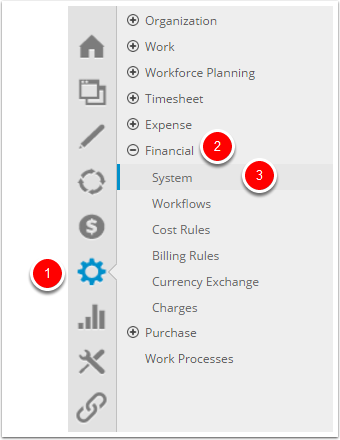
- Click Setup from the Icon Bar.
- Click Financial from the Navigation Menu.
- Select System.
3. Click the Accounting button.
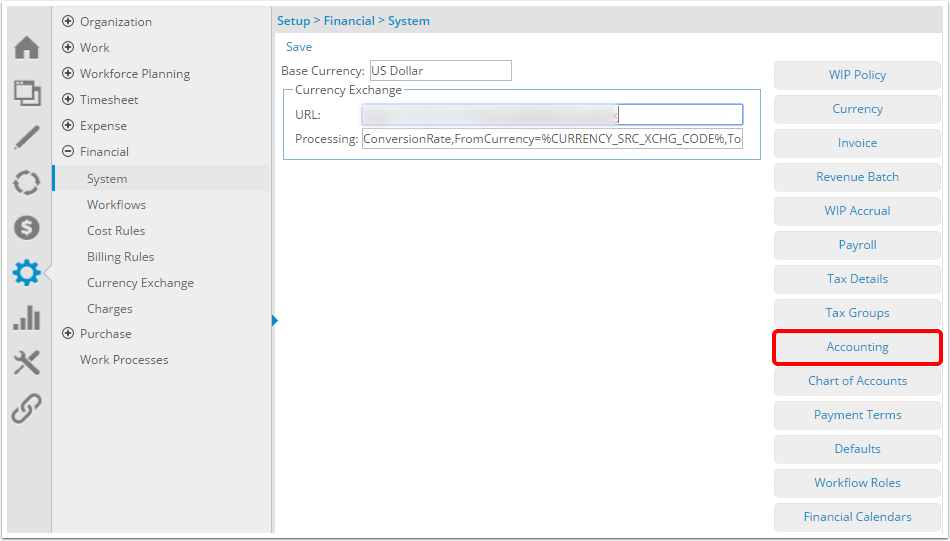
- Click the Accounting button to open the Accounting System page.
4. Select the options.

- Select the options as required. Click here to view the article on details of what the above options are.
Note: Before setting up the company connections, ensure that the G/L accounts and taxes of all companies connecting to Tenrox are the same; otherwise, integration will not work properly.
5. Click the Save link.
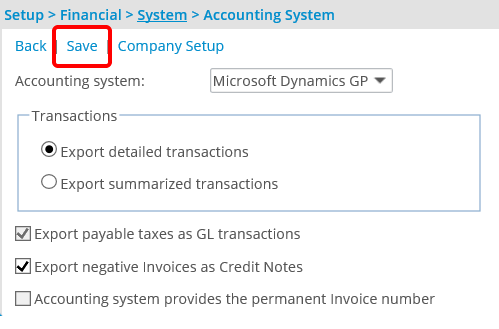
- Click the Save link to save the selections.
6. Click the Company Setup link.
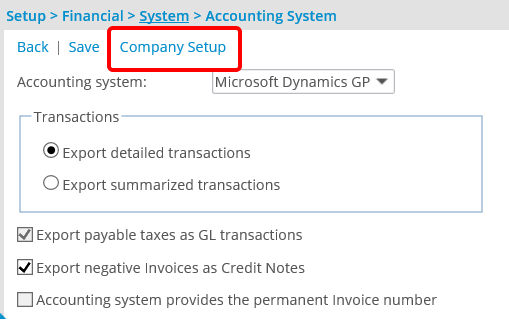
- Click the Company Setup link to open the Company List page, which displays the default company Main Accounting System and the base currency of the organization.
Note: The company acts as a connector to the databases existing in Great Plains.
7. Click the New icon.
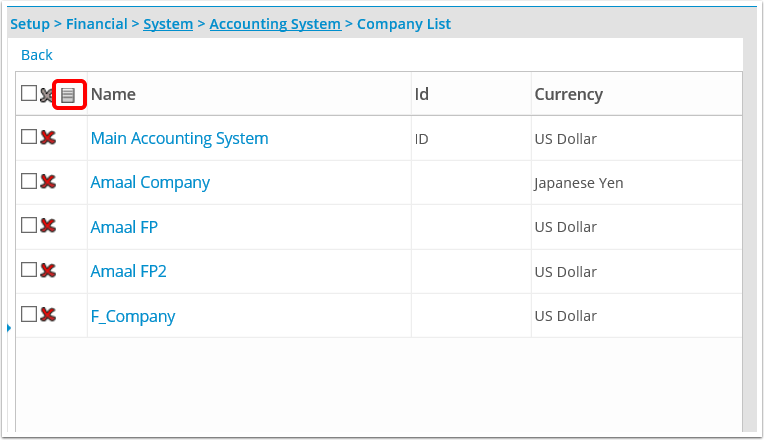
- Click the New icon, found in the left side of the table header, to create a new company or click the Main Accounting System link to modify the default company settings.
8. Enter and select the required information

- Enter and select the required information or edit the existing information on the Company Edit page. Click here to view the article on more details as to the options on the Company Edit page.
9. Click the Save link
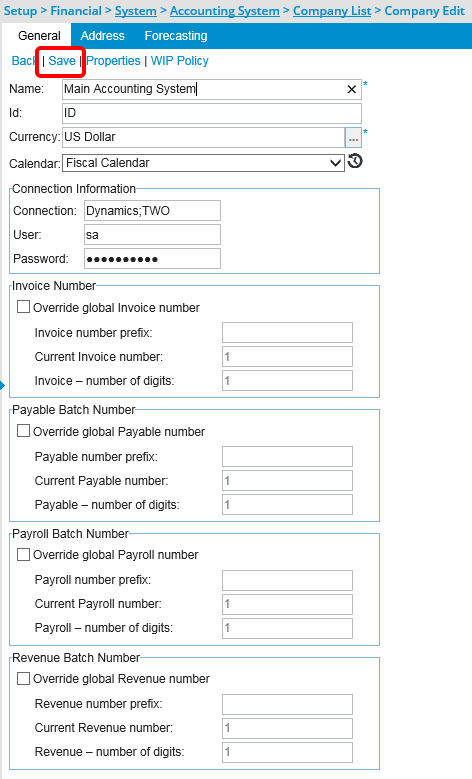
- Click the Save link to save the settings.
10. Click the Properties link.
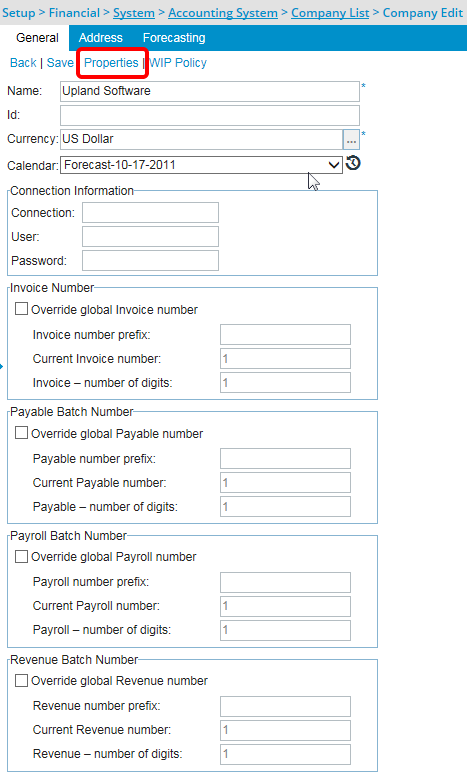
- Click the Properties link to open the Great Plains Integration Properties page.
11. Enter and select the required information
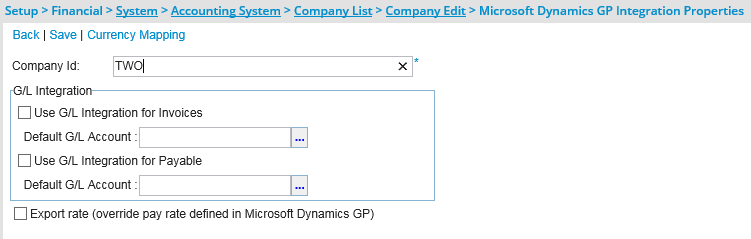
- Complete the boxes and select the options as required. Click here to view the article on more details as to the options on the Great Plains Integration Properties page.
12. Click the Save link
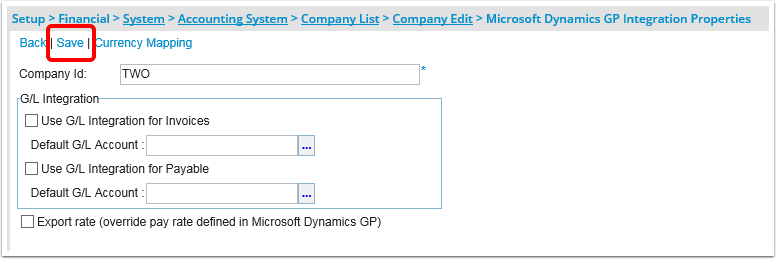
- Click the Save link to save the changes.
13. Click the Currency Mapping link.
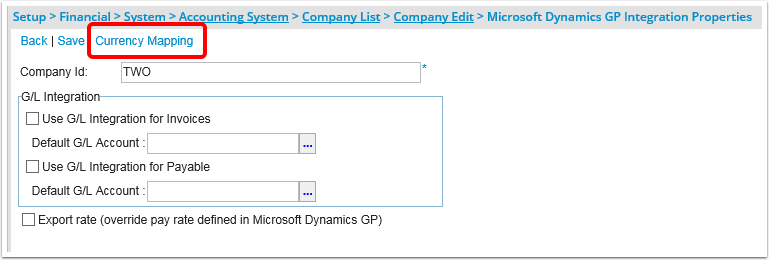
- Click the Currency Mapping link to set up the currency mapping information for the Great Plains integration.
Version Note: Available as of Tenrox 2011 R3. The Currency Mapping link is added to the Great Plains Integration Properties page to allow users to set up the currency mapping for the Great Plains integration through the web application and not through the ODELinks.ini file.
14. Select the Multi-Currency option
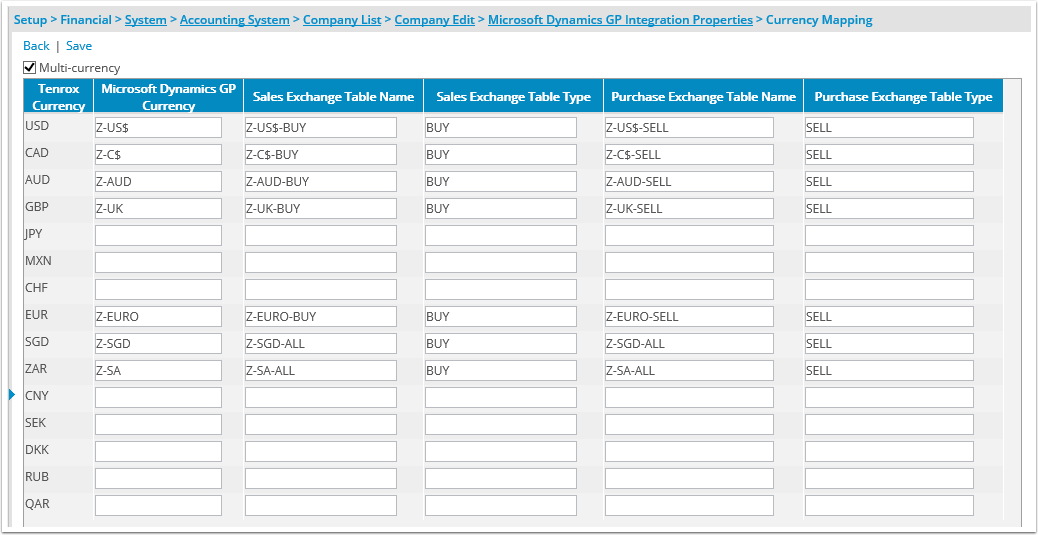
- Upon the Currency Mapping page displaying, select the Multi-currency option to define multiple currencies used in Great Plains.
15. View The Currency table
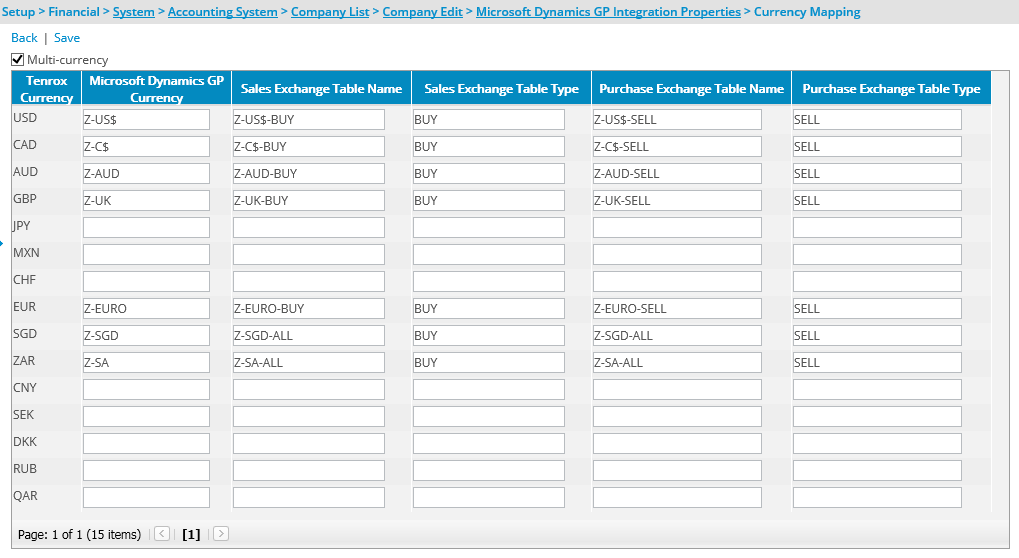
- View the currency table, which displays a list of all the Tenrox currencies and the corresponding Great Plains mapping information. Click here to view the article that details the Currency Mapping page.
16. Click the Save link
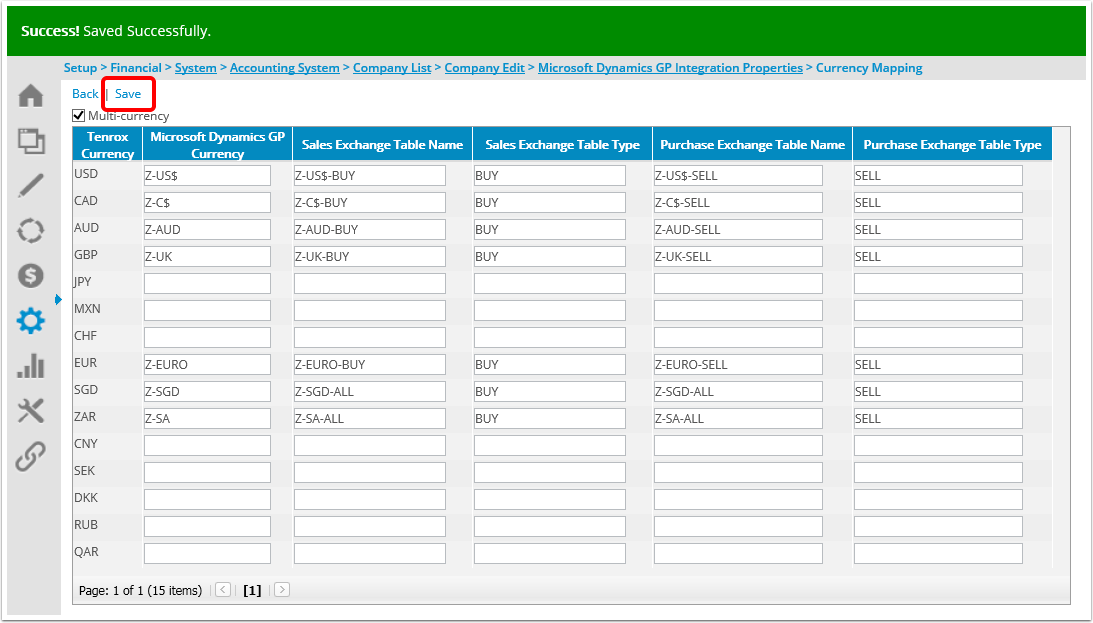
- Click the Save link to save the changes.
Note: After saving the settings, the entered data is not deleted when toggling between multi-currency and single currency. After an upgrade, the currency mapping data is manually updated by the client.
17. Click the Back link
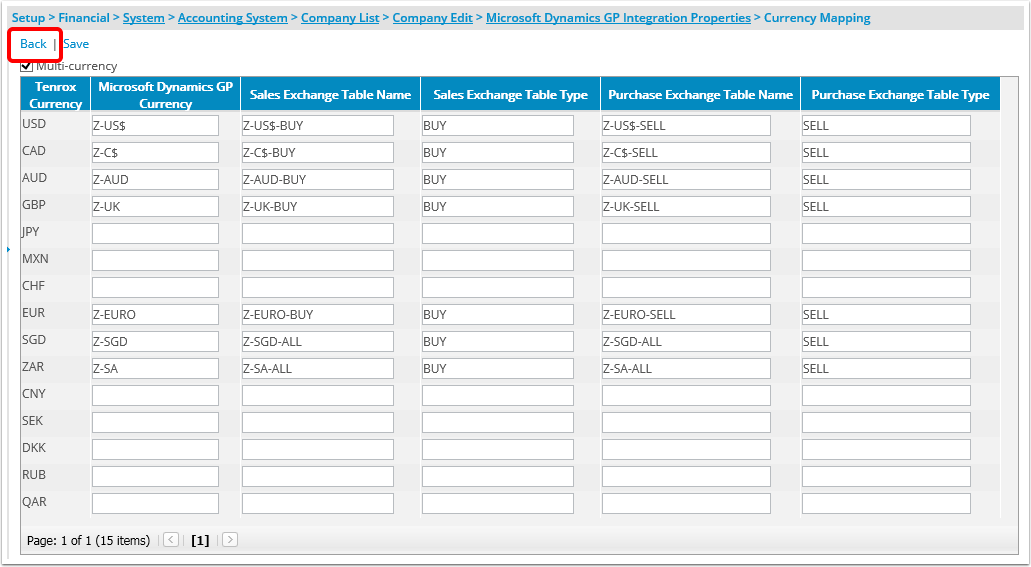
- Click the Back link to return to the Company Edit page.