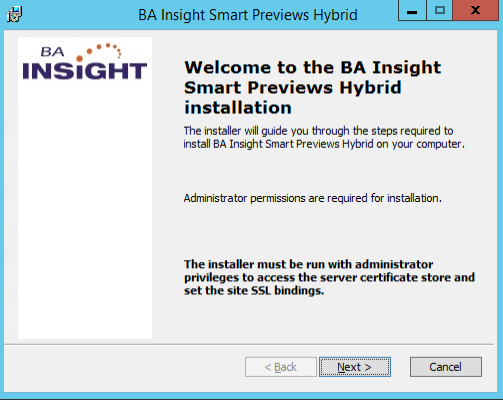
Install the Smart Previews Hybrid Component
NOTE: The information you provide must be entered in the proper case or the installation will fail.
How to Install the Smart Previews Hybrid Component
Use the following instructions to install the Smart Previews Hybrid component:
- Open a Command Prompt as administrator.
-
Navigate to your Smart Previews Hybrid installation directory.
-
For example: "cd C:\BA Insight\<smartpreviewshybrid_folder>"
-
- Run the following msiexec command using the full path to your installation directory:
- For example:
C:\Program Files\BA Insight\Smart Previews Hybrid>msiexec /i "Smart Previews Hybrid.msi"
- For example:
- The wizard launches:
- During installation, the following information is required:
|
Field |
Description |
|---|---|
|
<InstallDir> |
Specify the path where the Smart Previews site will be installed. |
|
<Port> |
|
|
<Certificate FriendlyName> |
|
|
<ServiceAccount> |
Specify the User Name and the Password that is required to run the Smart Previews Hybrid site.
|
Configure the Hybrid Component
- Navigate to the IIS Manager, expand the Smart Previews Hybrid site, and select the Pages folder.
- Click Content View.
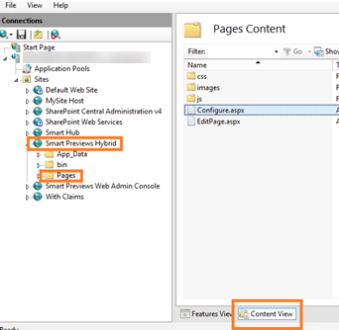
- Go to Smart Previews > Pages > Configure.aspx.
- Open the page Configure.aspx.
- Note that depending on your environment, you may need to launch your browser as an Administrator to reach the Configure.aspx page.
- Note that depending on your environment, you may need to launch your browser as an Administrator to reach the Configure.aspx page.
- Use the information in the table below to fill in these fields.
|
Field |
Description |
|
|---|---|---|
|
<Certificate Friendly Name> |
Specify the certificate friendly name to be used to secure the requests coming from the Smart Previews Web Resources website. Note: If you already have a certificate that meets the criteria below, use it instead of generating a new self-signed certificate.
To generate a new self-signed cert:
Note: Ensure that the value of the issued-to property of the certificate is valid for the server where you are installing the Smart Previews Hybrid component.
|
|
|
<Database Connection String> |
|
|
|
<Preview Generation Service Address> |
|
|
|
<Fetchers> |
|
|