Add and Manage Project Documents
Documents and links can be added to Eclipse PPM Projects. Resources can access, share, and review them directly from the Project itself.
Note: This page covers a Project's External Documents. Eclipse Docs is a different Project component.
Note: If you see a "Google Drive" window on a "Documents" page, it means the Project has been integrated with Google Drive.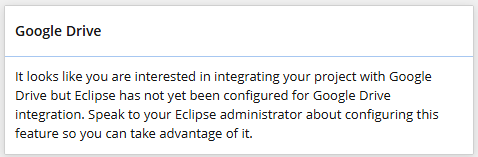
Speak to an administrator for more information on what this means for your Project's documents.
This page covers the following topics:
Viewing a Project's Documents and Links
Project documents and links can easily be accessed from the Project Menu.
To view a Project's documents and links:
Before You Start: Users require the "External Documents - View" permission on one of the Project's Policies to access its documents. They require the "External Links - View" permission on one of the Project's Policies to access its links.
Additionally, External Documents must be configured for the Project.
-
Navigate to the Project.
-
Select the Project Menu.
-
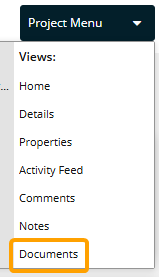
Select Documents from the list of views.
-
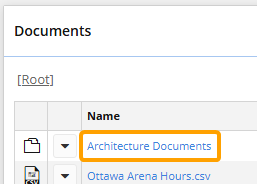
Navigate to the folder that contains the file/link you would like to view in the "Documents" window.
Note: If the document or link you are looking for belongs to the "Root" folder, skip this step.
Note: If there is no "Documents" window, External Documents have not been configured for the Project.
-
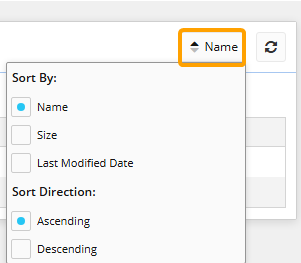
(Optional) Select the Sort button to determine how the folder's contents will be sorted.
-
Select the name of the document or link.
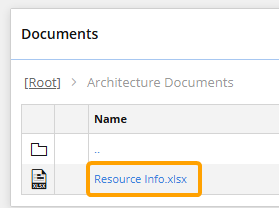
If you select a document, it will automatically download onto your device. If you select a link, it will open up in a new browser tab.
Creating Document Folders
Project documents and links can be organized in a set of folders. This helps users quickly navigate to the content relevant to them without having to scroll through all of the documents and links on the Project.
To create document folders:
Before You Start: Users require the "External Documents - Modify" permission on one of the Project's Policies to create document folders. Additionally, External Documents must be configured for the Project.
-
Navigate to the Project.
-
Select the Project Menu.
-
Select Documents from the list of views.
-
Navigate to the folder that you would like to add your new folder to in the "Documents" window.
Note: If you would like to add your new folder to the "Root" folder, skip this step.
Note: If there is no "Documents" window, External Documents have not been configured for the Project.
-
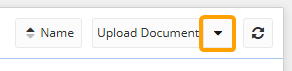
Open the drop-down menu in the top right-hand corner of the "Documents" window.
-
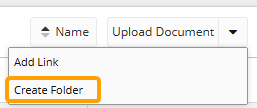
Select Create Folder.
-
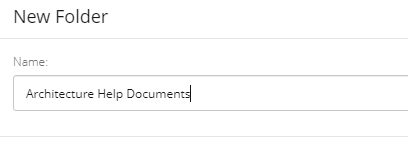
Enter a unique name for your new folder into the "Name" field.
-
Select the Save button.
After selecting Save, the folder will be added to the "Documents" window. Documents and links can be directly added to it.
Tip: While navigating folders, the "Documents" window displays a breadcrumb trail of the current folder's location.
Select any of the previous folders to navigate back to them.
Adding Documents to a Project
Users can add external documents to Projects through the "Documents" page. Once added, any user with the "External Documents - View" permission on one of the Project's Policies will be able to download it onto their device.
To add documents to a Project:
Before You Start: Users require the "External Documents - Modify" permission on one of the Project's Policies to add documents. Additionally, External Documents must be configured for the Project.
-
Navigate to the Project.
-
Select the Project Menu.
-
Select Documents from the list of views.
-
Navigate to the folder that you would like to add your new document to in the "Documents" window.
Note: If you would like to add your new document to the "Root" folder, skip this step.
Note: If there is no "Documents" window, External Documents have not been configured for the Project.
-
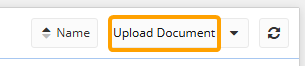
Select the Upload Document button in the top right-hand corner of the "Documents" window.
-
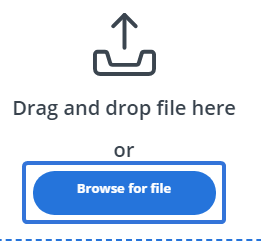
Drag and drop a file (or multiple) into the box

Click thumbnail to play.OR
Select the Browse for file button to select a file (or multiple) from your device's file explorer.
-
Review the files before adding them to the Project.
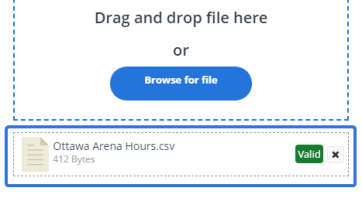
Note: The file will display a green "Valid" label if it is acceptable to be uploaded into Eclipse PPM.
-
Select the Save button.
After selecting Save, your file(s) will be added to the Project in the folder you navigated to in Step 4. They can be accessed and downloaded by any user with the "External Documents - View" permission on one of the Project's Policies.
Tip: Documents can be edited at any time by user with the "External Documents - Modify" permission on one of the Project's Policies. This can be done by opening the document's drop-down menu and selecting Edit Properties.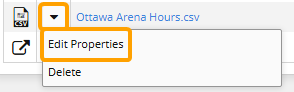
Adding Links to a Project
Users can add URL links to Projects through the "Documents" page. Once added, any user with the "External Links - View" permission on one of the Project's Policies will be able to access the link.
To add links to a Project:
Before You Start: Users require the "External Links - Modify" permission on one of the Project's Policies to add links. Additionally, External Documents must be configured for the Project.
-
Navigate to the Project.
-
Select the Project Menu.
-
Select Documents from the list of views.
-
Navigate to the folder that you would like to add your new link to in the "Documents" window.
Note: If you would like to add your new link to the "Root" folder, skip this step.
Note: If there is no "Documents" window, External Documents have not been configured for the Project.
-
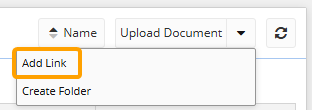
Open the drop-down menu in the top right-hand corner of the "Documents" window.
-
Select Add Link.
-
Enter a name for your link in the "Title" field.
-
Enter the link URL into the "URL" field.
Tip: Copy and pasting the URL will help ensure it is accurate.
-
Select the Save button.
After selecting Save, your link will be added to the Project in the folder you navigated to in Step 4. It can be accessed by any user with the "External Links - View" permission on one of the Project's Policies.
Tip: Links can be edited at any time by user with the "External Links - Modify" permission on one of the Project's Policies. This can be done by opening the link's drop-down menu and selecting Edit Properties.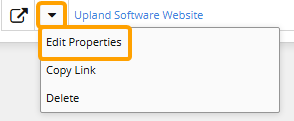
Deleting Documents and Links
Documents and links can be deleted from Projects at any time. Once deleted, they cannot be recovered; they will need to be added to the Project again.
To delete documents and links from Projects:
Before You Start: Users require the "External Documents - Modify" permission on one of the Project's Policies to delete its documents. They require the "External Links - Modify" permission on one of the Project's Policies to delete its links.
Additionally, External Documents must be configured for the Project.
-
Navigate to the Project.
-
Select the Project Menu.
-
Select Documents from the list of views.
-
Navigate to the folder that you would like to delete the document or link from.
Note: If you would like to delete your document or link from the "Root" folder, skip this step.
Note: If there is no "Documents" window, External Documents have not been configured for the Project.
-
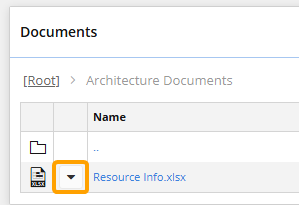
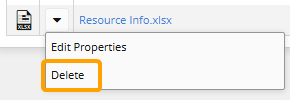
Select the drop-down menu of the document or link.
-
Select Delete.
-
Select Yes from the "Delete File" window.
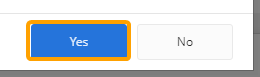
After selecting Yes, the document or file will be removed from the Project.