Create and Manage Custom AdHoc Report
Eclipse PPM AdHoc reports are dynamic, real-time reports that can be run by users on demand. These kind of reports are unique to your specific business query. They need to be precise, easy to understand, and sharable in order to make data-driven decisions as quickly and successfully as possible. Unlike reports created from Report Templates, these reports are created entirely within Eclipse PPM; no file upload is necessary.
This page covers the following topics:
Creating AdHoc Reports
New AdHoc reports can be added to Eclipse PPM from the "Reports" page.
Tip: If your new AdHoc report will resemble another existing AdHoc report in Eclipse PPM, consider copying the report by selecting Copy from the existing report's drop-down menu:
This will allow you to create a new report based on the details of the existing one. If you decide to do this, select Copy from the existing report's drop-down menu and skip to Step 4 below.
To create a new AdHoc report:
-
Select Reports from the Icon bar:

-
Select the "New Report" drop-down menu from the "Custom Reports" window:

-
Select one of the object types under "AdHoc Reports":
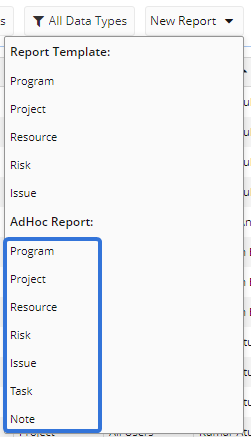
Note: This opens up the "New AdHoc Report" page.
-
Enter a name for your new report in the "Report Name:" field.
-
(Optional) Select "Validate for use in XML API endpoints" if you would like the report to be compatible with the legacy API endpoints.
Caution: Beginning with the Eclipse PPM 2020R3 Release, a new set of JSON-based API endpoints have been made available. The Legacy XML-based endpoints will be deprecated as part of the 2024R2 release expected later this year. When this release is deployed, these endpoints will no longer be functional.
Any new integrations should be created using the new endpoints, and any existing integrations should be migrated to them. For more information, see What's New with the API. -
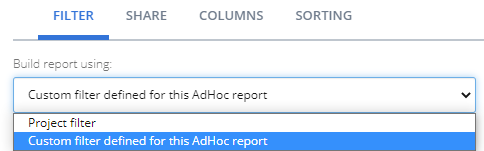
Select an option from the "Build report using:" drop-down menu to determine how to filter through objects for your report:
-
[Object type] filter: This options allows you to use an already existing filter for your report:

-
Custom filter defined for this AdHoc report: This option allows you to apply your own custom rules and groups to determine which objects are included in the report:

Scroll down to Adding Rules and Groups to your Filter for more information on creating filters.
-
-
Select the Share tab:

-
Use the "Share this AdHoc report with:" drop-down menu to determine who will have access to your Report Template:
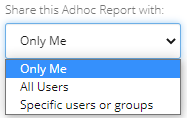
- Only Me: The AdHoc report will be private and only available to the creator.
-
All Users: The AdHoc report will be public and available to all Eclipse PPM users.
-
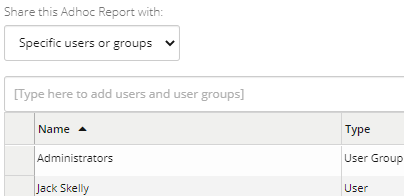
Specific users or groups: The AdHoc report will only be available to a specific list of users or groups. Selecting this option will open up a textbox that allows users to type in specific users or user groups that will be given access to it:
-
Select the Columns tab:

-
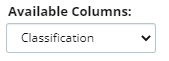
Use the "Available Columns" drop-down menu to select a category of columns to add to your report:
-
Select the checkboxes of the selected category's columns to add them to your report:
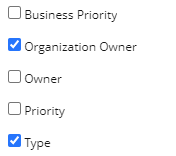
Note: Selecting a column will add it to the "Selected Columns" list on the right-hand side of the window.
-
Repeat Steps 10-11 until all of your desired columns have been added.
-
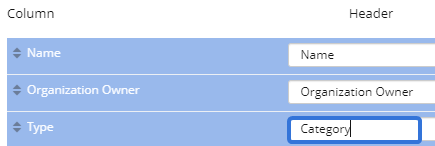
(Optional) Drag and drop the columns under the "Selected Columns" list to determine their order on the report:
-
(Optional) Type in your own custom report headers for any selected columns:
-
(Optional) Type in your own custom width (in pixels) for any selected columns:

-
Select the Sorting tab:

-
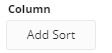
Select the Add Sort button to add a sorting rule:
-
Use the "Column" and "Direction" drop-down menus to determine the order of results on your report:

In this example, the report will be sorted in ascending order by the Project creator.
-
(Optional) Click the Add Sort button again to add a secondary sorting rule.
Example: In the Step 18 image, a secondary sorting rule will apply to Projects in the report with the same creator.
Note: This can be done up to five times.
- Click the Save button.
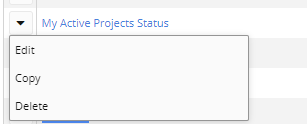
After clicking Save, your new AdHoc report will be included in the "Custom Reports" window on the Reports page. It's details can be edited, copied, or deleted at any time by using the report's drop-down menu:
Exporting AdHoc Reports
Eclipse PPM users can export AdHoc reports as CSV files. Once the report is exported, it will automatically be downloaded and opened on your device. Exporting is useful whenever users wish to save certain reports on their computer or send them to interested parties that might not have access to Eclipse PPM.
Tip: The Eclipse PPM Excel Add-In provides users with the ability to access Report data via the API without developer intervention. It also provides users with additional information about their exported reports: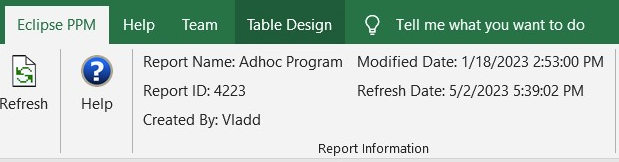
See Install Eclipse PPM Excel Add-In for more information.
To export an AdHoc report:
-
Select Reports from the Icon bar:
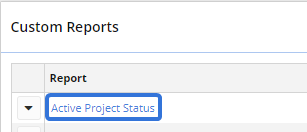
-
Select one of the AdHoc reports from the "Custom Reports" window:
Tip: Make sure that the report you choose is an AdHoc report. Check the "Report Type" column if you are unsure.
-
Select the Export button:
-
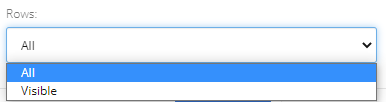
Use the "Rows" drop-down menu to determine how many of the report's rows will be included in the export:
-
All: The full AdHoc report will be exported.
-
Visible: Only the rows that are currently visible on the page will be included in the export.
Note: This is indicated by the "Showing" label at the bottom of the report:
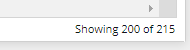
In this example, only the first 200 rows will be included in the exported report because those are the only visible rows. Users can uncover additional rows simply by scrolling down on the report.
-
-
Select the Ok button.
After selecting Ok, the AdHoc report will appear on your computer via whichever default application it uses to open CSV files (usually Microsoft Excel). It can also be found by opening up your computers "Downloads" folder.
Adding Rules and Groups to your Filter
Eclipse PPM filters use rules and groups to yield specific results. You must establish these rules and groups while creating a new filter.
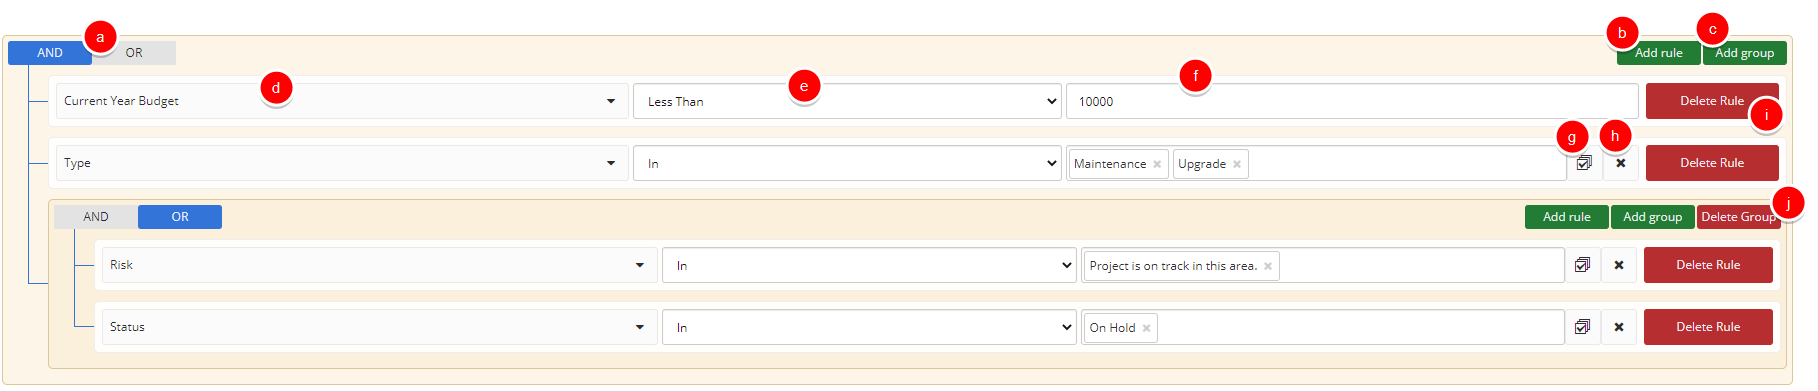
a. AND / OR Switch: Click this to switch between "AND" and "OR". When set to "AND," all of the connected rules and groups must be satisfied by the object to be included in the filter. When set to "OR," only one of the rules or groups must be satisfied by the object to be included. In the above example, the first switch is set to "AND"; this means that every rule connected by the lines that stem from the switch must be satisfied by the object to be included. However, the switch in the group is set to "OR"; this means that only one of the rules in the group must be satisfied by the object to satisfy the group as a whole.
b. Add rule: Click this button to add a new rule to your filter. The rule will appear at the same level of the AND / OR switch that the button appears; if the Add rule button is within a group, the new rule will appear within that group.
c. Add group: Click this button to add a new group to your filter. The group will act a rule that must be satisfied by the object to be included in the search. In the above example, there is only one group that consists of two rules. The AND / OR switch is set to "OR" for this group, which means that only one of the rules within this group must be satisfied for the entire group to be satisfied. In this case, the group (which acts as a rule) and the other two rules above it must all be satisfied by the object because the main AND / OR switch is set to "AND".
d. Rule Component: The first drop-down menu of each rule is used to indicate what component is being measured. In the above example, the first rule is set to measure the "Current Year Budget" of Projects.
e. Rule Qualifier: The second drop-down menu of each rule is used to qualify which aspects of the component (d) will be included in the search filter or how the component will be measured. In the above example, the first rule has a qualifier of "Less Than". This means that a Project's "Current Year Budget" must be below the standard (f) in order to satisfy the rule.
f. Rule Standard: The third field of each rule is used to set a standard that dictates whether or not an object will satisfy the rule. In the above example, the first rule has a standard of "10000". This means that a Project's "Current Year Budget" must be below 10,000 in order to satisfy the rule.
g. Select All: For components (d) with multiple choices, clicking this button will add all of the choices to the field.
h. Clear: For components (d) with multiple choices, clicking this button will empty the field.
i. Delete Rule: Clicking this button will delete the rule.
j. Delete Group: Clicking this button will delete the group in its entirety.
Example: Let's take another look at our example of a new Project filter:
The first AND / OR switch is set to "AND," which means everything it connects to must be satisfied for the Project to be included in the search. Three things must be satisfied: two rules and one group. If you look at the group, you can see that its AND / OR switch is set to "OR," which means that only one of the rules within the group need to be satisfied in order to satisfy the group in its entirety. Therefore, a Project must satisfy both rules outside of the group and only one rule inside the group on order to be included.