Add a New Status Report
If a Status Report Template is associated with a work item's Object Type, users can attach them to a work item or its descendants. Once added, details from the most recent Status Reports appear on the Project’s summary page. Additionally, Status Report indicators can be added to the dashboard.
Status Reports can be configured as optional (unscheduled) or as required, in which case work item owners will receive automatic reminders to submit their status reports. Status Report schedules will only apply to work items that have an "Active" status type (see Work Status Names to find out which work statuses are considered "Active").
Note: Status report periods are based on the timezone configured for your PowerSteering site rather than users' timezones.
Tip: If you would like to create a new Status Report that is similar to a previous one, see Copy a Status Report instead.
To add a new Status Report:
Before You Start: Users will require the "View Status Reports" Project permission on the work item to add new Status Reports to it. Also, please note that Status Reports can only be added to a work item if a Status Report Template has been associated with the work item's Object Type. If you see this message while editing a work item's details, the work item's Object Type has not been associated with a Status Report Template.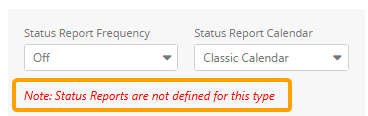
Contact a PowerSteering administrator to enable Status Reports for your work item.
-
Navigate to a work item.
-
Scroll down to the "Status Reports" module:

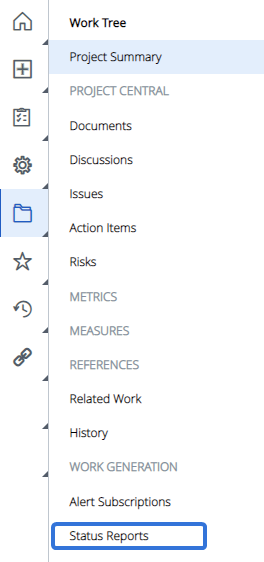
Note: Status Reports can also be accessed by selecting Status Reports from the "Project" menu:

Click to enlarge.Note: If there is no "Status Reports" module, ensure you have the "View Status Reports" Project Task permission. If you do, they will need to be enabled through the Edit All Details button on the Project's summary page. Users will require "Edit" Project Task permissions to do this.
-
Select the Add button (or Create if accessed from the "Project" menu):
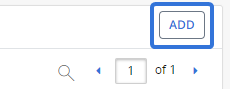
Note: Ensure that the Project Status and % Complete have been updated prior to clicking Add ; they cannot be edited in the Status Report.
Note: If the Add button is not visible on the module, a Status Report Template might not be associated with the work item's Object Type. Reach out to a PowerSteering administrator to associated one.
-
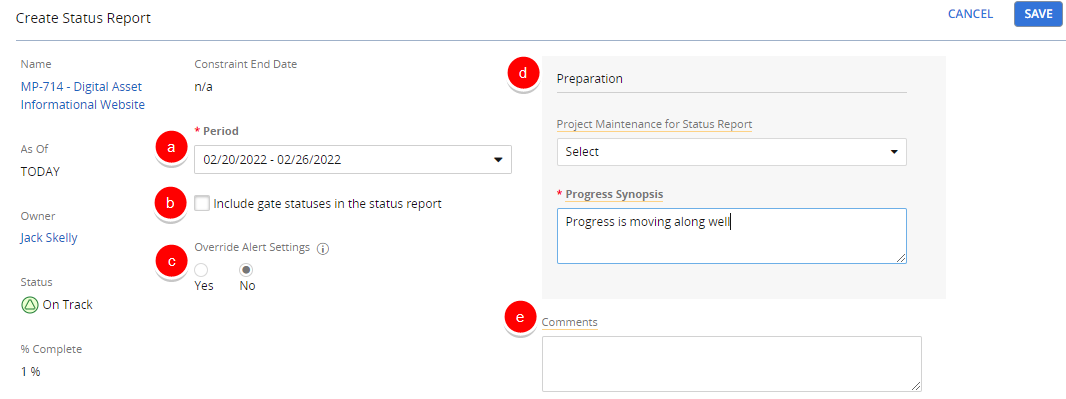
Enter the Status Report details to your liking:
-
Period: Select the time period to be covered by the report.
-
Include gate statuses in the status report: Select this checkbox if you would like the statuses of any Project Gates to be included in the Status Report.
-
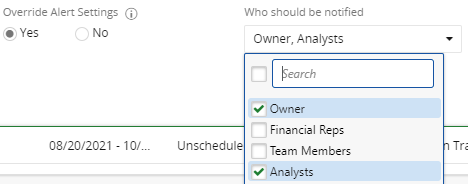
Override Alert Settings: Determine who should be notified of the new Status Report:
- Yes: The role-based Alert Subscriptions will be overwritten and a custom set of roles will be notified of the new Status Report. This will open up a "Who should be notified" drop-down menu that allows you to select the roles that should receive alerts:
-
No: The role-based Alert Subscriptions will determine which roles receive notifications for the new Status Report.
Note: The default option is always "No". If the Status Report originally has "Yes" chosen during creation, the default selection will still be "No" whenever edits are made to the report.
- Yes: The role-based Alert Subscriptions will be overwritten and a custom set of roles will be notified of the new Status Report. This will open up a "Who should be notified" drop-down menu that allows you to select the roles that should receive alerts:
-
Preparation: Enter information into these fields to evaluate how well this Project will be maintained:
-
Project Maintenance for Status Report: This drop-down menu includes a list of Project maintenance tasks. Selecting the checkbox of these tasks indicates that the task has been completed for the Status Report. The Project Manager will confirm this by signing of on the Status Report.
-
Project Synopsis: Use this text box to leave a comment about the Project for management review.
-
-
Custom Fields: PowerSteering administrators can add Custom Fields to Status Reports that can also be filled out as part of the report.
-
-
Select the Save button.
After clicking Save, your new Status Report will be finished. A green banner will appear at the top of your screen to confirm that it has been successfully created:
