Limit a Security Profiles' Impersonation Right
Upon choosing the Enable User Impersonation option at the system level by the Master Administrator, the Impersonation Access option is then available through the More… context menu of a User Security Profile.
From the Impersonation Access page you can choose the Approval Group, Functional Group, Master Site, Security Profile and User that current User Security Profile can impersonate allowing you to have a granular control over the Impersonate feature.
Use case: Adam the administrator is tasked to give the Executive Assistant Security Profile the right to impersonate Users within the Account Executive Security Profile. He can now easily accomplish this task by giving the Executive Assistant Security Profile the right to Impersonate the Account Executive Security Profile from the Impersonation Access dialog box.
This article explains how to limit a Security Profile’s impersonation rights by configuring granular controls through the Impersonation Access page, enabling administrators to specify which users or profiles can be impersonated.
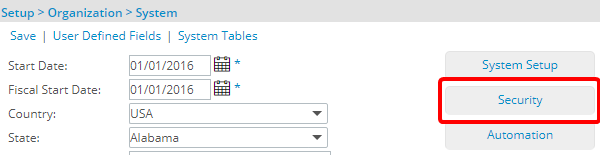
- From the Icon Bar click Setup
 .
. - From the Navigation Menu click Organization.
- From the menu click System.
- From the System page click the Security button to access the Security setup page.
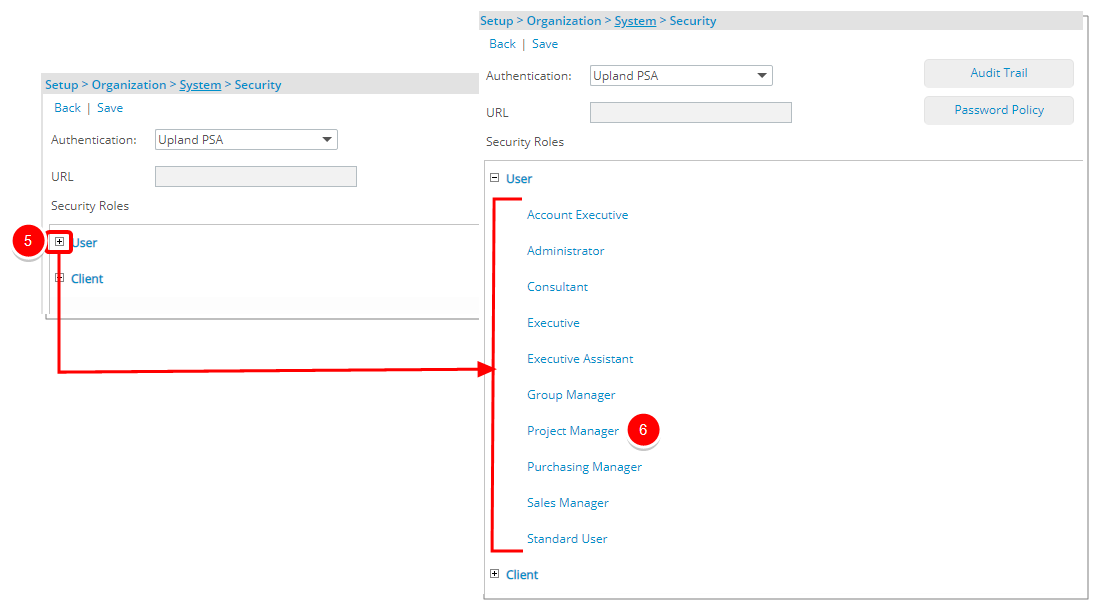
- Click the expand button (
 ) located against a User Security Role Placeholder, if applicable to view the available Security Roles.
 - Select a Security Profile.
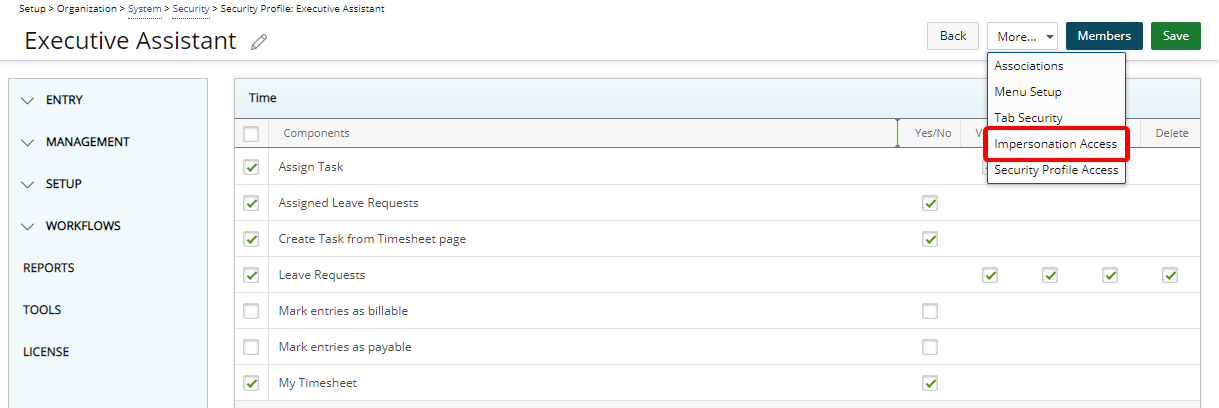
- Upon the Security Profile page displaying, click the More... button
- Choose Impersonation Access from the available options.
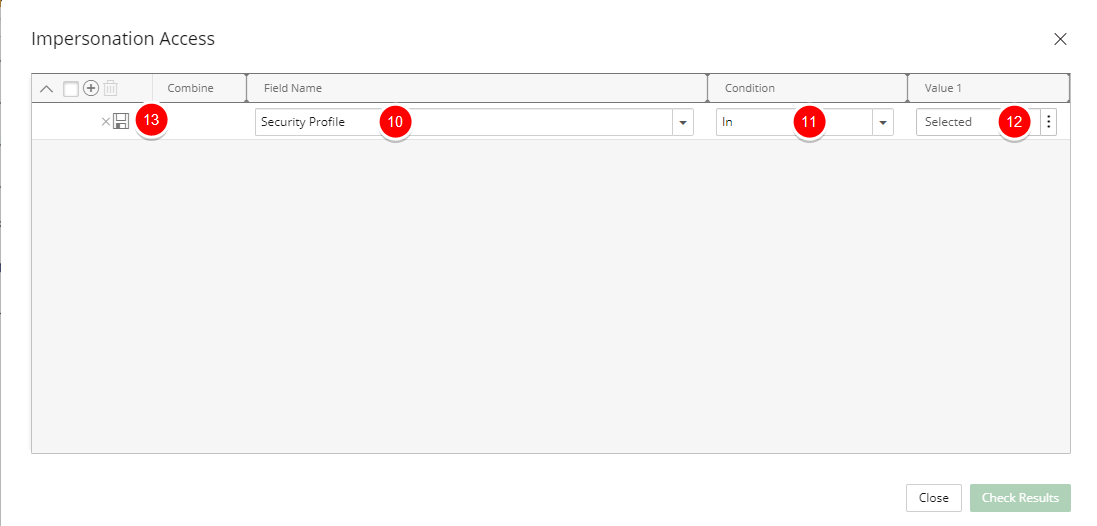
- Upon the Impersonation Access dialog box displaying click New

- From the Field Name selection list choose one of the following options:
- Approval Group
- Functional Group
- Master Site
- Security Profile
- User
- Select the Condition.
- Click the ellipsis button and select the Value from a list.
Note: A tool tip is available when hovering over a Selected Value1/Value2 box. Each Selected Value is separated by a dash and a maximum of three lines are displayed. Clicking the Show More… link within this tool tip will open the corresponding List page where you can view your selections.
- Click Save.
Tip: You can move the Impersonation Access dialog box to a new position. Simply move your mouse to the header area, when your mouse pointer turns onto a move pointer
 , click and drag the dialog box to its new position.
 - For the purpose of this article we are going to choose the Security Profile Field, select the In Condition and choose Account Executive. Thus recreating the conditions in our aforementioned Use Case.
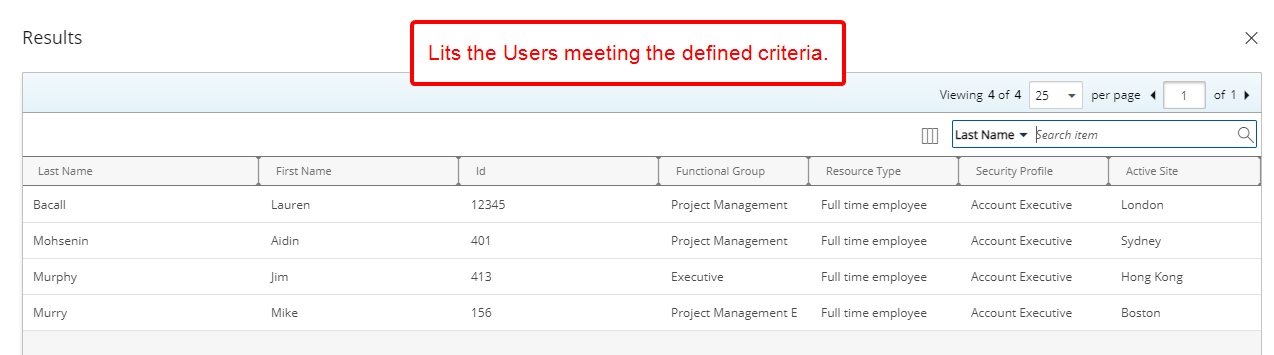
- Note that the Check Results button is now available to you. Click this button to verify the results of your selected criteria. Note that in our example the list returns users belonging to the Account Executive Security Profile.
- Click Close to return to the Impersonation Access dialog box. You can either:
- Add a nested Filter which will allow you to Combine the filter with and And/Or condition.
- Or create another Filter by following the Steps 9-13 above.
- Click Close to return to the Security Profile edit page.