The Skills feature enables managers to define the specific qualifications and expertise required to complete tasks within a project. By creating and assigning skills, managers can more effectively match resources to project needs, improving accuracy in workforce planning and enhancing overall project delivery. This capability supports optimal use of the Resource Management module by ensuring that the right people with the right skills are assigned to the right tasks.
This article details the process for creating a Skill.
- From the Icon Bar click Setup
 .
. - From the Navigation Menu click Workforce Planning to expand the corresponding menu.
- From the available menu items, click Skills.
- There are two ways to opt to create a new skill, either :
 Click the New Skill button
 Click the New Skill button from the top of the Skills list page, which will automatically create the new skill under the Skills placeholder.
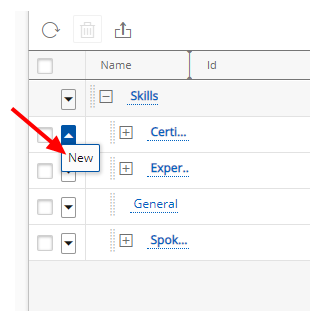
- Click New from the context menu
Click the down arrow located against a placeholder or another skill to access the context menu, and then select New.
- Upon the Create Skill dialog box displaying:
- Enter the skill Name.
- Click the browse button located against the Parent box, to select and designate, from the Skills list page, under which the Skill is to be displayed.
- You can opt to add the Id and Description.
- Click Save to apply your changes.
Tip: Alternatively you can click Save & New which will result in saving your changes allowing you to immediately create another Skill.
- Click Back to return to the previous page.
- View the list with the newly added skill.
Note: If you initially created the skill under the general Skills placeholder, but required it to fall under another existing placeholder or to have it branch off from another skill, you can select it and then drag the skill to the placeholder or other skill, and drop it (release the mouse).
-
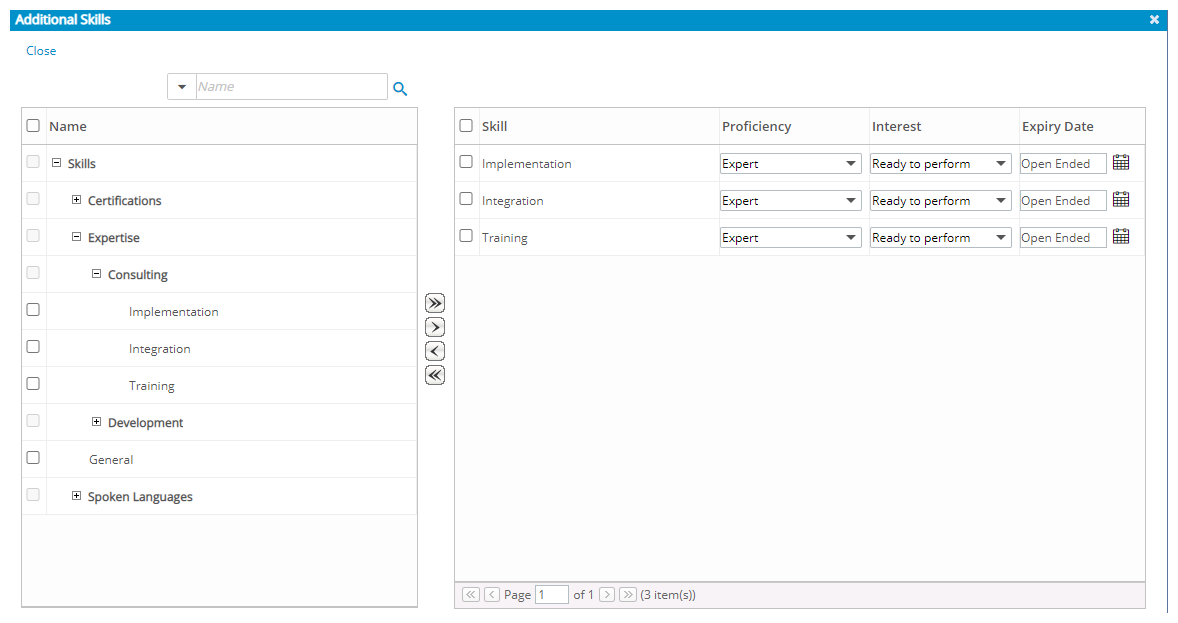
View the newly added skill from the pages where you can create skill associations:
- User setup (Setup > Organization > Users > User Edit > Employment tab)
- User Settings (User profile > Settings > Skills tab)
- Role Edit (Setup > Organization > Roles > Role Edit)
- Work Plan Booking