Create a Content Review Job
Content managers can assign a content review job for one or more content records in the library. A content review job is defined as a workflow that contains a sequence of tasks (or tasks) with a due date for the review job. Each task in the workflow in turn is assigned to reviewers and has a due date. You can create and save workflows. These workflows and tasks within workflows can be reused to in review jobs. You can also modify existing workflows to create a review job. If you want to send one or more content record for review you can assign a workflow or reuse workflows or tasks within workflows. Reassign different reviewers and reset due dates. You can also create a completely new workflow with reviewers and due dates.
To keep the process simple for reviewers, they do not see the other tasks in the workflow or the workflow progress, only their review jobs and assigned content records. They will also not be able to see any notes left by other reviewers. Reviewers must be licensed Upland Qvidian users with the Allow user to perform content review tasks permission granted. Once the review is complete, the content manager who created the job approves the revised content, which returns it to the library.
When a content record is included in a review, the name of the job displays in the Review Jobs column in the library grid. This column is not visible by default. You can view the Review Job history of a content record in the details panel on the library.
Create a Review Job
- From the library, locate the content records for review:
- For a single content record: Click the More Options
 menu and select Review > Apply Review Job.
 - For multiple content records: Select the checkboxes of the desired content records. Click the More Options menu below the Search bar and select Review > Apply Review Job.
- For a single content record: Click the More Options
-
Enter a Review Job Name.
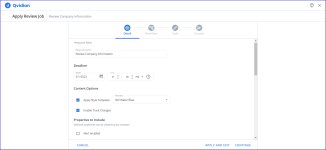
Example of the Apply Review Job page - Details tab -
Set a Deadline for the review job.
 Set the due Date and Time
- Click the calendar icon to open the calendar.
- Browse to the required month and year and click on a date to set the date. Use the left and right arrows on the top right to move to the previous or next month. Use the drop-down to select the year.
- Set the time using one of the methods below:
- Click the clock icon to open the clock.
- Click in the hours and minutes fields and enter a new time.
- Click the up or down arrows on the hours, minutes.
- Use the drop-down to select AM or PM.
- (Optional) Select the following checkboxes to provide the Content Options:
- Apply Style Template: This applies a style template to the selected records. Select the template from the dropdown menu.
- Enable Track Changes: This enables track changes for all the records that will be reviewed.
- Translation Review Job: Initiate a review job for translated content by re-translating its parent record. This ensures that review jobs are always using the latest version of the content record. This works well with Microsoft Office's "Translate" feature, which preserves formatting. It is not recommended for integration or comparison-based translations.
Example: An English content record is copied and linked using a translation link type with the translation options set to: "Original is parent". This child record is translated into French using Microsoft's "Translate" feature. Then, when a user applies a Review Job to the translated content and selects the "Translation Review Job" Content Options checkbox, the latest version of the English parent record will be used, and the reviewer can re-translate that child record to French.
- (Optional) From the Properties to Include section, select the properties to include with the selected records. These properties cannot be modified but can be useful information to aid the reviewer or for the content manager.
- Click Continue. The Workflow tab displays.
Workflow Tab
You can select an existing workflow or decide to create a new work flow or continue to edit an existing review job that you were working on and stopped in between.

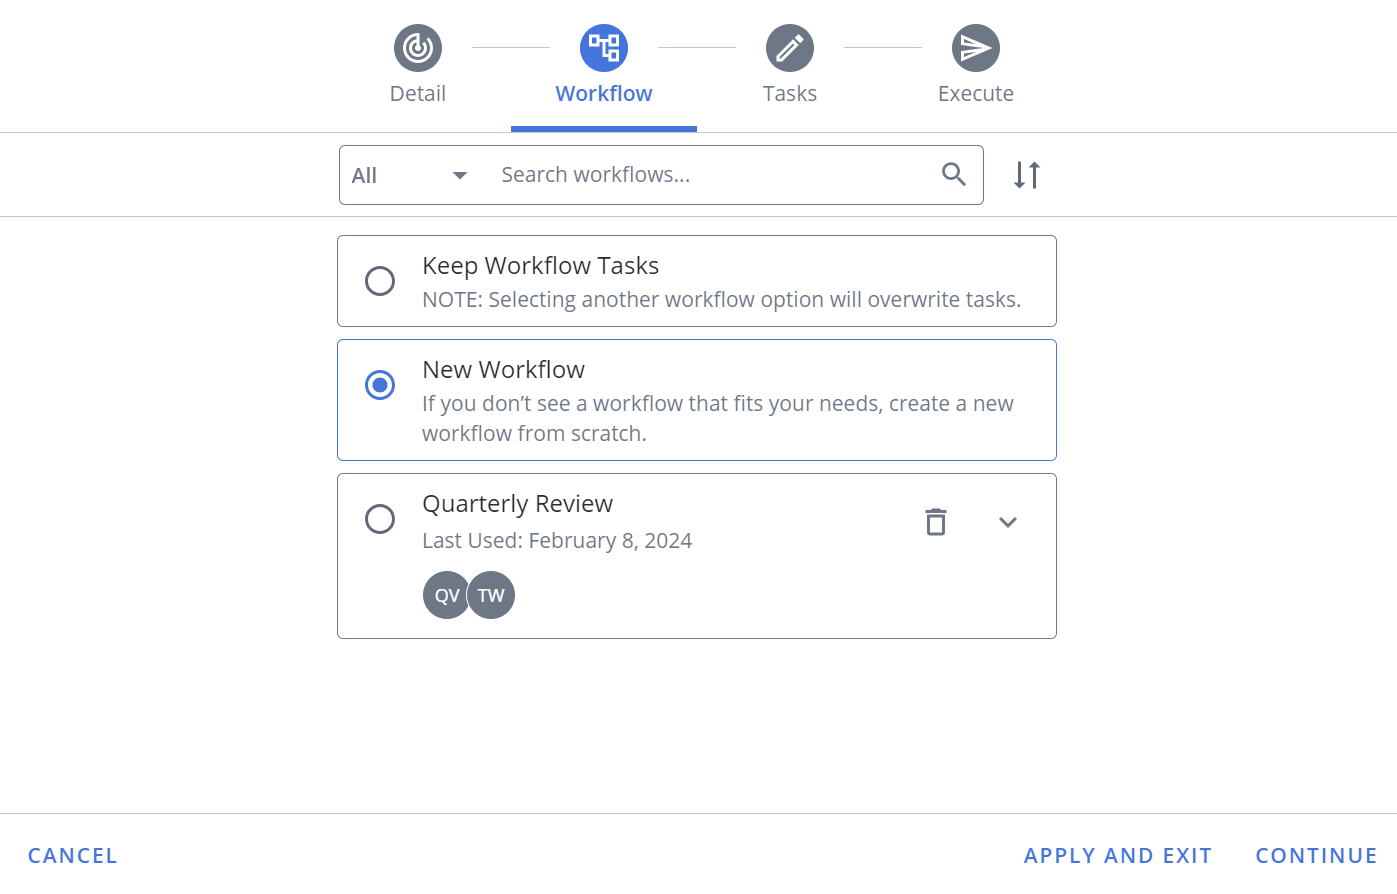
Example of the Apply Review Job page - Workflow tab - Search for a workflow using the Search workflows... field. Filter the search using the All or My workflows dropdown menu. Sort the listed workflows by "Date Last Used (Desc.)" or Name "(A-Z"). Click the Search
 icon or Enter.
 - Select one of the following options:
- Keep Workflow Tasks: You can resume editing the workflow for the review job you stopped working on by using the Apply and Exit button at the bottom of the page. This option is only visible if you stopping working on a review job and exited in between.
- New Workflow: Click on this option to create a new workflow. Before you create a new workflow, see if the existing workflows satisfy your requirements.
- Existing Workflow(s) The rest of the items on this page are a list of existing workflows. Select one of the workflows if it suits your requirements and determine whether to include or exclude assignees.
- Click Continue. The Tasks tab displays.
-
Depending on your choice in the previous task, Workflow tab, perform one of the following:
Create a new workflow
- Click Add Task to add a task in the workflow.
- Enter a Task Name.
- Set the due Date and Time the task should be completed, see Set the Due Date and Time.
- Click Add Assignees, the "Add Assignees" dialog displays. Enter the reviewer's name in the search box and press enter. Click the reviewer from the result list, a check mark appears. Repeat to add more assignees and close the dialog box.
Note: To remove assignees, click the Edit Assignees
 icon to open the "Edit Assignees" dialog. Click the search box, the added reviewers are listed at the top of the pop up list. Click a reviewer's name to remove the check mark. The reviewer is removed from the assignees list.
 - Specify the task completion rule. The task is considered complete, if all the assignees complete the task or if any of the assignees complete the task.
- Anyone: This option specifies that once any participant completes the task the workflow moves to the next task.
- Everyone: This option specifies that all participants have to complete the task for the workflow to move to the next task.
- Click the More Actions menu to delete this task or move this task and position it in the workflow task sequence.
- Click Done.
- Repeat the above tasks to add more tasks to the workflow.
Note: Click the More Options
menu to delete any tasks or move their position within the workflow task sequence. Update an existing workflow
- Select the workflow you would like to use.
- Specify one of the following:
- Include Assignees: Include the assignees added to the workflow.
- Exclude Assignees: Exclude assignees added to the workflow.
- Click Continue. The tasks of the selected workflow are visible on the page.
- You can now add a new task, add an existing workflow to this workflow, add tasks from another workflow, arrange the sequence of tasks in the workflow, and edit tasks details.
- To edit a task, click the Edit
 icon. Edit it as per your requirements. You can change the task name, due dates, add or remove assignees. For detailed tasks to work with a task, see Create a Workflow.
- Click + Save for Reuse button. The "Save for Reuse" dialog displays.
- Enter a Workflow Name.
- Select the Save assignees to workflow checkbox to include the current assignees in this workflow.
- Specify the Share Settings:
- Private: Choose this option if you want to keep the workflow private.
- Shared: Choose this option to share this workflow with other users or roles.
- Share to Users: Click the Users field to either search or select a user. Repeat to add another user.
- Share to Roles: Click the Roles field to either search or select a role. Repeat to add another role.
- Click Save as New.
- Click Continue. The Execute tab displays.
Execute Tab
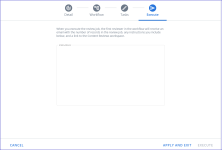
Example of the Apply Review Job page - Execute tab. - Enter the Instructions to the reviewers. This will be emailed to the assigned reviewers per task.
- Click Execute to apply the workflow to the selected content. Once you execute the job, the first reviewer in the workflow will receive an email with the number of records in the review job, any instructions, and a link to the Content Reviews workspace. Applying the workflow saves it to the selected content records, but does not start the review process.
Note: You can also apply the review job and exit to create the required workflows and save them to the records. You can prepare the records for review and execute the review job when required.
Note: At anytime in the review job creation process, you can click Apply and Exit to save your changes. You can resume from where you stopped previously.
Detail Tab

Tasks Tab
You can create workflows by adding new tasks, or reuse tasks from existing workflows, or reuse entire workflows. You can modify the tasks and workflows by adding new reviewers, assign due dates etc. You can optionally save the workflow as a new workflow. When you reuse a workflow and modify it, it will not impact the other review jobs that reused the same workflow or task.
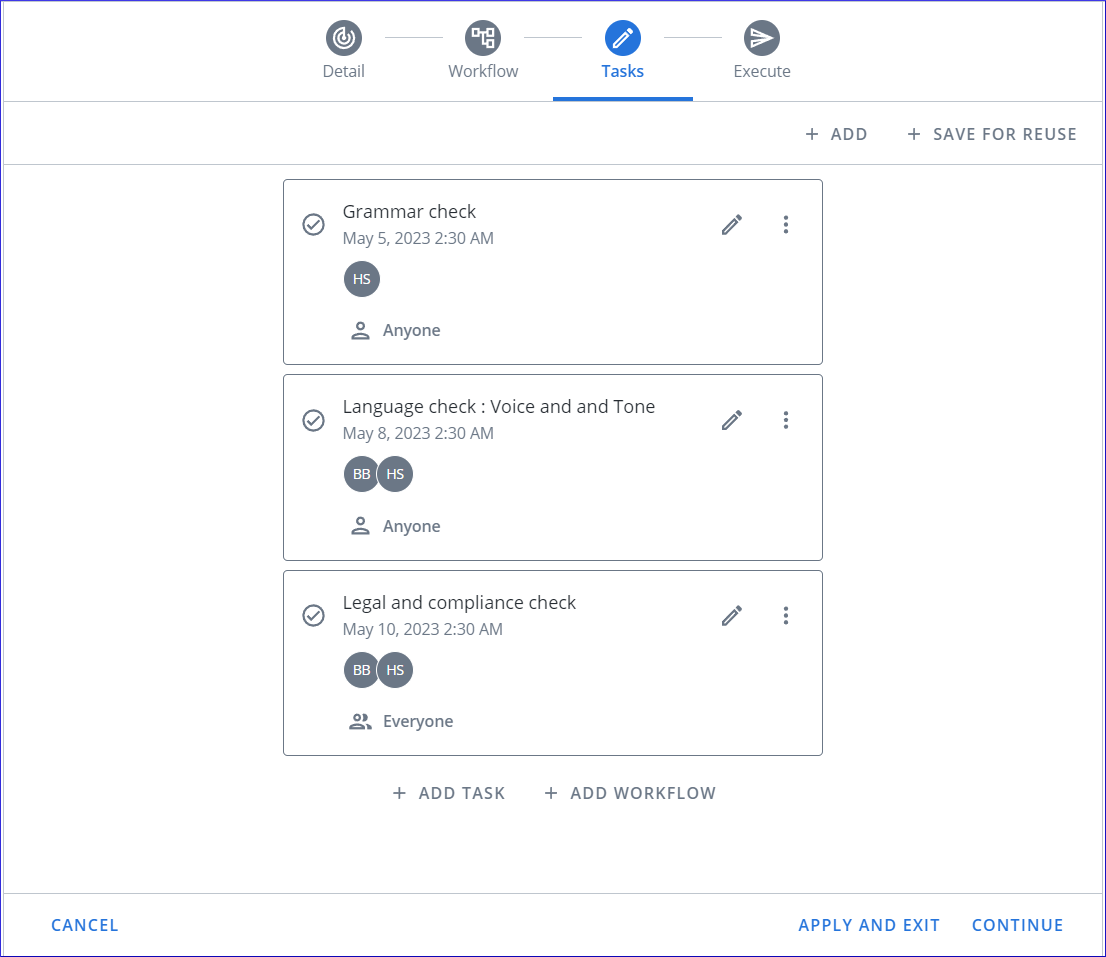
Example of the Apply Review Job page - Tasks tab. You can see the three sample tasks created for the workflow.

Next tasks
After the reviewer completes their task, the workflow moves to the next task if one is assigned or is ready for approval. You can manage jobs that are in progress in the Manage Content Review Jobs workspace.