Recover 2.0
Note: This article is for Recover 2.0. If you are using the original version of Recover, refer to the Recover 1.0 help documentation.
Recover is a 121 recovery tool, available for Fast Feedback, that displays items of feedback requiring action, referred to as tasks to help with customer retention/reduce formal complaints etc.
The module allows you to:
- Create and assign tasks (supervisor permissions required to assign tasks).
- Respond to feedback, e.g. send an email to the customer, etc.
- Update tasks, e.g. add a note about your customer interactions, update a task status, etc.
Note: Tasks are given a time limit to inform you how many hours are left on the task. Time limit is set to a default of 72hrs and counts down hourly. When a task is closed the time limit count down stops.
If you do not have the Recover module, please contact your customer success manager to discuss upgrading your Fast Feedback application.
Accessing Recover 2.0
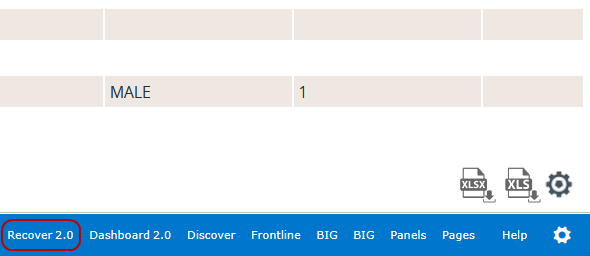
When the access has been provided to Recover 2.0 and when you log into the Rant & Rave, you will notice a new option on the shortcut panel which takes you directly into Recover 2.0.
Viewing Tasks in Recover
From the Fast Feedback dashboard, open the main menu and select Recover to see your task summary and task list table.
-
The task summary pane displays key statistics such as your total number of tasks, the number of high priority tasks, etc.

-
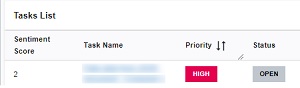
The task list table lists your tasks and the tasks that are assigned to others, along with highlights such as task status, time remaining, etc.

Tip: You can use the search bar to filter your tasks for key search terms, e.g. search for complaints about 'repairs'.

Sorting Tasks
To change the sort order of tasks in the table, e.g. to display tasks in order of descending priority:
-
Hover over the column headers in your table to reveal sorting arrows.
- Press the arrows to apply a sort order, e.g. sort priority from highest to lowest. The icon changes to a single arrow.
-
Press the arrow again to change the sort order, e.g. select the arrow next to priority again to sort from lowest to highest.
Note: selecting an arrow next to a different column will result in the table being sorted against that column instead, e.g. selecting priority sort followed by date sort will result in the table being sorted by date instead of priority.
-
Press the arrow a third time to return the table to default sorting.
Configure Columns
Users can configure which columns are displayed and also determine their order.
-
Click on the
 icon to open the Column Settings panel.
 -
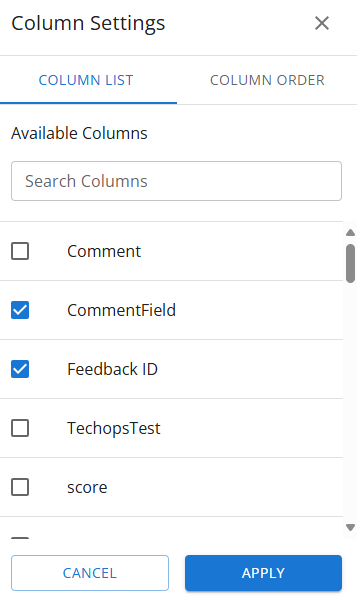
In the Column List tab, select or deselect the checkboxes to include or exclude specific columns.
-
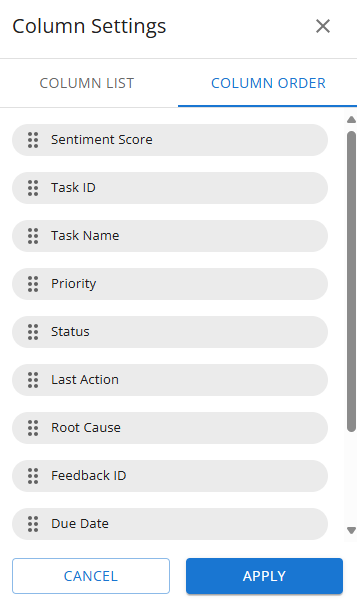
In the Column Order tab, drag and drop the columns to rearrange the columns in the desired order for display in the message panel.
-
To remove a column, click the X icon next to the column name.
-
Click Apply to save the changes.
Viewing Task Details
-
Select a task name in your task list table to open a detailed view of the task.
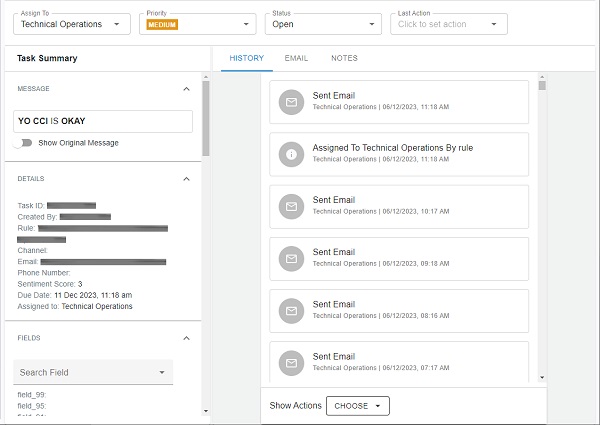
The task name and remaining time until the task completion deadline are displayed at the top of the screen along with the priority, status, and last action fields.
Use the task summary pane to:
-
View your message.
Tip: If the feedback was originally in a different language, you can use the show original language slider to toggle between the original feedback and the translation.
-
Review the feedback details, e.g. channel, sentiment score, contact details, etc.
-
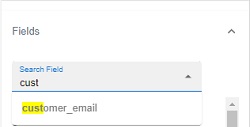
See and search the list of fields in your feedback table.
Note: When you start typing into the field search box, the suggested items will begin filtering.
-
-
Use the history tab to view activity against the task. This tracks all updates/changes to tasks like an audit trail.
-
Select the email tab to view or send a response.
-
Select the notes tab to view or add a note.