A delegate is a designated user that can manage your queues, view and send messages on your behalf or view messages only. A delegate can only perform the tasks that you have set in Preferences.
The following tasks can be performed by a delegate on your behalf.
-
Allow delegates full control of the queues you have access to. This setting is only for those that use queues as part of their workflows.
-
Allow delegates to send messages on your behalf; for example, faxes.
-
Allow delegates to view messages only.
Note: Your sender information set up by an Administrator is used and not the delegate's when cover pages are used.
You can add delegates and designate what they can do by using Preferences.
To add a delegate
-
Open
-
Click Preferences. The Preferences page appears.
-
Select Delegates. The Delegates page appears.
-
Click + New. The New Delegate dialog box appears.
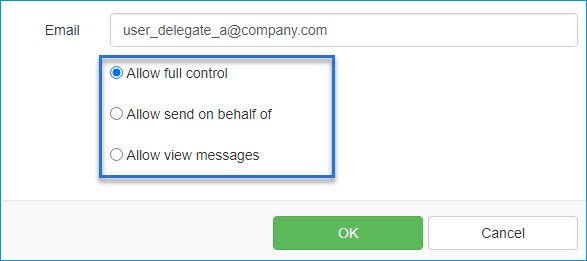
See the New Delegate dialog box example below.
-
Type the delegate's email address in the Email box.
Note: If you are not sure of the email address, enter the name of the person you want to designate as a delegate. The name is searched in the Active Directory and if found, the following message is displayed: User [name] found in Address book. If the name is not found, you get the message: User [name] not found in Address Book.
-
Select the delegate's name from the Email drop-down list, if necessary.
-
Select one of the following options.
-
Allow full control
-
Allow send on behalf of
-
Allow view messages
-
-
Click OK.
Deleting a delegate
You can delete delegates that are no longer fulfilling that role by using Preferences > Delegates.
To delete a delegate
-
Open
-
Click Preferences. The Preferences page appears.
-
Select Delegates. The Delegates page appears.
-
Find and select the delegate you want to delete.
-
Select the Delete button on the toolbar. The Delete the selected item(s)? dialog box appears.
-
Click OK.
See also
About Subscribed Distributions
Creating a My Files Distribution