Imagine an office having separate cabinets for its various departments or business processes in a file room. Each cabinet holds one or more files containing documents related to a specific department or business process. For example, there may be a cabinet dedicated to the Human Resources department. Another cabinet is dedicated to the loans business process, which contains files of all customers with loan information.
FileBound provides you the same functionality by storing files and documents (converted into digital format), in a project rather than a filing cabinet.
If you are working with FileBound for the first time, you must create and configure a project first.
Click here to view a sample project scenario.
Topics include:
Add a project
When you start to create a new project, it is necessary to understand the scope of what the project is going to be used for. This includes the type of documents that will be stored within the project, the index fields, or meta-data, that will be used for searching, and any possible security that might need to be imposed.
Tip: When creating a project, it is important that it is configured so that files do not contain more that 200 pages each. It is not recommended to place more than 200 pages within a single file. This number is dependent on the amount of memory installed on the computer running the Viewer.
- On the Navigation menu, click Administration, then click Projects.
-
Click Add.

-
Configure the project using the following tabs:
- Click Save.
Edit a project
A System Administrator can edit project information whenever required.
- On the Navigation menu, click Administration, then click Projects.
-
Click Edit next to the project you want to edit.

-
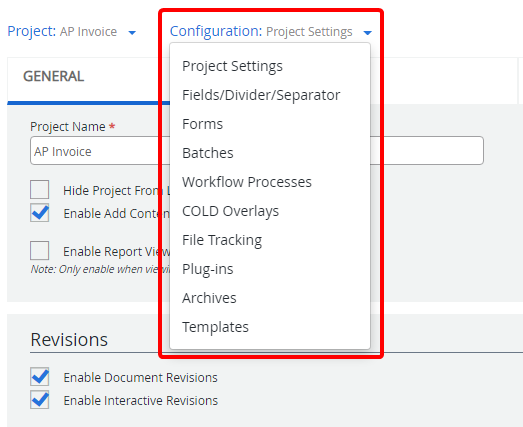
Edit the project as needed using the options in the Configuration menu. See Project configuration for more information.

Import a project
- On the Navigation menu, click Administration, then click Projects.
-
Click Import.

-
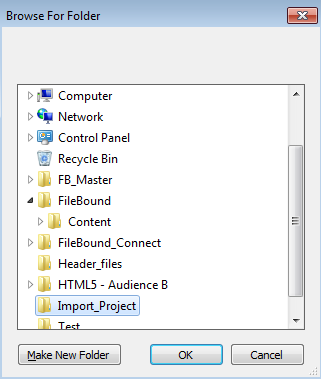
In the Browse For Folder dialog box, select the project file (.fbp5) to be imported, then click OK.

Note: FileBound always imports a project with its original name, although you can change the project name while exporting. A date and time stamp is appended to the imported project's name by default, during the import process.
Export a project
- On the Navigation menu, click Administration, then click Projects.
-
Click Export.

-
Select the check box next to the project you want to export, then click Export.

- In the Browse For Folder dialog box, select a folder to export the project to, then click OK.
Delete a project
When a project is deleted, it can no longer be assigned to users or groups, and will not appear in project lists.
- On the Navigation menu, click Administration, then click Projects.
-
Click Delete.

-
Select the check box next to the project(s) you want to delete, then click Delete.

-
Click Yes to confirm the deletion.
Refresh the projects page
To view all the newly added projects, the System Administration can click Refresh on the Projects page.
- On the Navigation menu, click Administration, then click Projects.
-
Click Refresh.
