You can integrate data from your line of business web based applications by mapping data to FileBound project index fields. After a web integration has been configured, Connect will let you know when it finds a file in FileBound that matches the record you are viewing in the web application. The integration also prompts when a file is not found in FileBound, and allows you to create a new one.
The Web integration supports only HTML web applications. Other web applications like JAVA are not supported. The Web integration functionality supports Internet Explorer, Chrome, and Firefox.
Add a web integration
This is a one-time integration for a web application. Once an integration is configured, when other users open the application, the record details are automatically mapped to Connect on their computers. Thus, integration set up is not required to be done on every computer for other users.
- On the Integration menu, click Setup.
- In the Project list, select a project that you want to set up the integration with.
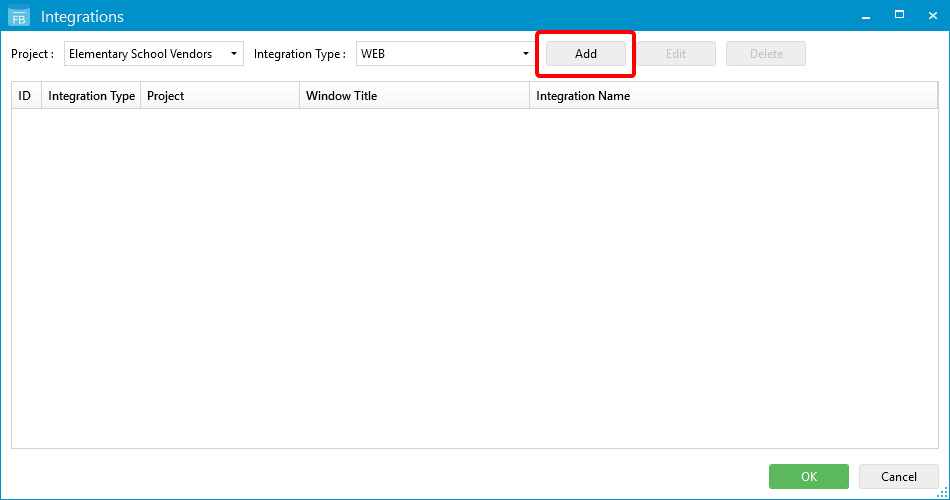
- In the Integration Type list, select WEB.
-
Click Add.
-
Open the web application.
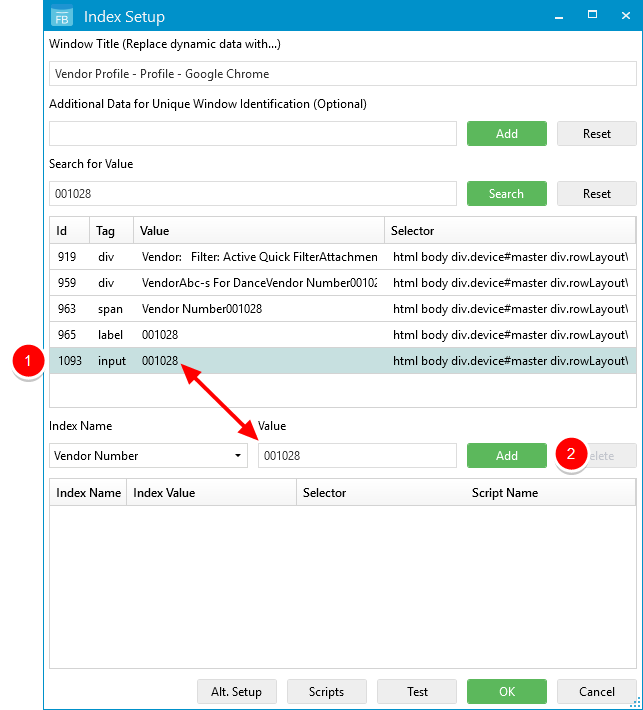
The Index Setup dialog box is populated with the data from the web application page. The Windows Title box displays the name of the web application page. You can replace the title with a wildcard character(...) to use dynamic data.
Use case: If a title is ‘Salesforce 3387 Contract’ then 3387 is the contract number, which changes with each contract that is active in the web browser. For this, replace the contract number '3387' with '…' to make that variable a wild card character, so that the title is displayed as 'Salesforce … Contract'.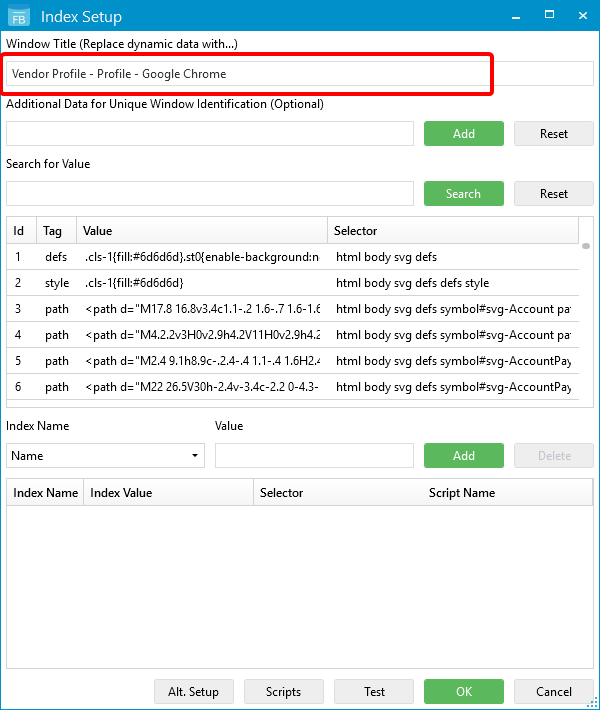 Note: Click Reset to load a new web application page for integration.
 -
If the Window Title stays the same for multiple pages within the web application, enter text in the Additional Data for Unique Window Identification field that makes the desired page unique.
Use case: In a web application, the window title is always "PR - Employee Information", no matter what page of the employee information you have navigated to. For the integration, you want to map to the employee number, which is located on the main page. You can select words that appear on this page and make it unique within the application. In this case, the employee number falls under a "Demographic Information" subtitle, so we can use that as our value for unique window identification . -
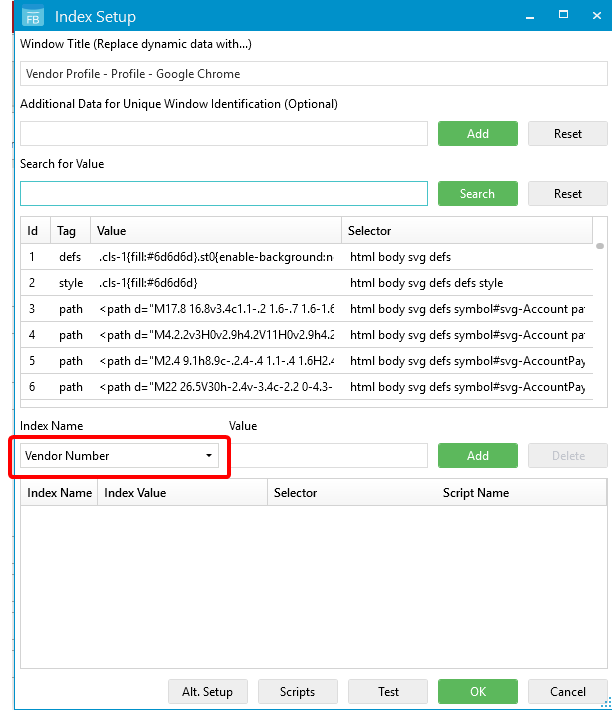
In the Index Name drop-down list, select the index field that you want to map.
-
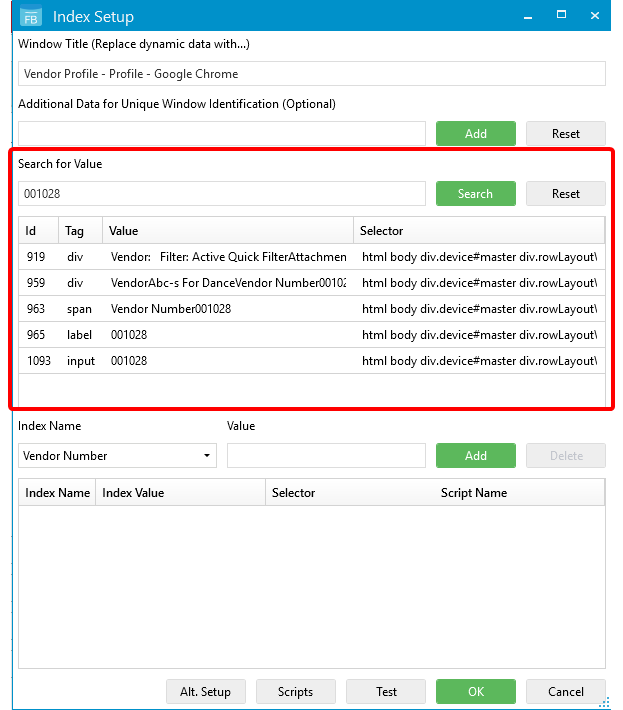
In the Search for Value box, type the value of the index field, and then click Search.
-
Select a line in the search results. The Value box displays the value of the selected record.
Note: In cases where a valid ID tag doesn't exist before the value you are looking for, the alternate setup may be helpful. See Use the alternative index method to map a field in a web integration for more information. -
Click Add to map the index field.
- Repeat Steps 6 - 9 to add map additional index fields.
- Click Test to ensure that the mappings return the expected values.
- Click Scripts to generate a VBScript or PowerShell script if necessary. The script is applied to the value pulled from the integration for that field. See VBScript and PowerShell scripting for integrations for more information.
- Click OK.
- Click OK.
Use the web integration
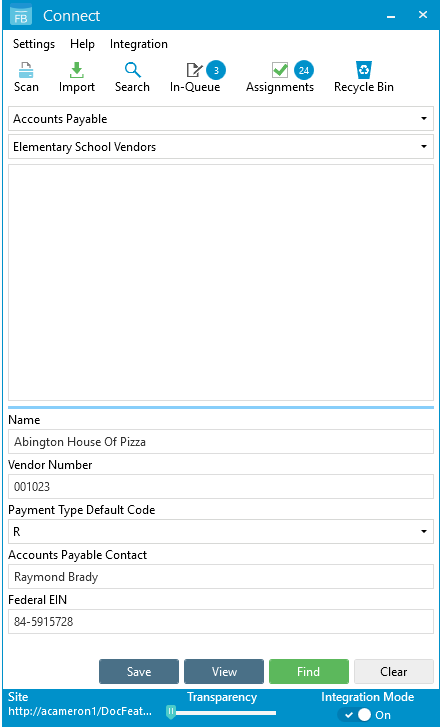
- In Connect, select the On option for the Integration Mode. See Status Bar for more information.
-
On the web application page, click a record to see the mapped data in Connect.
If a matching file exists in FileBound, the index field information will be populated and any applicable documents will be displayed under separators and dividers.
If a matching file is not found in FileBound, the Index Panel will display the details of the record with a message No results found, and the Create button is enabled.
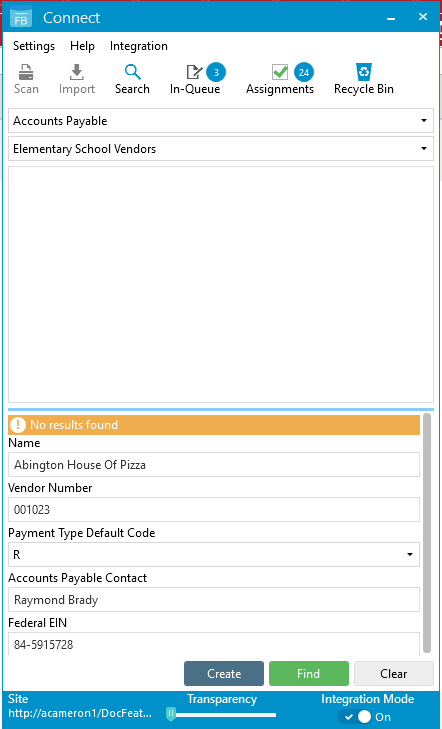
- Click Create to create a new file, and then you can add documents to the new file by scanning or importing them. See Scan documents and Import documents for more information.
Video Tutorial
Menu