This article details how to access and view the Roles list page as well as the available options to you.
Access the Roles List Page
- From the Icon Bar click Setup
 .
. - From the Navigation Menu click Organization.
- From the available options select Roles.
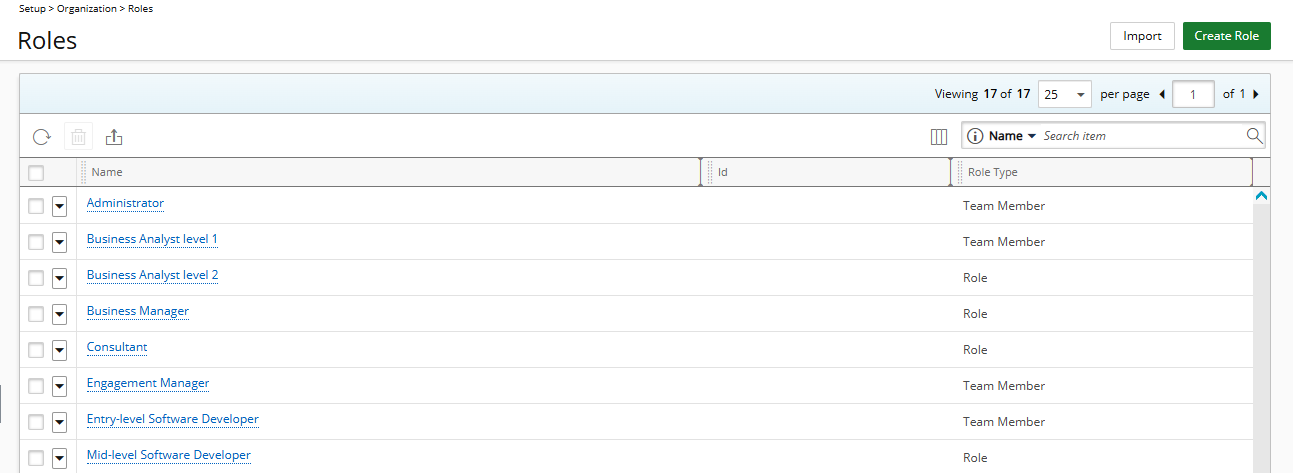
- View the Roles list page.
Available Options
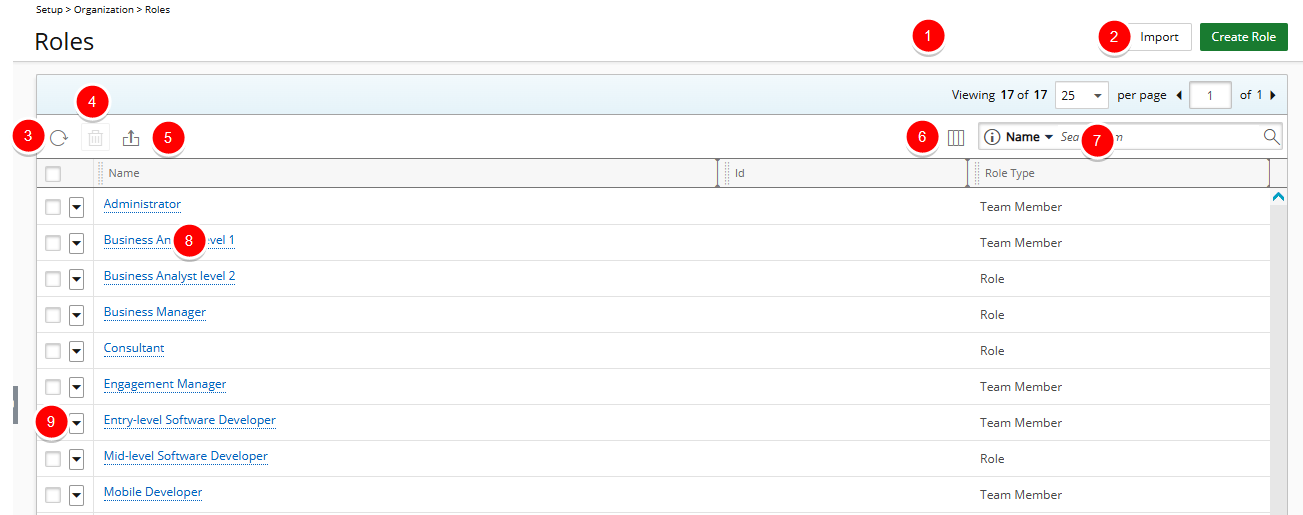
- Click Create Role to create a new Role.
- Click Refresh
 to refresh the page.
- Click Delete
 to delete the selected Role(s).
 - Click Export to Excel
 to export all the Roles(s) listed, and as displayed, to Excel.
 - Click Column Selection
 to open the Column Selection dialog box where you can add or remove columns to display on the Roles list page. The following columns are displayed by default: Name, Id and Role Type.
In addition to any User Defined Fields associated to Roles, you can choose to add the following columns: Active, Description, Manager and Resource Group. - Search functionality: Select a search criterion from the default anchored criteria filters; Name, Id, Role Type, Resource Group and Manager. Enter the corresponding search value, then click the Search button
 . In addition to the default search criteria, you can choose to include Active and Description trough Column Selection.
 - Click the Name of the Role you wish to modify to access the Role Edit page.
- Click the down arrow
 located against a Role to access the Context menu which provides shortcuts to easily access the Role Work Plan.
 - From the table header:
- You can easily sort the columns by ascending or descending order simply by clicking a column header. Note that an arrow indicates the descending (
 ) or ascending (
 ) order applied to the column.
 - Click
 and move a column to the desired position.
 - You can dynamically resize column(s), to your preferred width. Simply move your cursor to the column boundary (
 ) you want to resize. When the cursor becomes a resize cursor, click and drag the column accordingly.
- You can easily sort the columns by ascending or descending order simply by clicking a column header. Note that an arrow indicates the descending (