This article covers the editing a Role.
- From the Icon Bar click Setup
 .
. - From the Navigation Menu click Organization.
- From the available options select Roles.
- Upon the Roles list page displaying, click the name of the Role you wish to edit, to access the Role Edit page.
- Change entries and/or selections as required.
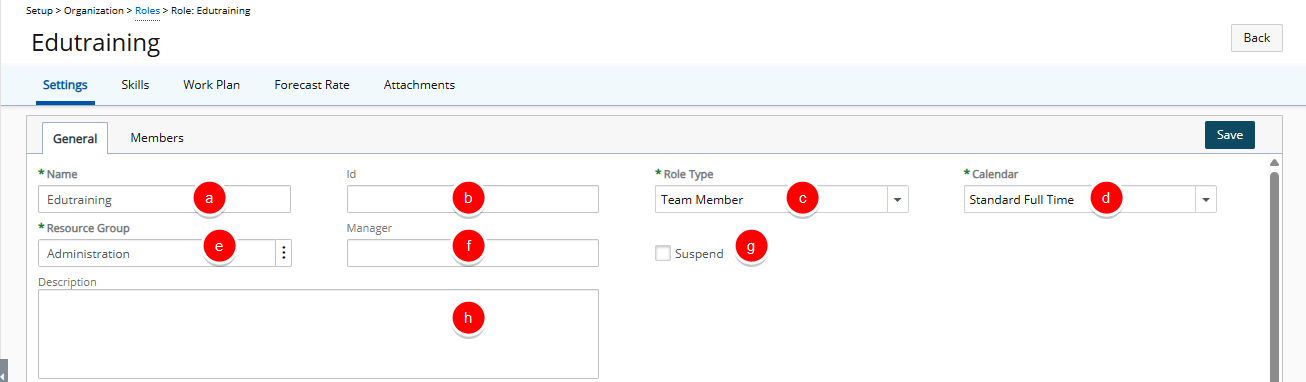
- Name*:Enter a Name for the Role.
- Id: If there is an ID, enter it in the Id box.
- Role Type*: Click the down arrow to expand the available options and choose a role type to associate to the Role.
- Calendar*: Click the Calendar down arrow to expand the available options and select a Calendar to associate to the Role.
Note: A Calendar associated to a Role cannot be deleted.
- Resource Group*: Click the Resource Group ellipsis. Click a Group from the Group List, in this example is the Q&A.
Note:
- A Group associated to a Role as the Resource Group cannot be deleted.
- Suspended Groups are hidden by default on the Groups List page, allowing you to focus on active groups. If needed, you can check the Show Suspended Groups box to display the suspended Groups. In this case, they will appear in red and will be non-selectable.
- Manager: The box is auto populated with Resource Group's Manager.
- Suspend: Select this box if the Role needs to be suspended.
- Description: If there is a description for the role, enter it in the Description box.
- Click Save and then Back to save your changes and return to the previous page.