You can add new or edit existing Milestone States by navigating to the System Table edit page and selecting Milestone State.
This article explains how to add or edit Milestone State options using the System Table edit page to customize milestone tracking according to your corporate needs.
Example: Adam is tasked with setting up the Milestone State options so that users can choose a new Milestone called Acceptance Stage. He can now easily complete this request by creating the required Milestone State by navigating to the System Table Edit: Milestone State page (Setup > Organization > System > System Tables > Milestone State).
Note: Any changes performed in this section do not take effect until the application is exited and/or restarted.
- From the Icon Bar click Setup
 .
. - From the Navigation Menu click Organization.
- From the menu click System.
- From the Organization System page, click the System Tables link.
- On the System Tables list, click Milestone State.
- Editing or adding Milestone State(s):
 Edit existing Milestone State(s)
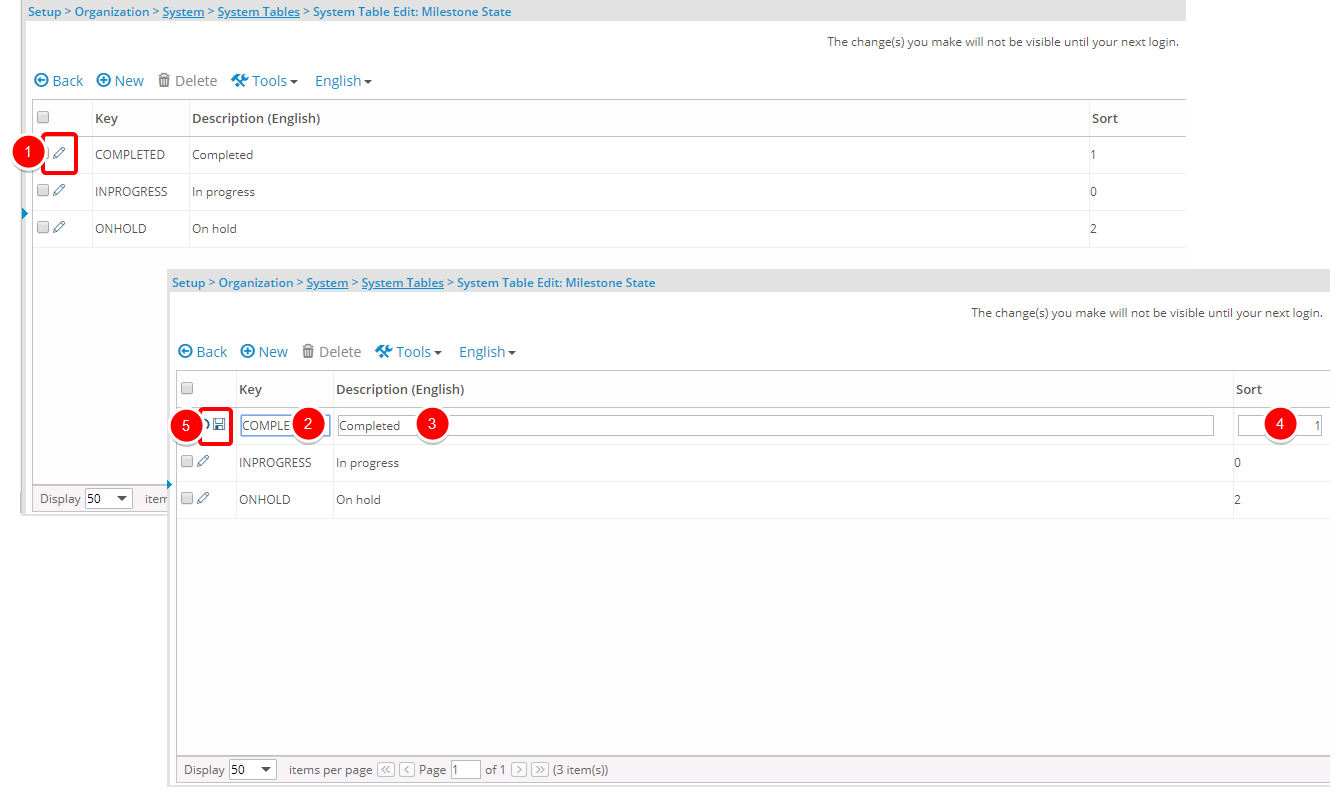
- Click Edit to enable inline editing.
- Enter the name of the option in the Key box.
- Change the description in the Description box.
- Update the sort number in the Sort box.
- Click Save to save your changes.
Tip: To switch between English and French names, click the down arrow located beside English or French.
- Add new Milestone State(s)
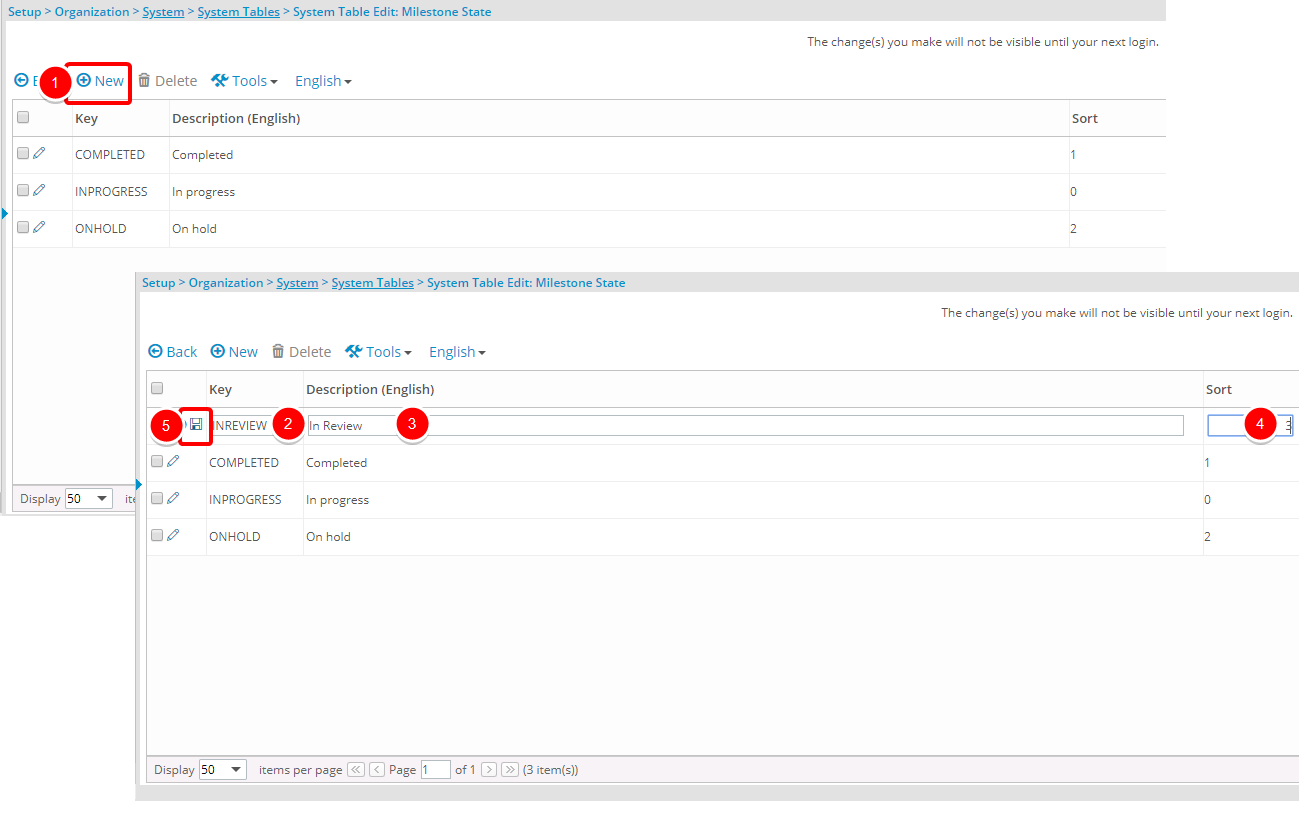
- Click New to enable inline editing. Note that a new line item will be added to the top of the list.
- Enter the name of the new option in the Key box.
- Add a brief description in the Description box.
- Enter a sort number in the Sort box.
- Click Save to add the new option to the list box.
- Click Back to return to the System Setup page.
- View your changes: Upon editing or creating a Milestone you will now see the new or updated option within the State list.

Note: Upon creating a new Milestone the Completed State is unavailable within the State list.