Renaming a Timesheet Template can help improve clarity and organization, especially as templates are reused, repurposed, or updated to reflect changes in business processes. A clear, descriptive name makes it easier for administrators to identify the correct template during setup or troubleshooting and ensures users are assigned to the appropriate configuration.
This article details how to change the name of a Timesheet Template through the Timesheet Template Edit page.
- From the Icon Bar click Setup
 .
. - From the Navigation Menu click Timesheet.
- From the available options select Timesheet Templates.
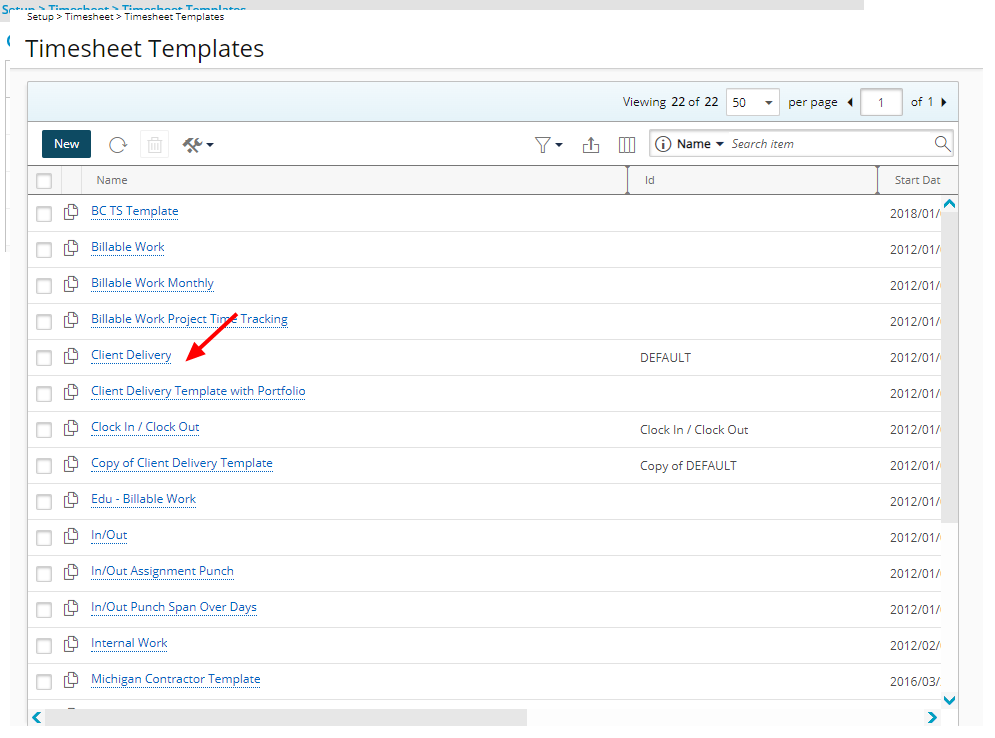
- From the Timesheet Templates list that displays, click the Name of the Timesheet Template you wish to access.
- From the General tab of the Timesheet Template Edit page, first either delete or highlight the full name, or the part of the name, to be replaced, and then enter the new name. Moreover, you can add to the current name, if necessary.
- Click Save.
- View the impact of the modified name:
- As a user making an entry on, or reviewing, the timesheet: The Timesheet owner or anyone with permission, will now see the revised name of the Timesheet Template when hovering over the information icon
 .
.
- As a user accessing Timesheet Manager: Anyone with the access rights to the Timesheet Manager can now view the Template name.
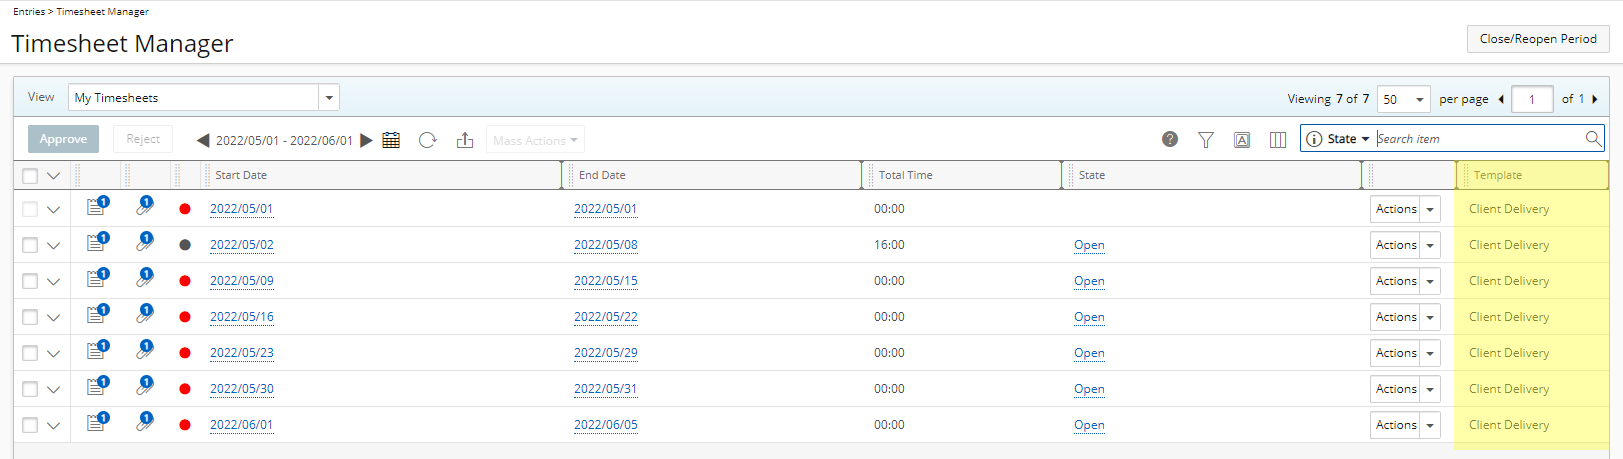
- As an administrator: As an administrator you will now see the new name in the list of existing Timesheet Templates.
- As a user making an entry on, or reviewing, the timesheet: The Timesheet owner or anyone with permission, will now see the revised name of the Timesheet Template when hovering over the information icon