Assign Resources in Bulk
The Resource Review page provides a centralized view of Resource allocation (effort) and availability across work items, as well as any unstaffed demand that currently exists.
Users can assign a single Resource to multiple work items at once through the Resource Review. This includes work items from both the Allocation section (top) and the Demand (bottom) section of the page.
Note: The newly-assigned Resource will inherit all of the effort and/or unstaffed demand from each selected Role, not just the effort that is displayed on the Resource Review page.
Example: One of Piper's employees, Jack, works as an Analyst. Jack needs to take some time off due to an emergency, so he will not be able to work for the foreseeable future. Thankfully, a new Analyst, Adrian, is available to take on some effort. Piper would like to assign Adrian to all of Jack's effort, as well as some unstaffed demand for an Analyst on another work item.
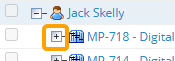
To do this, she expands Jack's Resource row in the Allocation section and selects the checkbox of a work item he is assigned to.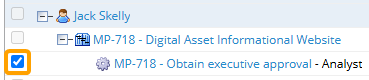
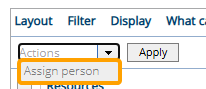
She repeats the process for any more Allocation section work items that she would like to assign Adrian to. She then selects Assign person from the drop-down menu in the top left-hand corner of the Resource Review page and then selects the Apply button.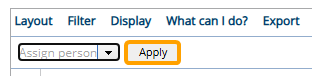
This opens a window that allows her to add Adrian the effort of each selected work item.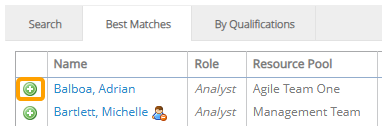
Next, she scrolls to the Demand section and expands the "Analyst" Role. She selects the checkbox of the work item that contains the unstaffed demand that she would also like to assign to Adrian.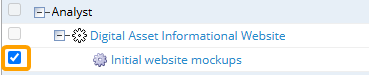
She does the same for any more unstaffed demand she would like to assign to Adrian and then once again selects Assign person and the Apply button.
Tip: See Assign a Resource to a Work Item if you are interested in assigning a Resource to a single work item's unstaffed demand. Also, see Assign Unstaffed Demand to Multiple Resources if you are interested in assigning more than one Resource to a work item's unstaffed demand.
This page covers bulk assignments using both Resource Review interfaces:
Assign Resources in bulk using the new interface
The 2025R1.0 version of PowerSteering introduced the first phase of a new Resource Review user interface. This new page features a cleaner and more refined design that is much easier to use. PowerSteering users are encouraged to familiarize themselves with the new interface as much as possible because the legacy page will eventually be deprecated in a future release.
To assign Resources in bulk using the new UI:
Before You Start: Users require the "Allocate Resources to Demand" Project permission on a work item to assign its effort or demand to a Resource.
Also, all PowerSteering users can access the Resource Review page and change the display settings of Resource Review Layouts that they can access. However, users can only view the data through Resource Review Layouts they have saved themselves or that have been shared with all users. Additionally, users can only view work items and users that they have permission to view. For instance, users without the "View" Project Task permission on a work item will not be able to view the work item on the Resource Review page: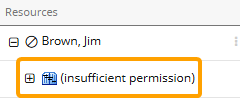
Finally, either Project > Resource > Role or Resource > Project > Role must be selected from "Allocation Group By" to assign Resources to the Allocation section in bulk. See Change the Resource Review Display for more information.
-
Select Review
 → Resource Review (New) from the Navigation Menu.
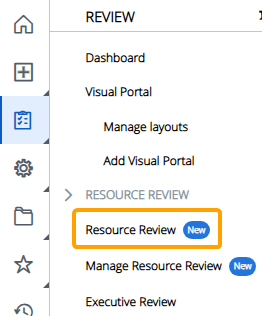
-
Select a Resource Review Layout using the "Layout" drop-down menu.
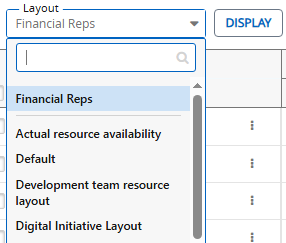
Note: The layouts above the gray line are layouts that have been shared with you. The layouts below the line are your own private layouts.
Note: Speak to a PowerSteering administrator if you are unsure about which layout to use.
-
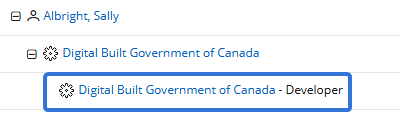
Select the checkboxes of multiple "Role" line items on the page.
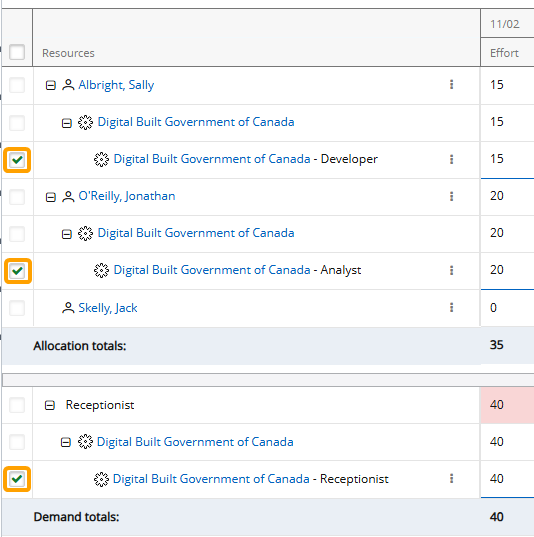
Note: "Role" line items contain both the name of the work item and the Role.
The "Allocation Group By" and "Demand Group By" fields in the Display Settings determine where the "Role" line items will appear when rows are expanded.Note: Either Project > Resource > Role or Resource > Project > Role must be selected from "Allocation Group By" to assign Resources to the Allocation section in bulk. If none of the line items in the Allocation section are selectable, a different grouping setting might be applied. See Change the Resource Review Display for more information.
-
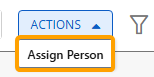
Open the Actions drop-down menu.

-
Select Assign Person.
-
Find a Resource to assign to the selected work using one of the three methods:
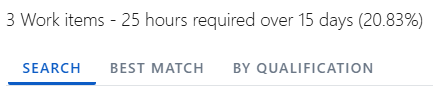
 Search
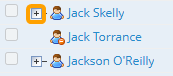
Enter a Resource's name (first or last) into the search bar and select the Search button. From the results table, select the "Plus" icon
 of the Resource you would like to assign.
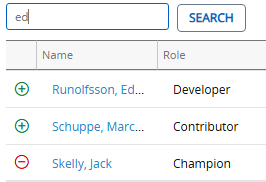 Best Matches
This option will provide a list of best-suited Resources, calculated by the required Role, the Resource Pool, and the Resources' Tag set (location, skills, etc.). From the results table, select the "Plus" icon
of the Resource you would like to assign.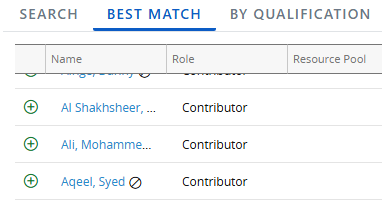 By Qualification
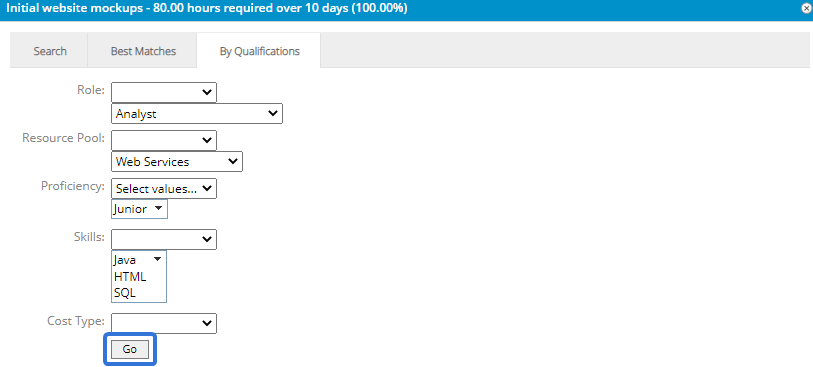
This option allows you to perform a Resource search based on chosen criteria, including Profile Roles, Resource Pools, and Resource Qualification Tags.
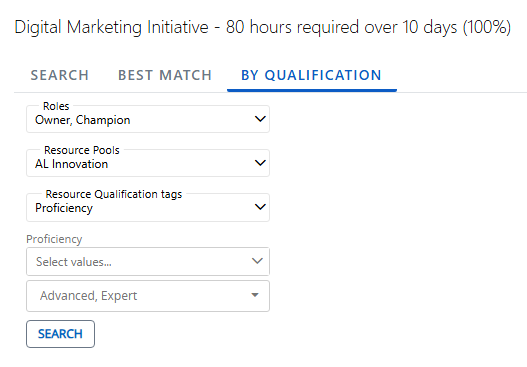
Note: Administrators can determine Resource Qualification Tags through Resource Planning.
Use the drop-down menus to select the criteria of your preferred Resource and select the Search button to compile a list of preferred Resources for the allocation.
Note: Resources only need to satisfy one of the selected values for each field. For example, if more than one value is selected for a Resource Qualification Tag, a Resource will only need one of those values selected for the Tag on their profile to be included in the results.
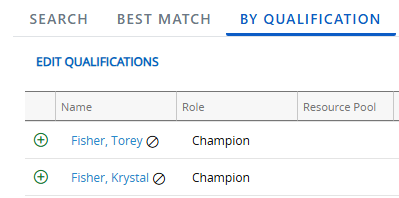
From the results table, select the "Plus" icon
of the Resource you would like to assign.Note: Resources can have previous assignments. They can also have personal days off or holidays on their own Resource Calendar (which can be configured on a User Profile). These can all cause their availability to waver, so you should keep an eye on the "Availability" column of the results table while assigning Resources:
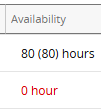
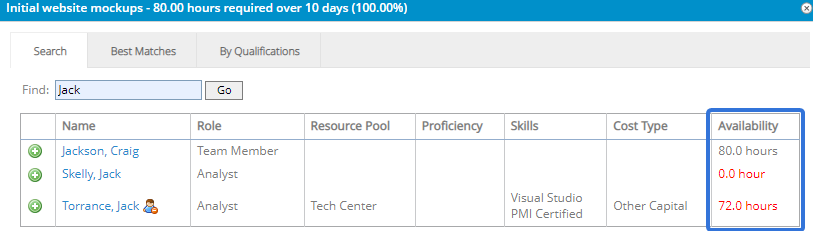
If the Resource's availability is displayed in red font, it means the Resource does not have enough available hours to cover the duration of the work (this could be a result of previous assignments or a day off on the Resource's User Profile). If you decide to choose one of these Resources anyway, it might change the duration of certain work based on the Constraint Type.
For example, imagine a Project Task that has a Scheduled Duration of 10 days (2 working weeks) from August 15th to 26th. This requires a total of 80 working hours across all 10 days. As we can see in the image above, Jack Torrance only has 72 available hours. This is because he has a personal day off on his own Resource Calendar separate from the Work's calendar. If we decide to add Jack anyway, we will see that the Project's duration will change to accommodate him: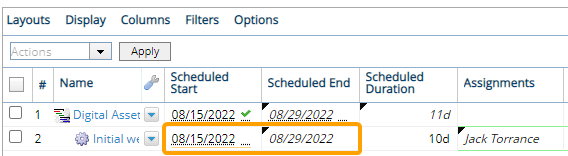
However, if the work has a Constraint Type that prevents the dates from changing (for example, a "Fixed Dates" constraint), the dates will stay the same and Jack will only have 9 days to work on the Project Task:
After selecting the "Plus" icon of a Resource, that Resource will immediately inherit all of the selected work.
Note: The newly-assigned Resource will inherit all of the effort and/or unstaffed demand from each selected Role, not just the effort that is displayed on the Resource Review page.
Assign Resources in bulk using the legacy interface
The legacy Resource Review page is still available to PowerSteering users. It can be accessed the exact same way it could prior to the 2025R1.0 release. Although users are encouraged to familiarize themselves with the new Resource Review interface, the legacy interface still offers functionality that has not yet been added to the new page.
Note: Users cannot assign Resources to work items in bulk to both the Allocation section and the Demand section at the same time using the legacy Resource Review interface. When Allocation section work items and Demand section work items are both selected, the Resource will only be assigned to the work items from the Demand section.
If you would like to simultaneously assign a Resource to multiple work items from both the Allocation section and the Demand section, you will need to use the new Resource Review page.
To assign Resources in bulk using the legacy interface:
Before You Start: Users require the "Allocate Resources to Demand" Project permission on a work item to assign its effort or demand to a Resource.
Also, all PowerSteering users can access the Resource Review page and change the display settings of Resource Review Layouts that they can access. However, users can only view the data through Resource Review Layouts they have saved themselves or that have been shared with all users. Additionally, users can only view work items and users that they have permission to view. For instance, users without the "View" Project Task permission on a work item will not be able to view the work item on the Resource Review page:
-
Select Review → Resource Review → your preferred Resource Review Layout from the Navigation Menu.
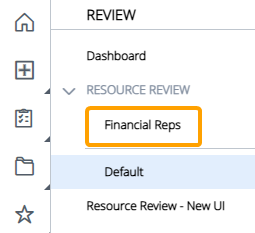
Note: The layouts above the gray line are layouts that have been shared with you. The layouts below the line are your own private layouts.
-
Expand the row of any Resource or Role that you would like the new Resource to replace/inherit.
Note: Based on the layout's display settings, the "Resources" column might be organized by work items instead of Resources. If this is the case, you will need to expand one of the work items that the Resource is assigned to in order to view the Resource's availability.
See Change the Resource Review Display for more information on display settings. -
Expand the parent of the work item you would like to assign the new Resource to.
Note: The displayed parent will always be the work item's closest parent with an "Is project" Object Type.
-
Select the checkbox of the work item you would like to assign the new Resource to.
-
Repeat Steps 2-4 for any more work items that you would like to assign the new Resource to.
Note: If you select work items from both the Allocation section and the Demand section, the new Resource will only be assigned to the work items selected from the Demand section.
-
Select Assign Person from the "Actions" drop-down menu in the top left-hand corner of the page.
-
Select the Apply button.
-
Assign a Resource to the effort using one of the three methods.
Select any of the methods below to learn more about them:
Search
Enter a name (first or last) into the search bar and select the Go button. From the results table, select the "Plus" icon
 of the Resource you would like to assign.
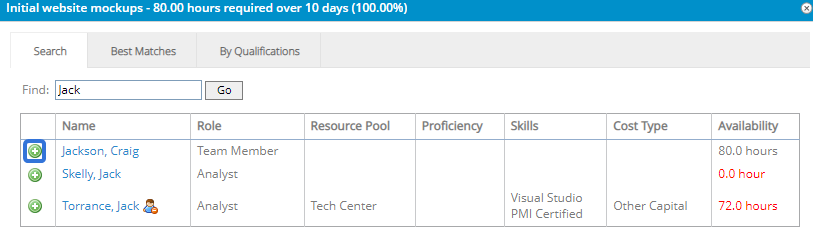 Best Matches
This option will provide a list of best-suited Resources, calculated by the required Role, the Resource Pool, and the Resources' Tag set (location, skills, etc.). From the results table, select the "Plus" icon
of the Resource you would like to assign.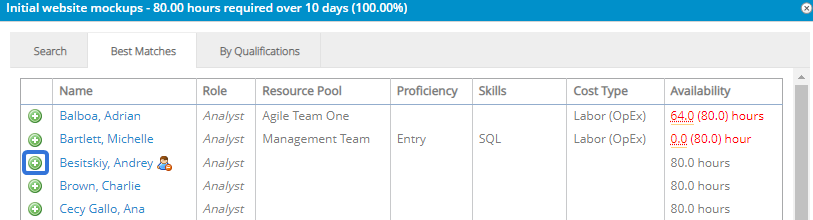 By Qualifications
This option allows you to perform a Resource search based on chosen criteria. Use the drop-down menus to select the criteria of your preferred Resource and select the Go button.
From the results table, select the "Plus" icon
of the Resource you would like to assign: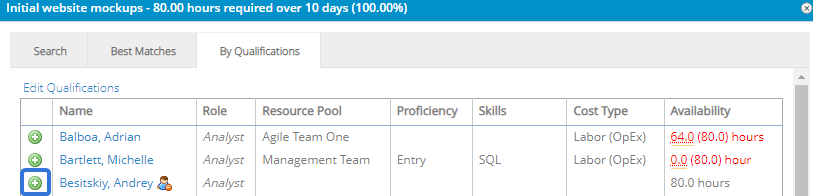
Note: Resources can have previous assignments. They can also have personal days off or holidays on their own Resource Calendar (which can be configured on a User Profile). These can all cause their availability to waver, so you should keep an eye on the "Availability" column of the results table while assigning Resources:
If the Resource's availability is displayed in red font, it means the Resource does not have enough available hours to cover the duration of the work (this could be a result of previous assignments or a day off on the Resource's User Profile). If you decide to choose one of these Resources anyway, it might change the duration of certain work based on the Constraint Type.
For example, imagine a Project Task that has a Scheduled Duration of 10 days (2 working weeks) from August 15th to 26th. This requires a total of 80 working hours across all 10 days. As we can see in the image above, Jack Torrance only has 72 available hours. This is because he has a personal day off on his own Resource Calendar separate from the Work's calendar. If we decide to add Jack anyway, we will see that the Project's duration will change to accommodate him: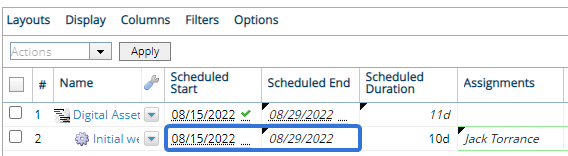
However, if the work has a Constraint Type that prevents the dates from changing (for example, a "Fixed Dates" constraint), the dates will stay the same and Jack will only have 9 days to work on the Project Task:
After selecting the "Plus" icon of the Resource, the Resource will inherit the effort on each selected work item.
Note: The newly-assigned Resource will inherit all of the effort or unstaffed demand from each selected Role, not just the effort that is displayed on the Resource Review page.