Associate a Calendar to a User
This article details how to associate a specific Calendar to a user to ensure accurate scheduling and availability tracking.
- From the Icon Bar click Setup
 .
. - From the Navigation Menu click Organization.
- From the available options select Users.
- Upon the Users list page displaying, click the name of the User you wish to edit, to access the User Edit page.
Tip: You may wish to narrow your Users list so that you retrieve just the right amount of information you need. To do so you can perform a search. Select a search criterion from the list of available search criteria and then enter a corresponding value in the Search box. Click the Search icon to narrow down the Users list. For more information on the contains-in logic search click here.
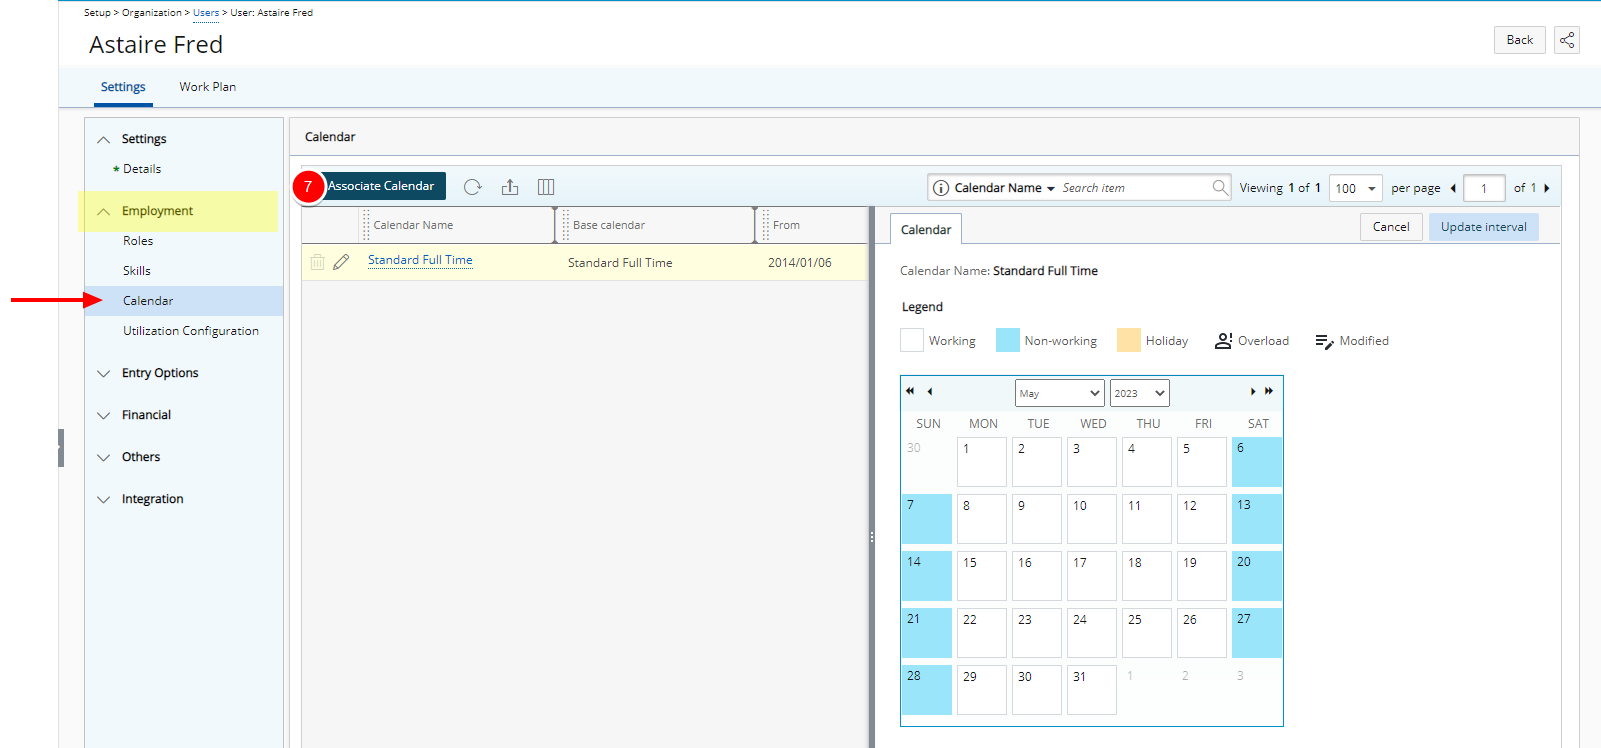
- Upon the User Edit page displaying, expand the Employment menu item.
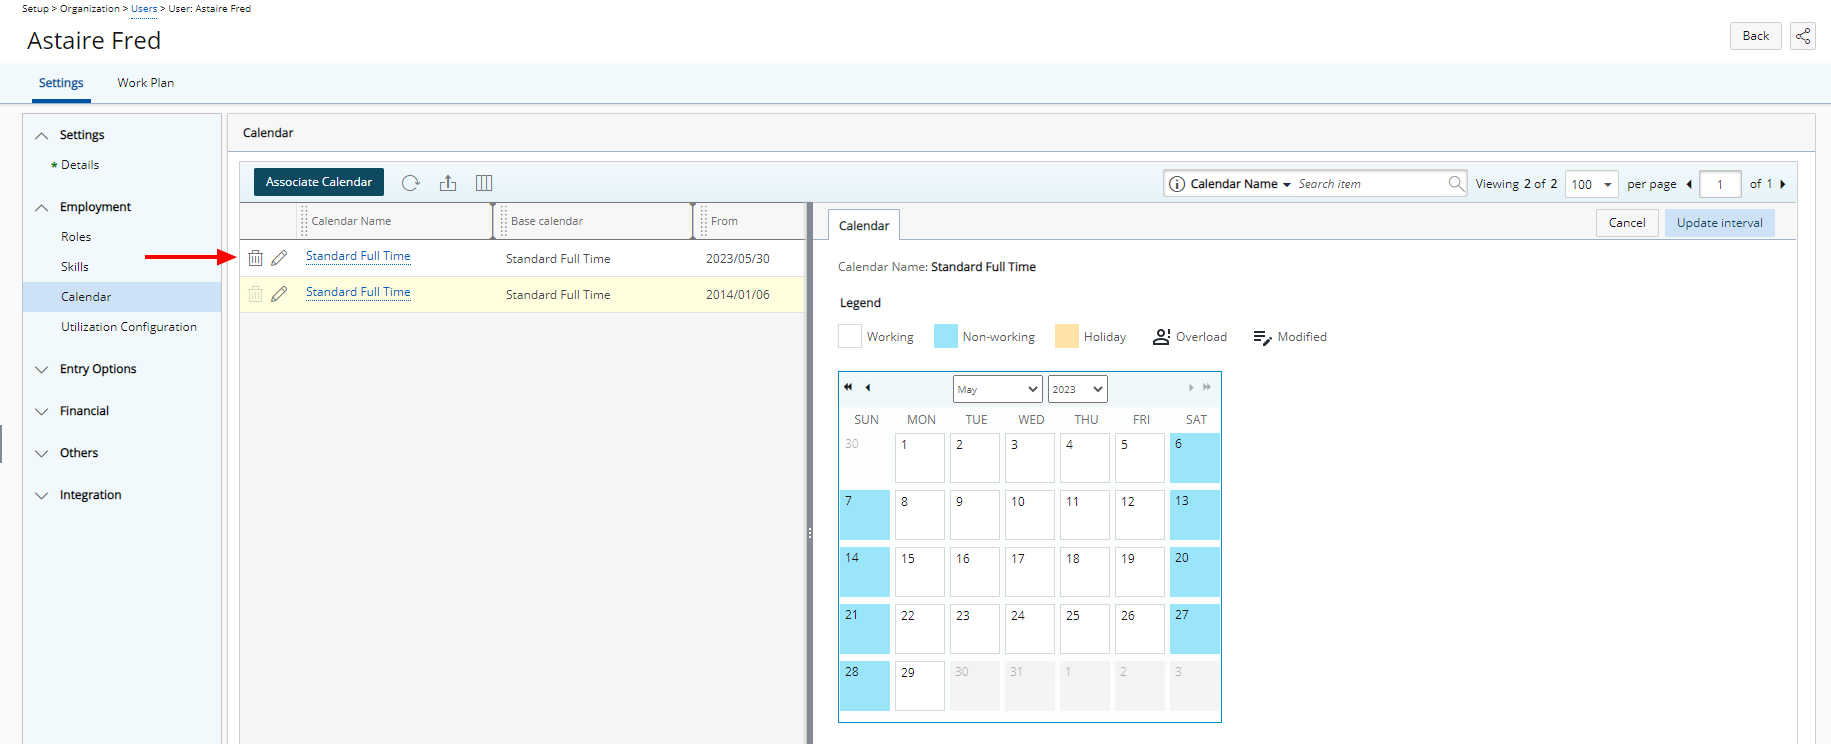
- From the available options, click Calendar.
- Upon the associated Calendar page displaying, click Associate Calendar.
- Upon clicking the Associate Calendar button inline editing will be enabled.
- Click Base Calendar and select a Calendar from the Calendar list.
- The page will refresh and display your selection in Base calendar box along with the default Calendar name.
Note: The Calendar name can be modified.
- Select the calendar interval:
- Click the Calendar
 icon.
icon. - Select the From and To dates.
- Click the Calendar
- Click Save

Note: When a new calendar is associated to the user, the calendar within the interval immediately prior to the new one will automatically have its End Date set up the day before the new association..
- On the Associated Calendars page, view the newly associated calendar.